Prep for the Slab
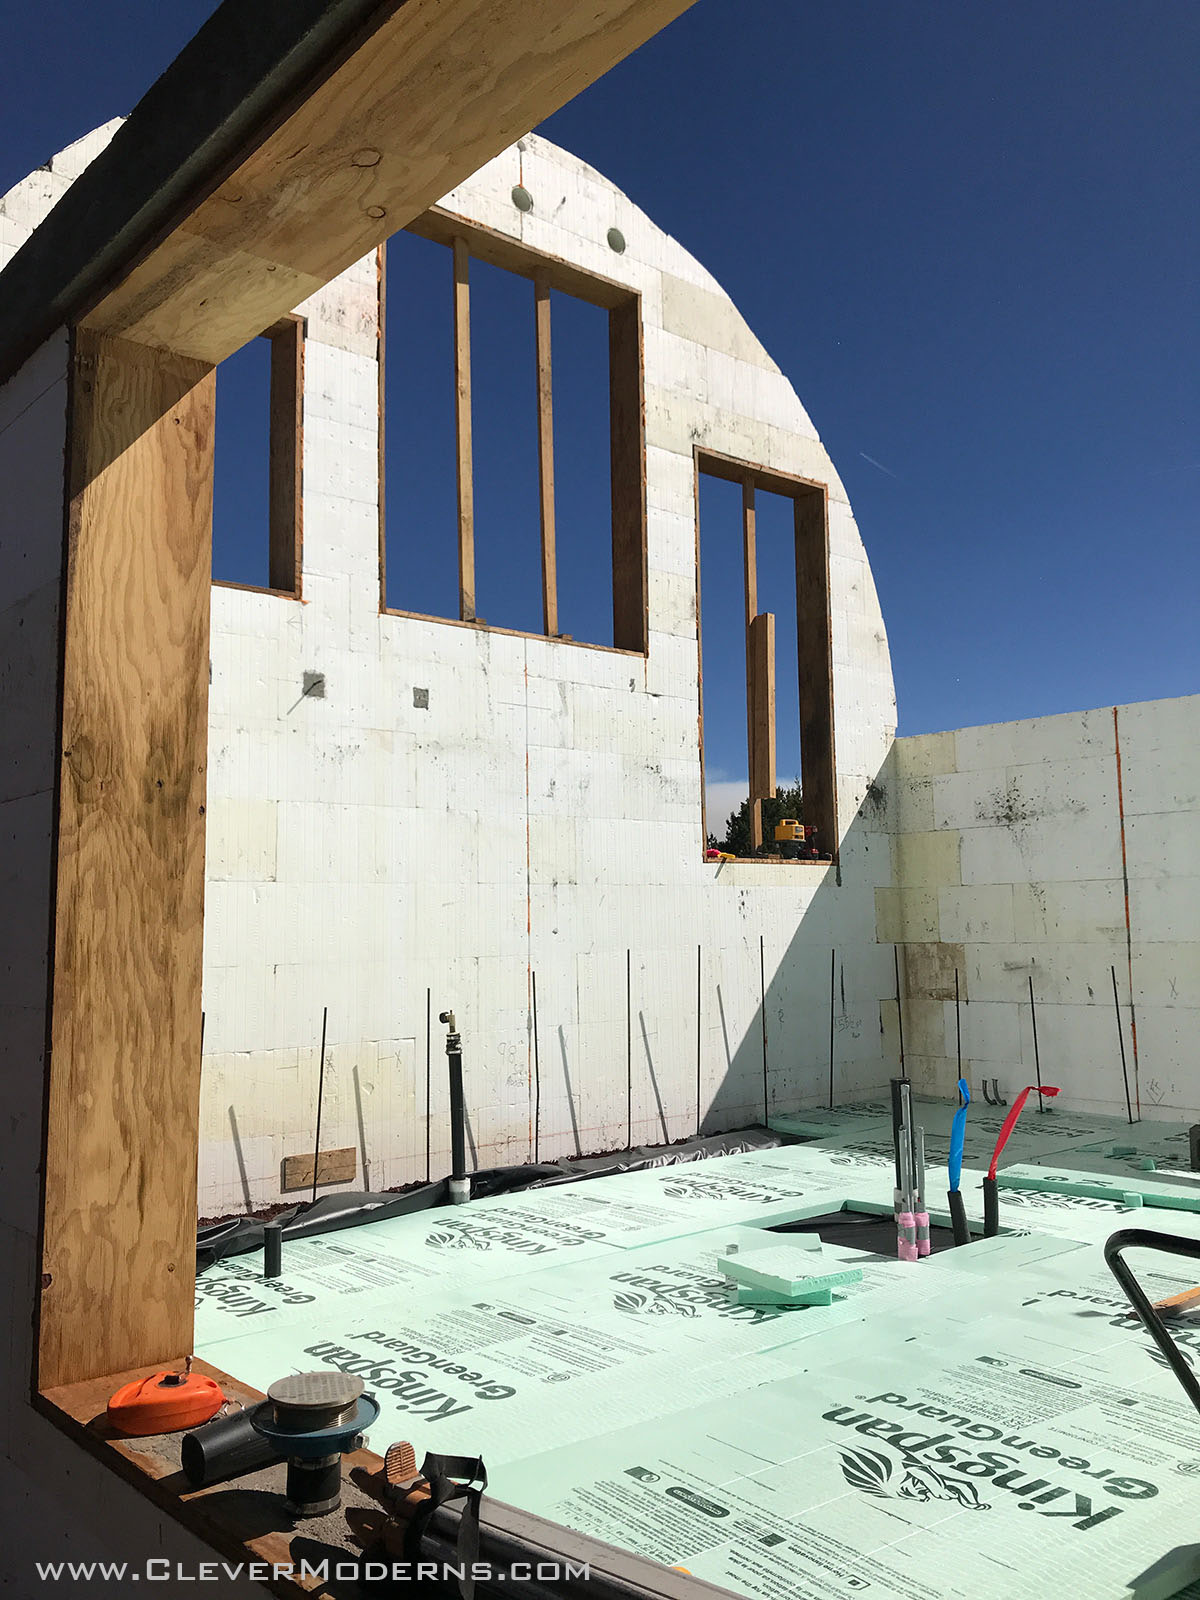
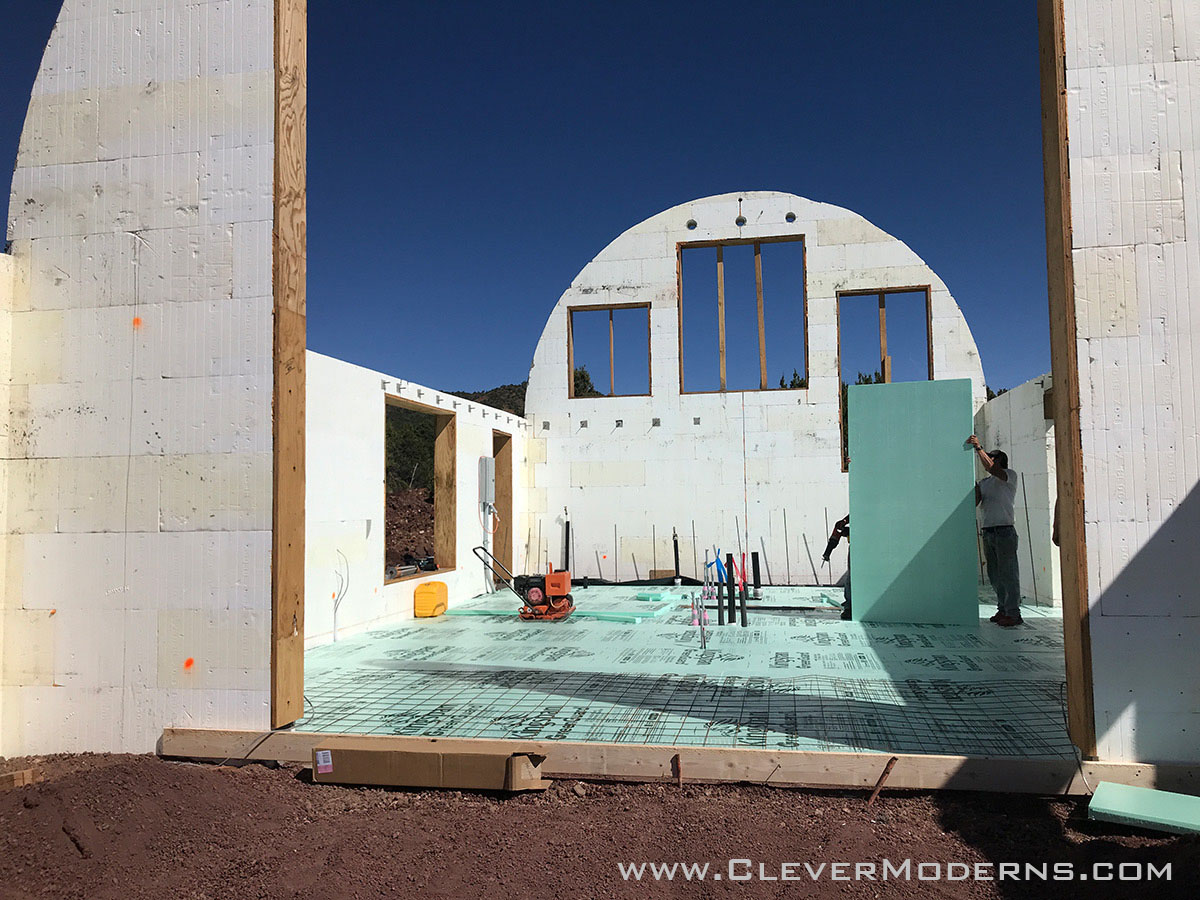
Once the ICF walls were up (see this post for details), it was time to pour the floor slab. With ICF walls, the walls are often set on top of the slab, but since we are installing radiant floor heating, we wanted the extra insulation of the ICF walls to be on the outside of the slab, extending below the exterior grade. This will give the maximum insulation for the floor, by separating it as much as possible from the cold exterior air.
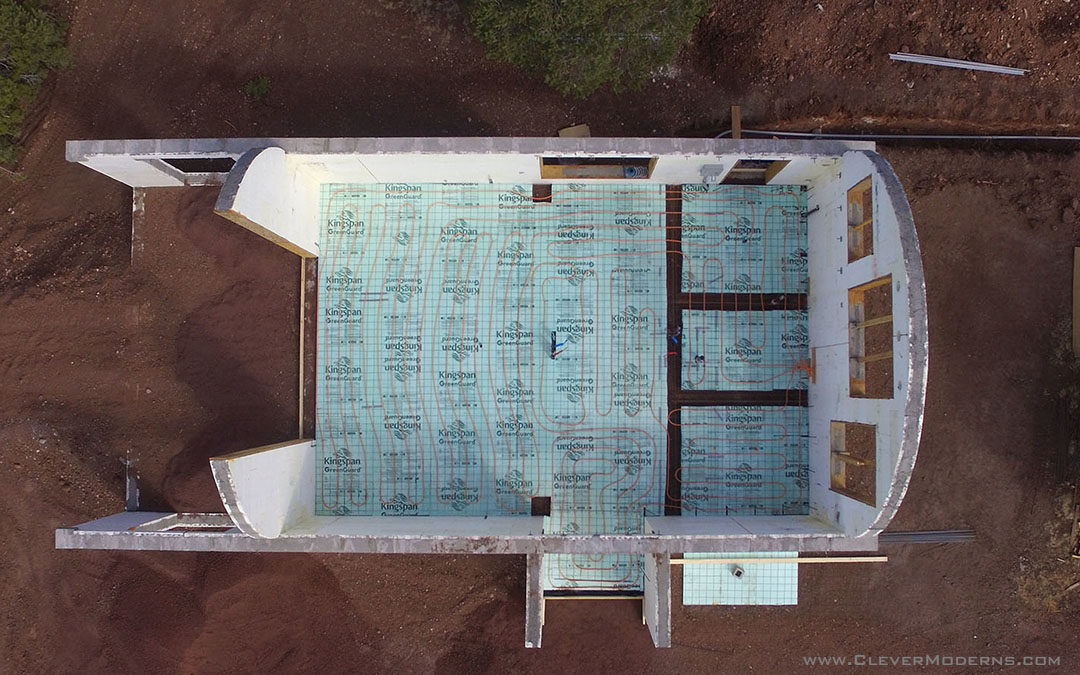
The first step for the concrete subcontractor to prep for the pour was to level and compact the grade, and then install 2″ of rigid foam insulation board. On top of the foam board, he installed a grid of 6″ x 6″ welded wire reinforcing. This was not to reinforce the slab, but for us to tie the radiant tubing onto.
Installing the Radiant Tubing
Next we used zip ties to tie the 1/2″ PEX tubing (we used this tubing) to the wire grid. Our plumber suggested this method and it worked great. The 6″ heavy-gauge wire grid made it very easy to judge the spacing of the tubing as we put it down. Here’s a short clip I uploaded to YouTube of us installing the tubing.
We expected there to be some big aspect to installing the PEX tubing that made it take five times longer than it should, but we were pleasantly surprised to have no surprises at all! It was actually really easy to install and we will definitely be doing this again on future builds.
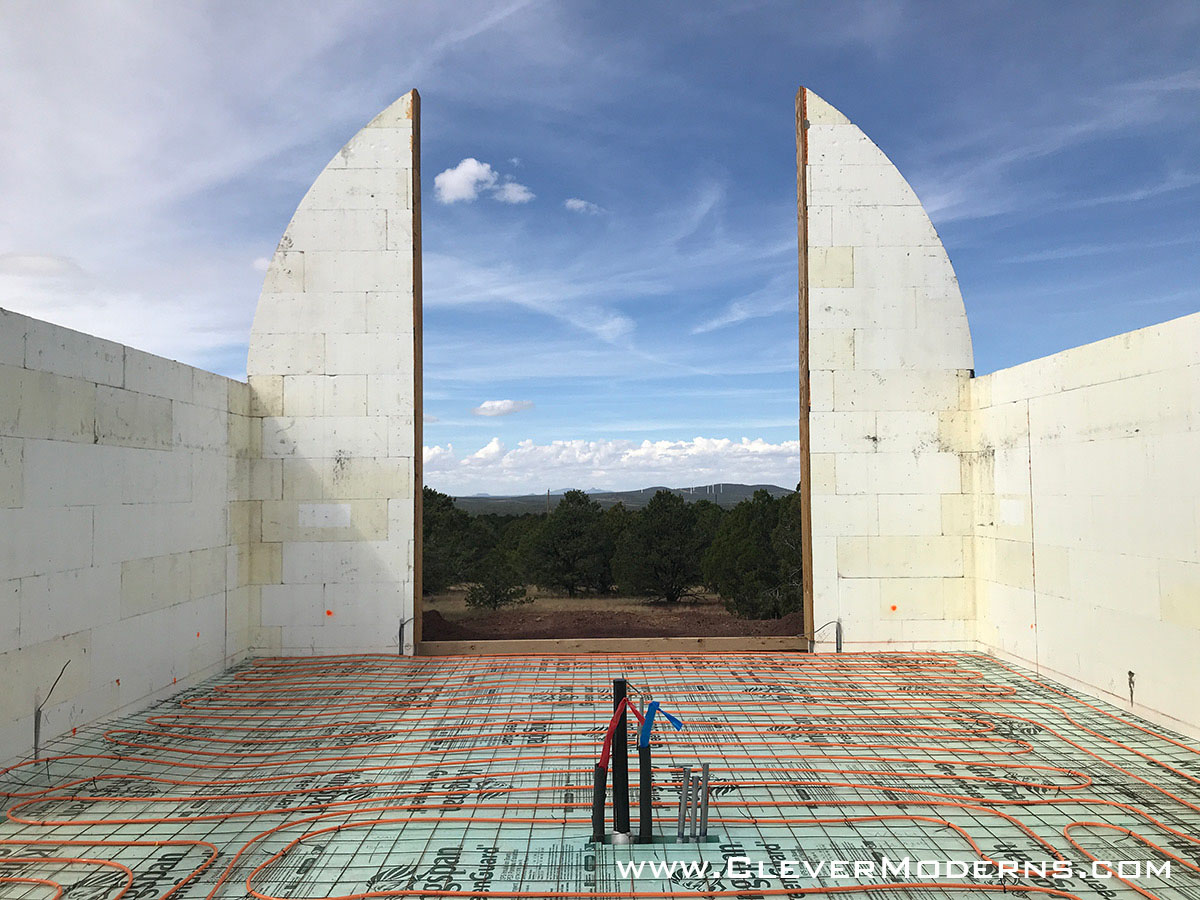
We expected there to be some big aspect to installing the PEX tubing that made it take five times longer than it should, but we were pleasantly surprised to have no surprises at all! It was actually really easy to install and we will definitely be doing this again on future builds.
Pouring the Slab
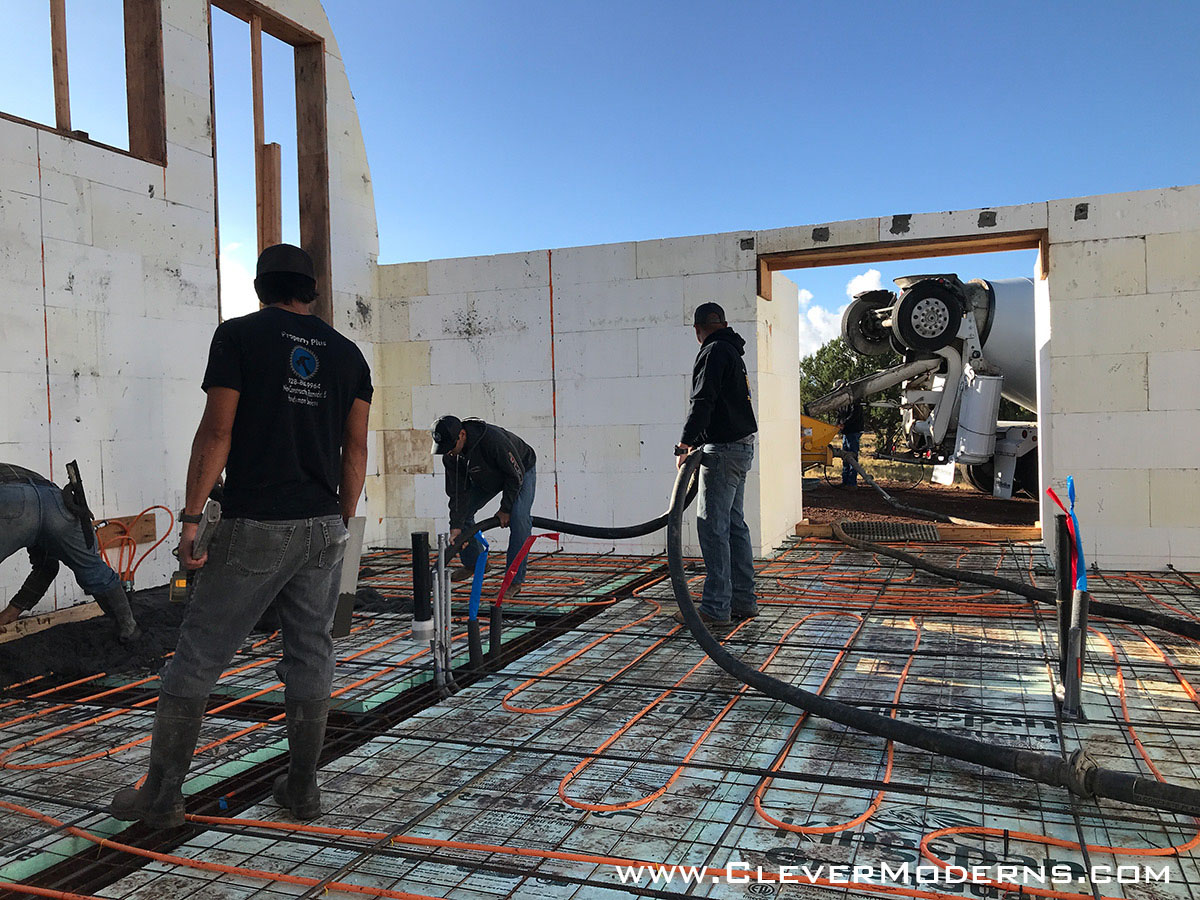
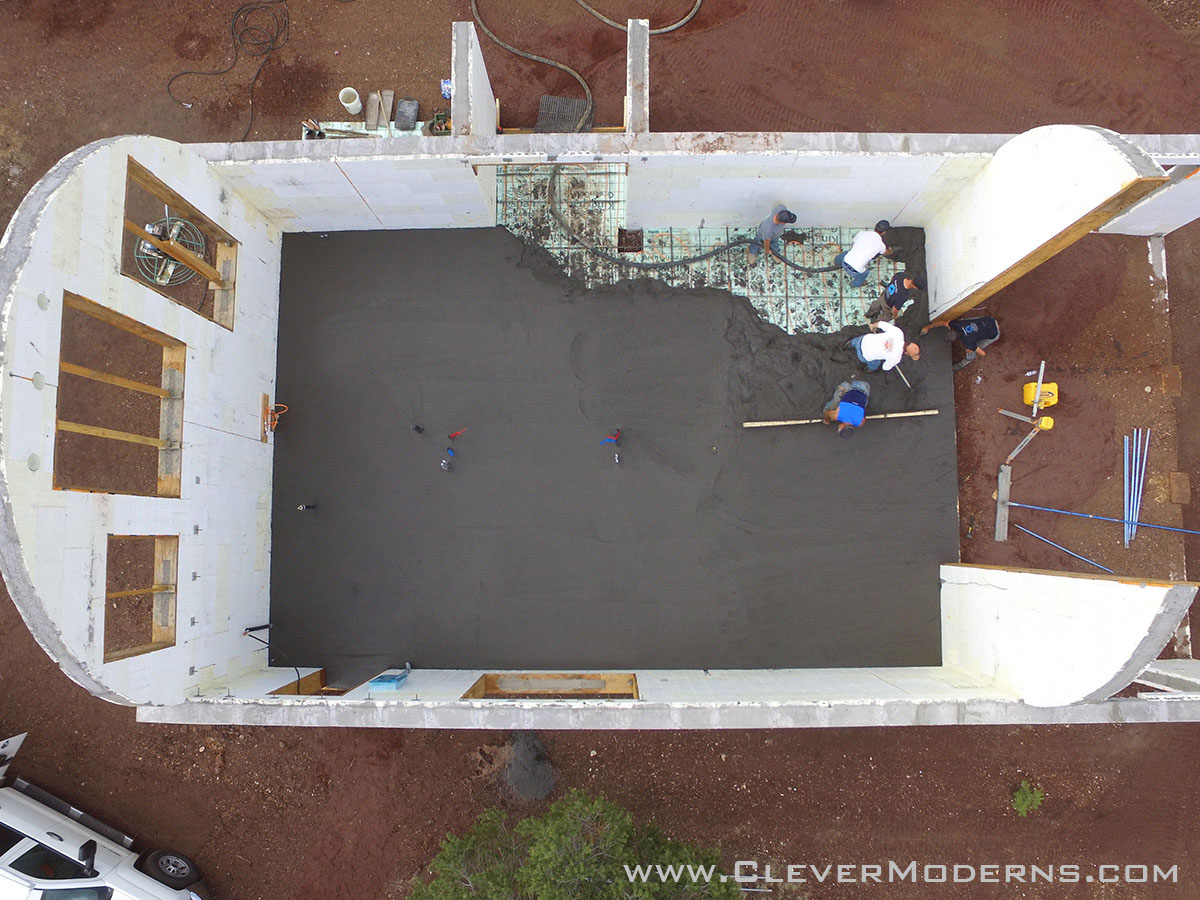
There was one last step after we installed the tubing, which was for the concrete subcontractor to come back and place a grid of rebar on top of the plastic tubing. This was both to reinforce the slab and to hold the tubing in place down at the bottom of the slab. The last thing you want is to have the tubing accidentally cut when they come back after the pour to cut the control joints into the fresh concrete.
Then, Friday morning they came out bright and early to get everything ready, and the concrete truck showed up promptly at 8:00. They worked their well-choreographed magic and everything turned out great. The color we selected was #920 Charcoal by Solomon Colors. It’s a beautiful warm dark smoky gray.

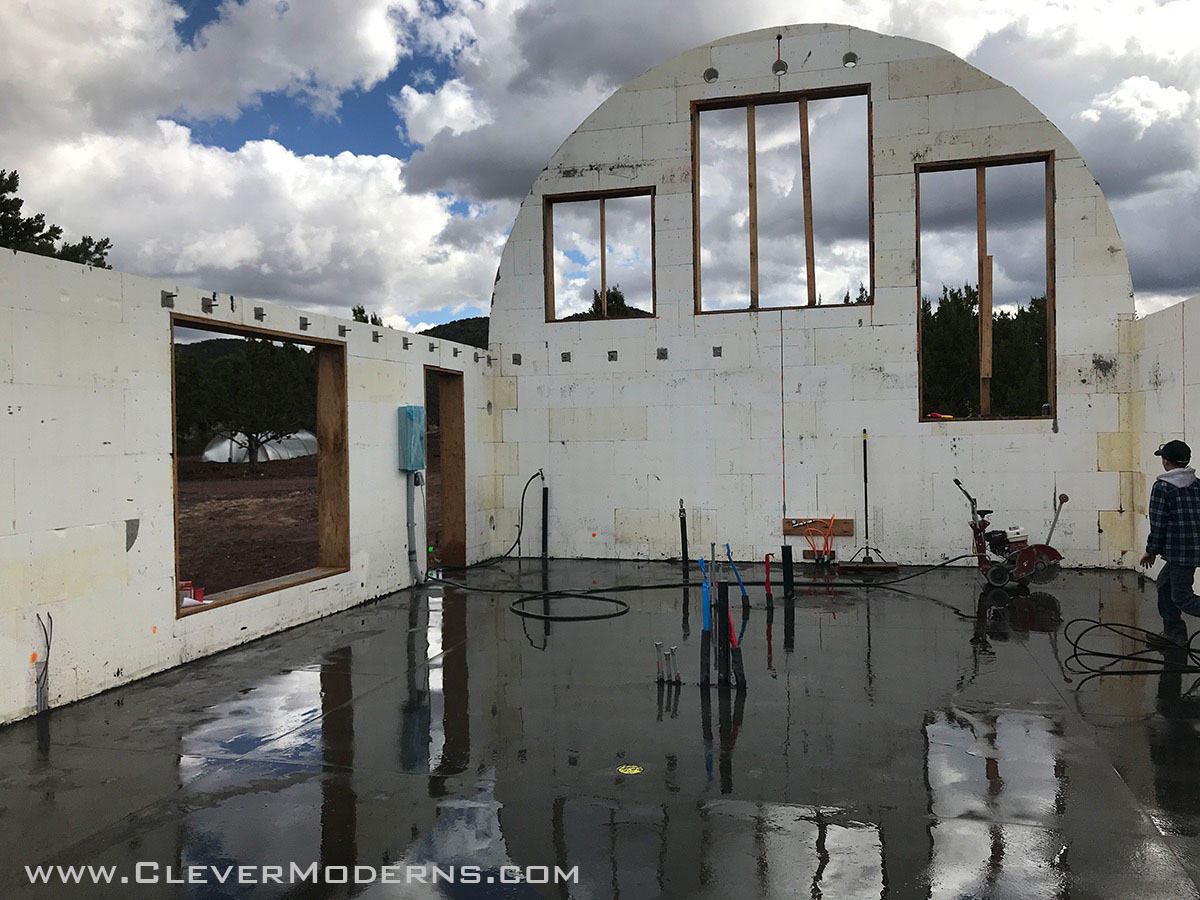
We couldn’t be happier with how it turned out. Now that we can roll scaffolding on the slab, our next big step will be Quonset arches!
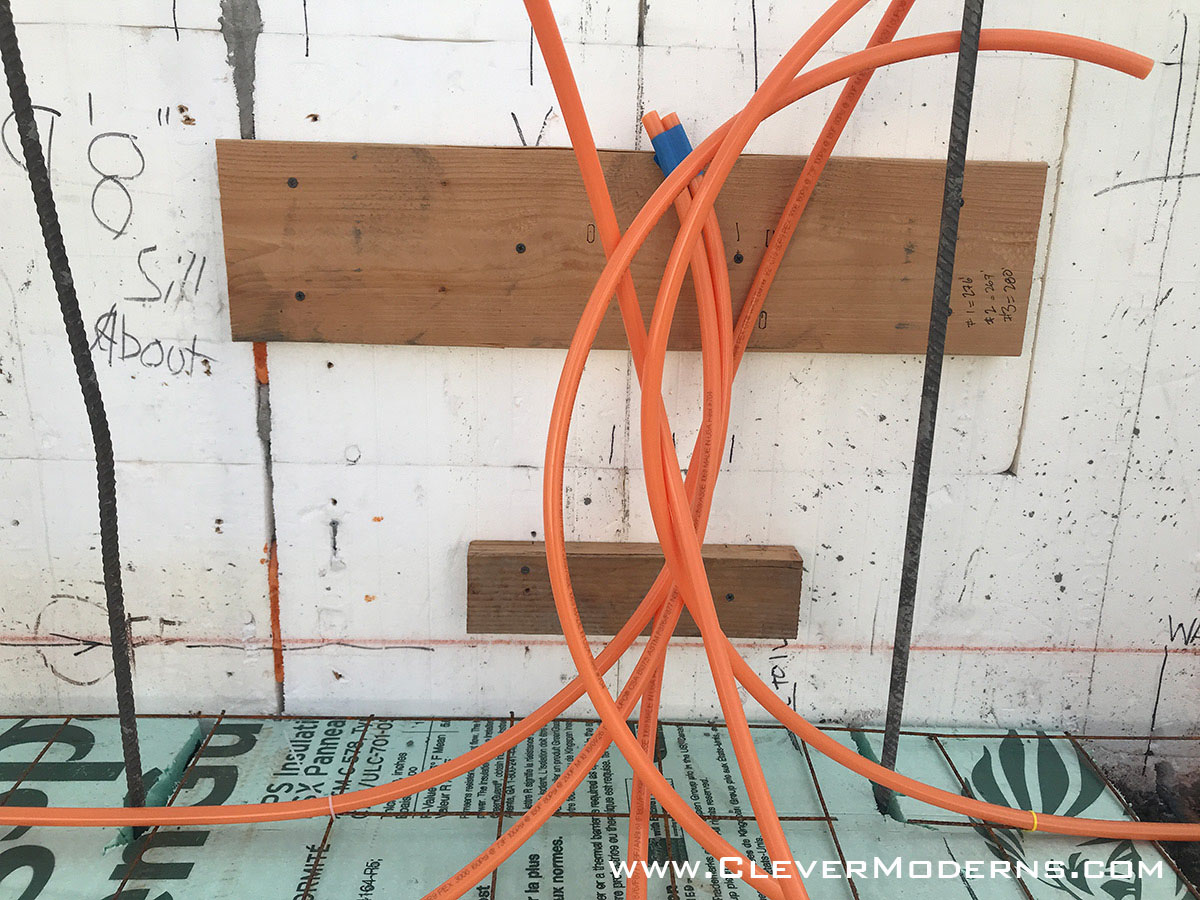
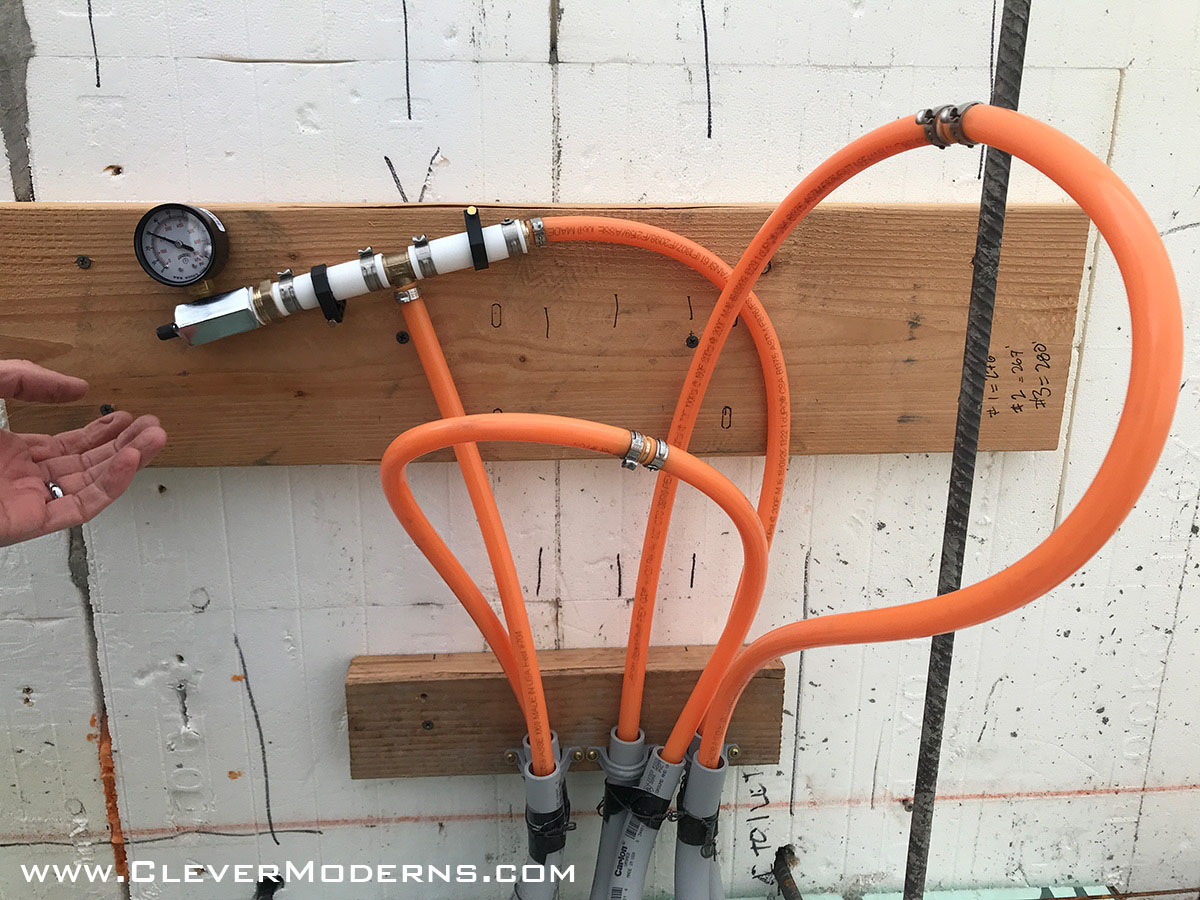
Update: We have a working floor heating system now! I wrote up a detailed post on the complete floor heating system here, with all the pieces and parts including the manifolds, pump, filters we used, etc.
Was the pex one long loop, or did you zone the system into several loops? If not, does the openness of the Q make it more practical to have one zone?
It is divided into three sections. The maximum you want on any single run of tubing is about 300 feet. But in a technical sense these are not separate “zones” like you normally talk about having zones in a heating system. These three sections of tubing will all be run at the same time and all controlled by one thermostat, acting together as a unit.
Normally “zones” in a heating system are controlled individually, so that you don’t have to run the heat the whole house all at once off of one thermostat, thus saving energy. (Maybe you knew that but I wanted to clarify for anyone reading this in the future.)
what is the estimated cost breakdown? materials, shipping, labor, etc.
Hi Michelle, I don’t have that kind of breakdown available. We ordered all three of our Quonset buildings at once to save on shipping and get a better deal. We’re providing as much of the labor ourselves as possible, and family and friends are helping out when they can. The best way to do an estimate is to come up with your design in as much detail as possible, and then just start getting quotes on all the various components. For parts that will be DIY, get pricing on the materials. Or bring your design to a local contractor and see if they will help you work out an estimate.