We had another great trip to the property last week. This was a Friday to Wednesday trip, returning the day before Thanksgiving. We got a ton done (we’re really in a groove now when we go over to the property, which is awesome) and we saw the pinkest sunset EVER! Our biggest tasks were the ongoing work to rough in the electrical and plumbing systems.
Quonset Hut Construction Update: Electrical Rough-in
In the workshop, we are running outlets along the north wall for now, and will probably add more outlets around the building when we are at the point of adding more equipment and setting up the shop in earnest. We are using the lengths of temporary spacer bar that came with the buildings to mount the outlets to. The spacer bar is a lightweight folded sheet metal angle, pre-punched at 24″ intervals (it’s also punched at 18″ intervals for use with the end wall panels). There are four outlets divided between two separate circuits.

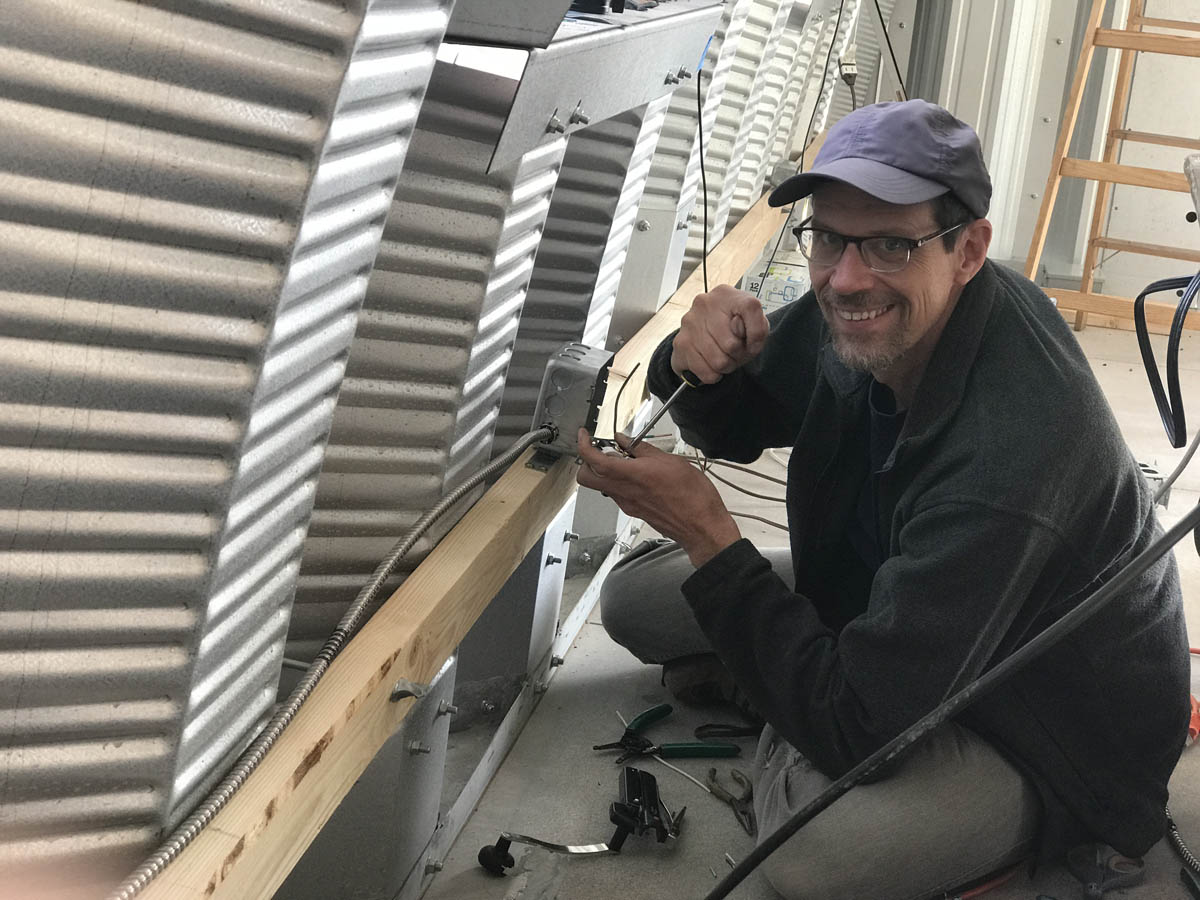
Over at Headquarters, we have a slightly more complex electrical layout, what with the bathroom and all. We are being careful to use a GFCI outlet to protect each circuit. Every outlet doesn’t have to be GFCI outlet, as long as the regular ones are wired downstream of a GFCI one.
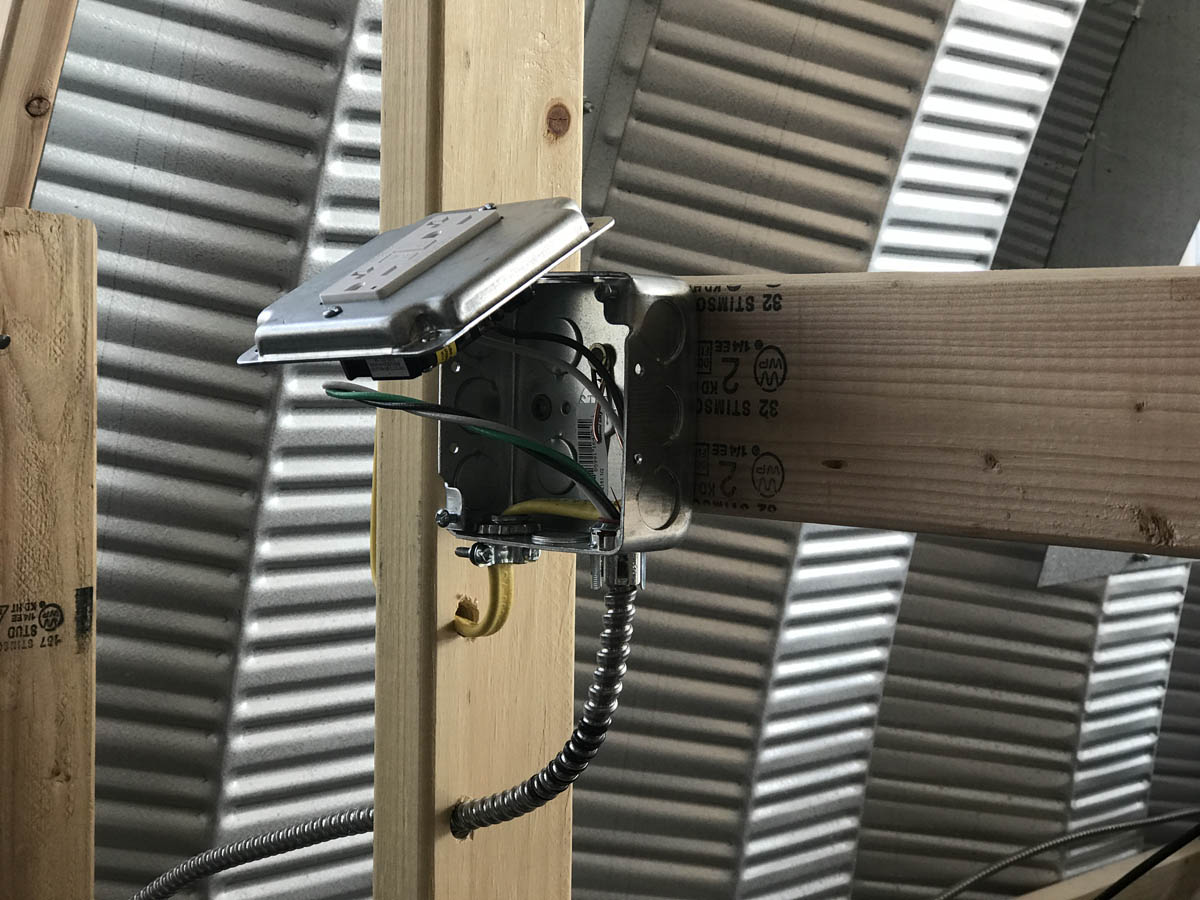
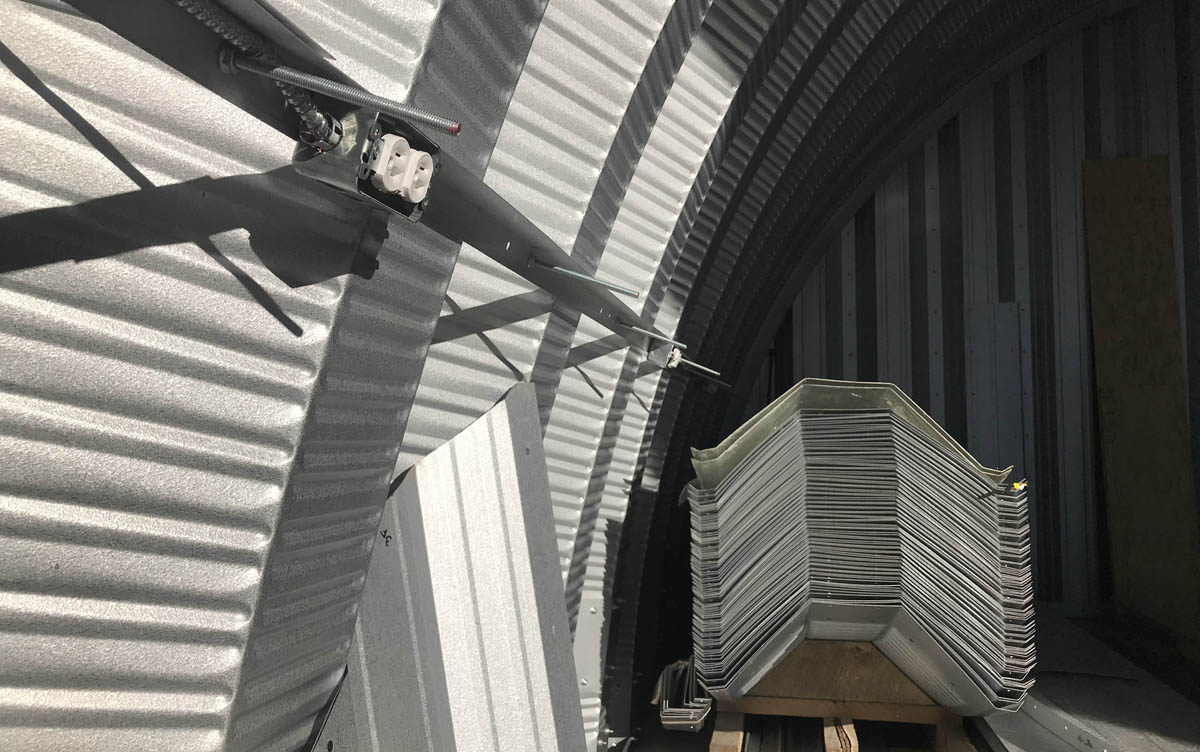
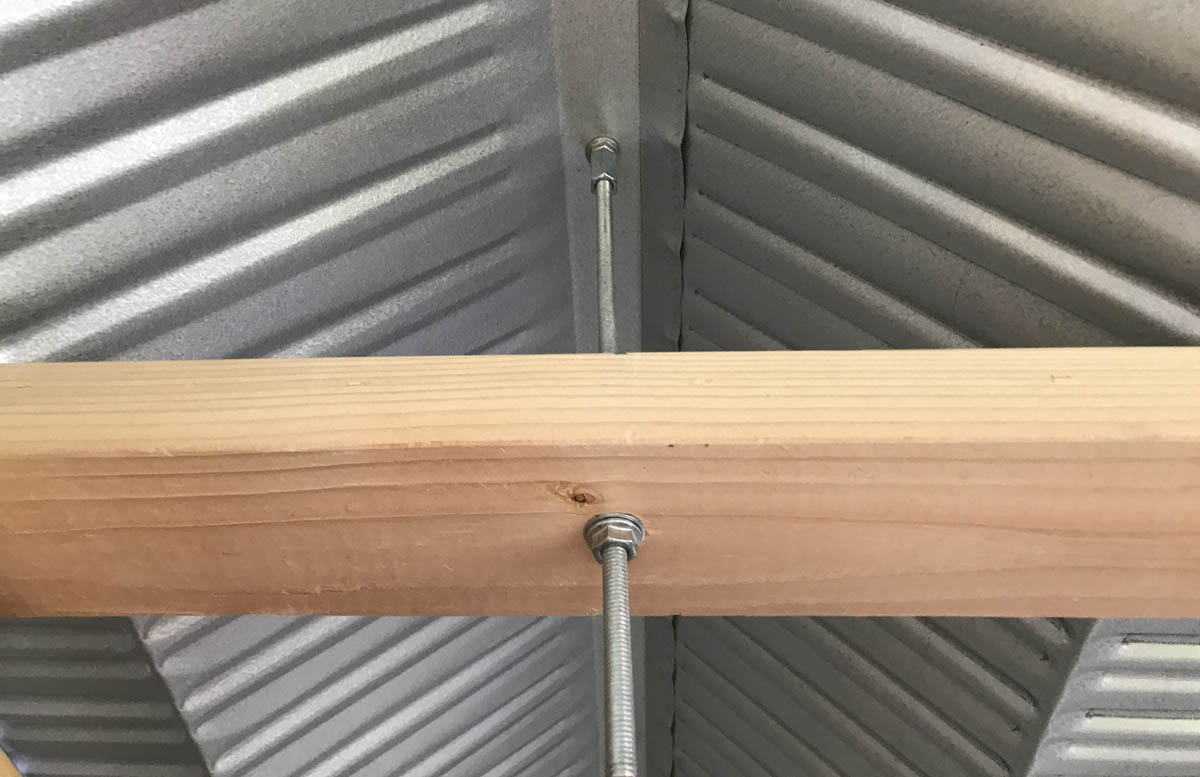
The 2×4 running down the length of the building is bolted to the shell, by using a coupling nut tightened onto the existing building bolt, and then screwing in a threaded rod that extends through the 2×4. Then a washer and additional bolt hold it in place. This is how we will attach our ceiling framing, and it’s also how we bolted the spacer bar to the building in the workshop photos above.
Plumbing Rough-in
The plumbing in our little building is pretty limited, being that we just have a toilet and a sink. The more complicated part is already installed: the pressure tank that is connected to the cistern and pump.
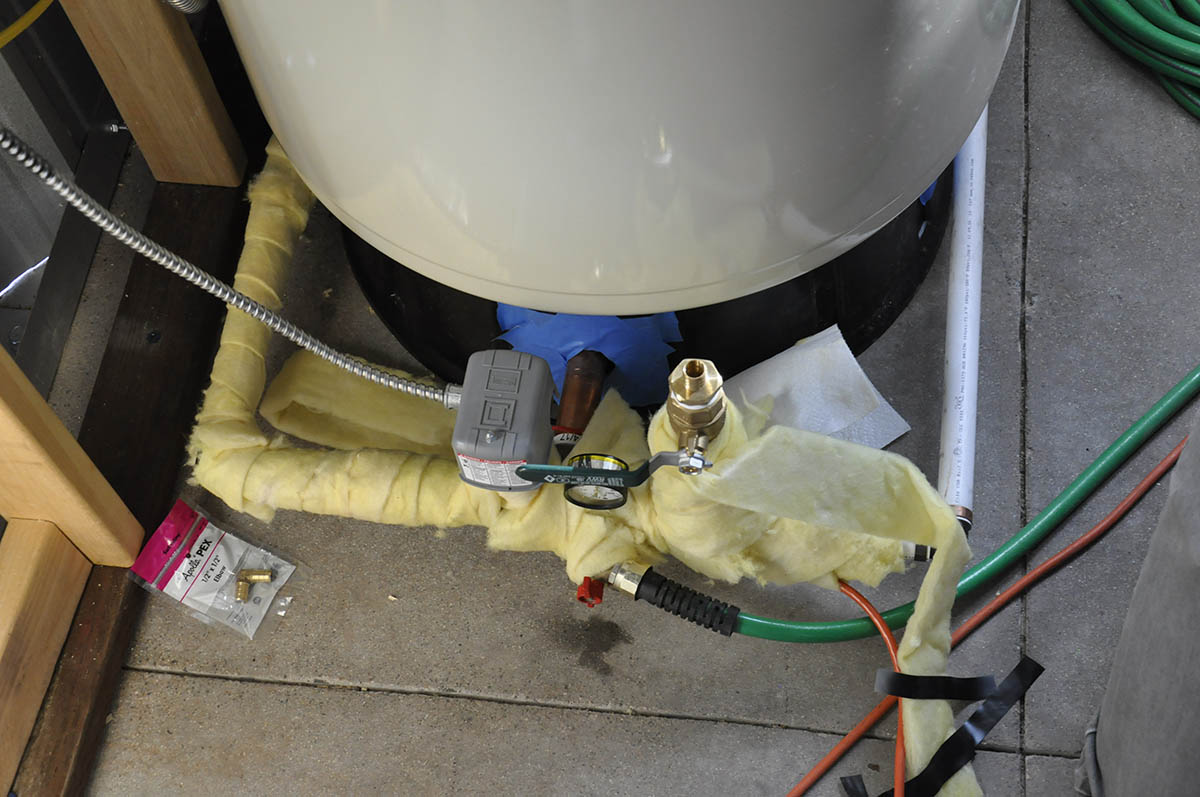
In the photo below, the insulation-wrapped pipe coming in on the left is the line in from the pump. It feeds into the tank, which has an air bladder that keeps it under pressure. The little gray box with the electrical conduit connecting to it is the pressure switch. When the pressure in the tank drops below 40 psi, the switch activates the pump, refilling the tank and bringing it back up to about 60 psi. The brass connector to the right of the gray box is where our sink and toilet supply lines will connect. The white plastic pipe on the right side of the tank, which is shut off for now, is the outbound line that will feed our future buildings on the property. It goes down through the slab and out into the trench that I wrote about last summer in this post.
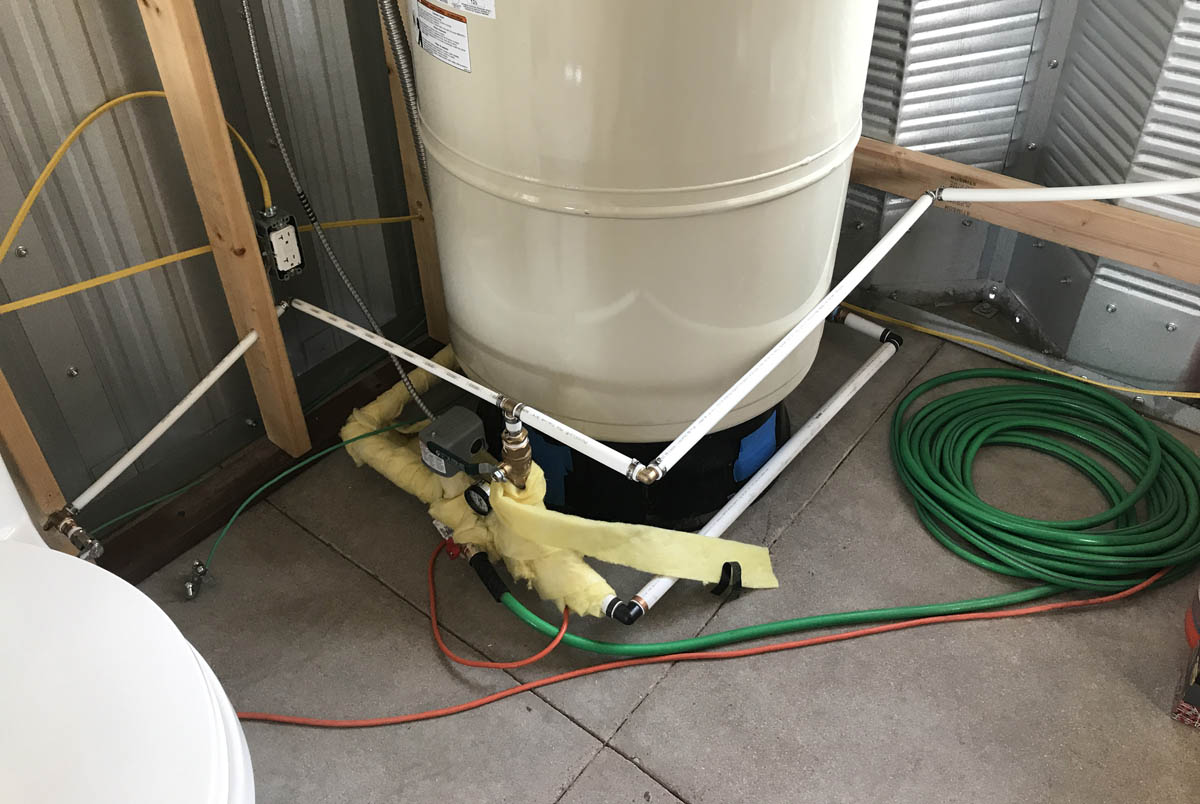
The big plumbing task on this trip was to connect the toilet and sink lines to the brass connector.
In the end it wasn’t that hard to put it all together, but it was one of those things that we endlessly discussed…because there are some things that we just endlessly discuss as we go. So now the branch to the left in the photo below goes over to the toilet, and the line to the right feeds our future sink.
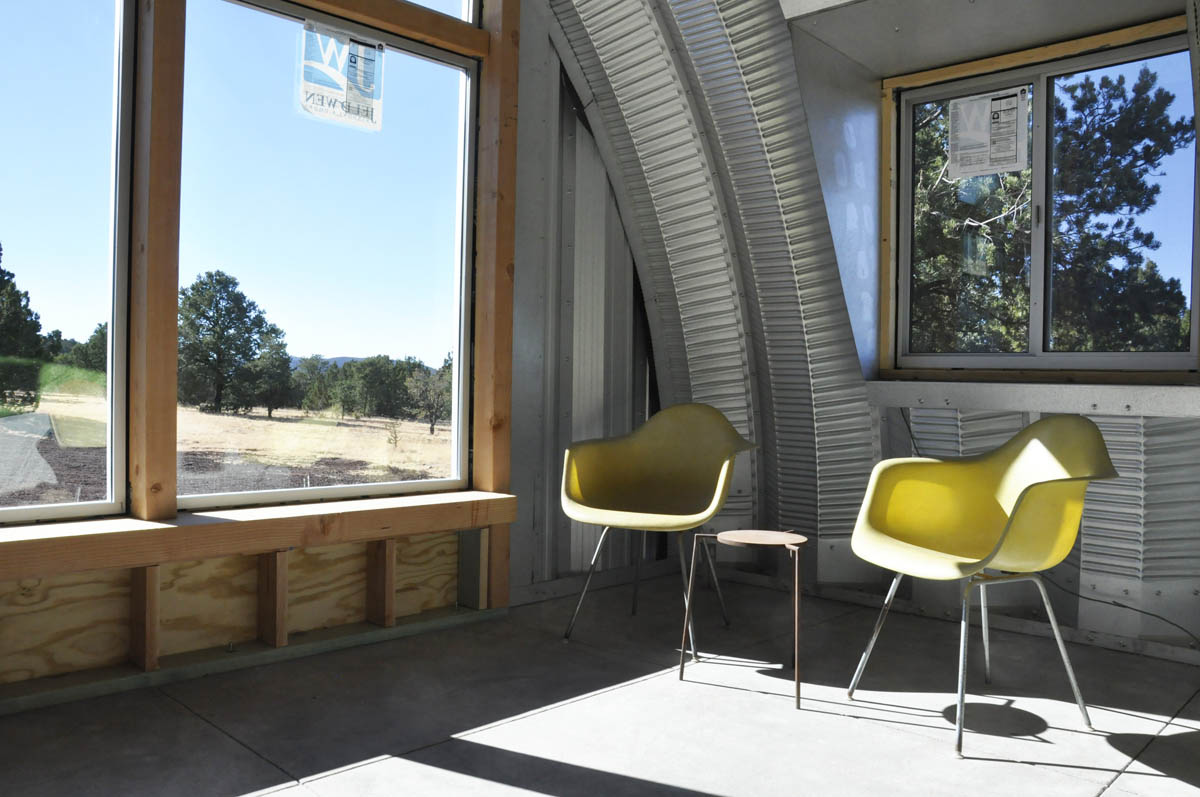
Speaking of our future sink, we’re really excited about our giant new utility sink. It’s YUGE! We found it on Amazon and we’re installing it on our next trip. At 40″ wide it will fit perfectly in the space at the window. Here it is (affiliate link) on Amazon:

We also found a simple, cute mini-tank electric water heater that’s will fit under the sink. Here it is (also an affiliate link) on Amazon:
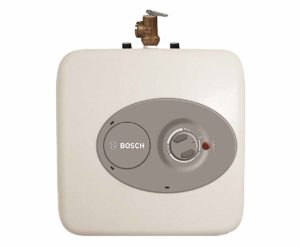
We’re still somewhat-roughing-it when we go over to the property, and it’s winter now! We have an electric blanket but it’s going to be down in the 20’s at night, and having some hot water at the ready is going to be positively luxurious.
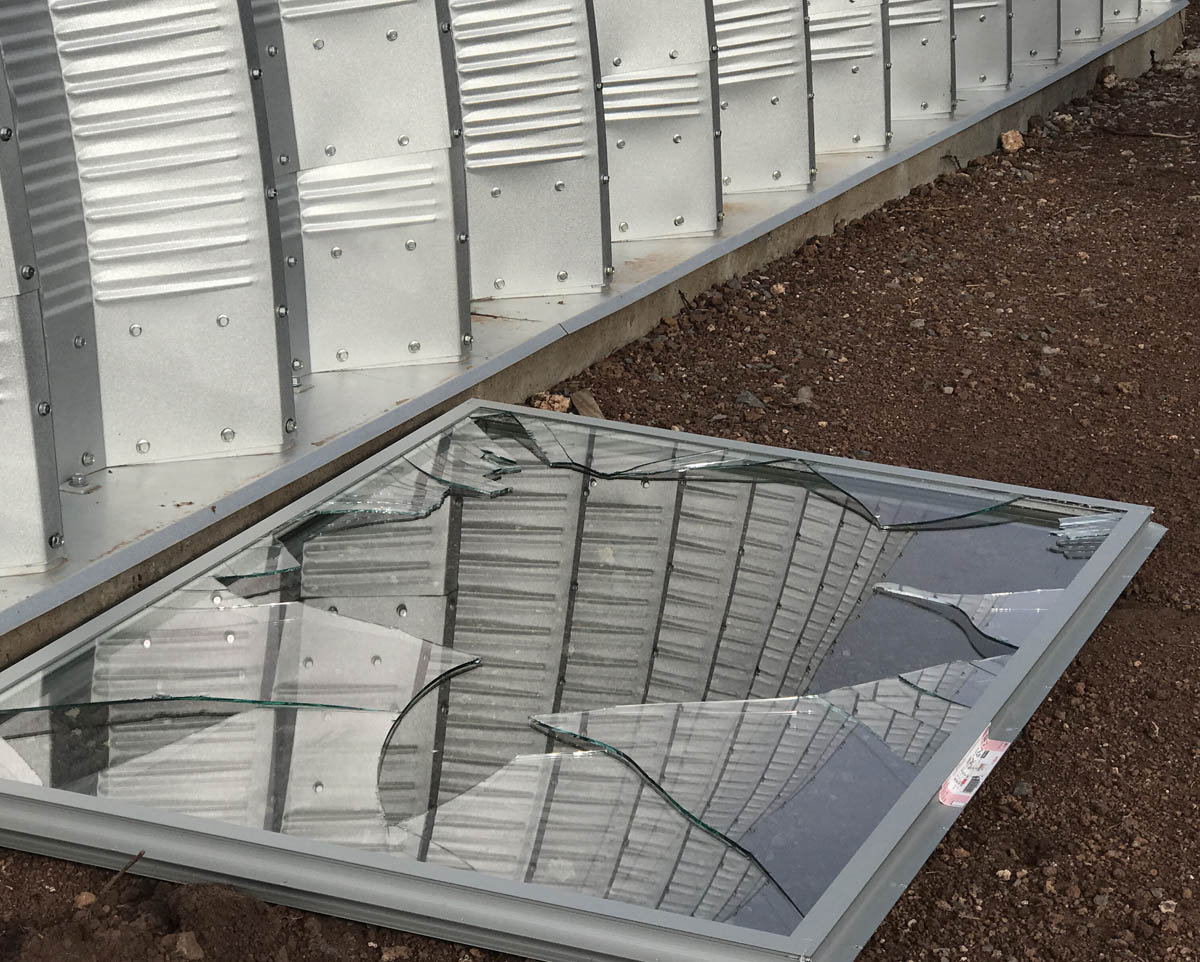
Headquarters Window
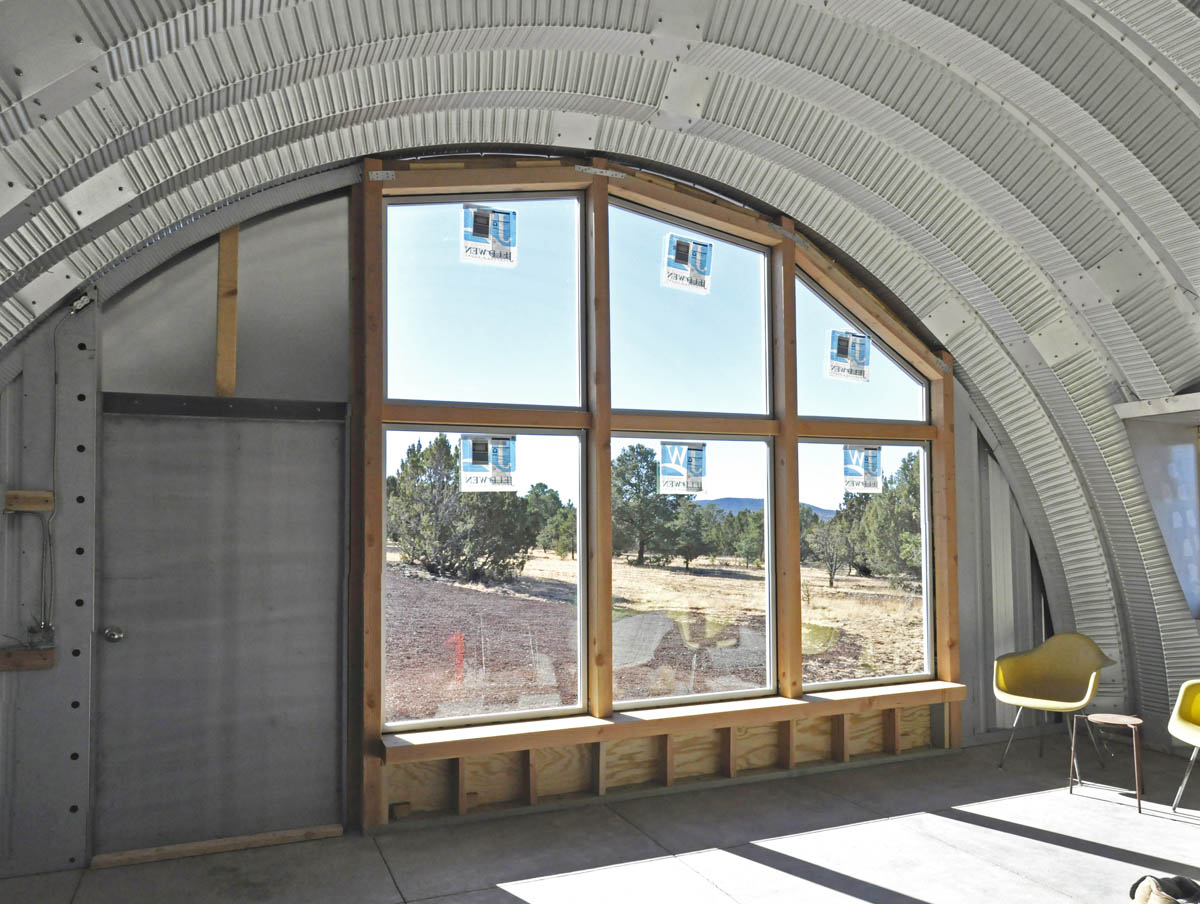
The most exciting thing on this trip had to be the window. After our ordeal with the broken window (read all about it here and here if you’re just following along for the first time) it felt great to get the replacement window installed and haul the broken one to the dump.
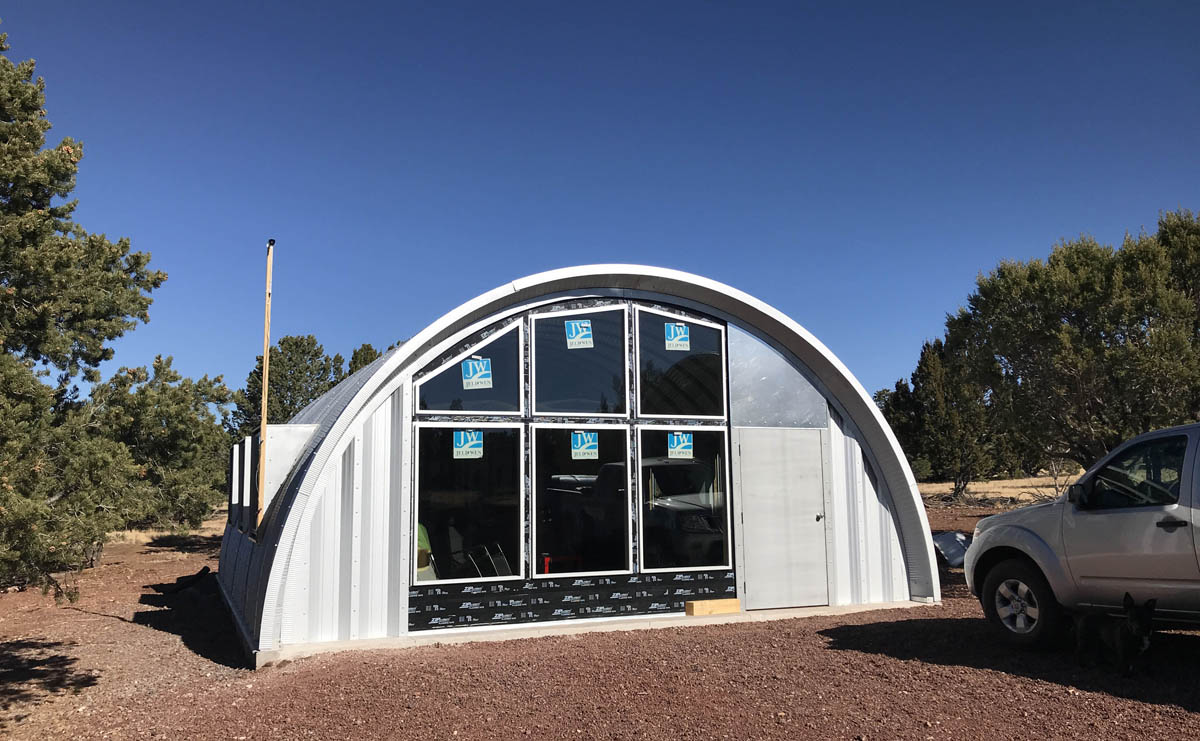
Now we can enjoy our window wall in all its glory! The next big window milestone will be to get past our next inspection so we can remove the giant stickers.
We also got more of the flashing and waterproofing done on the end wall. That part is almost done and soon we will be able to put our finishing wood cladding on.
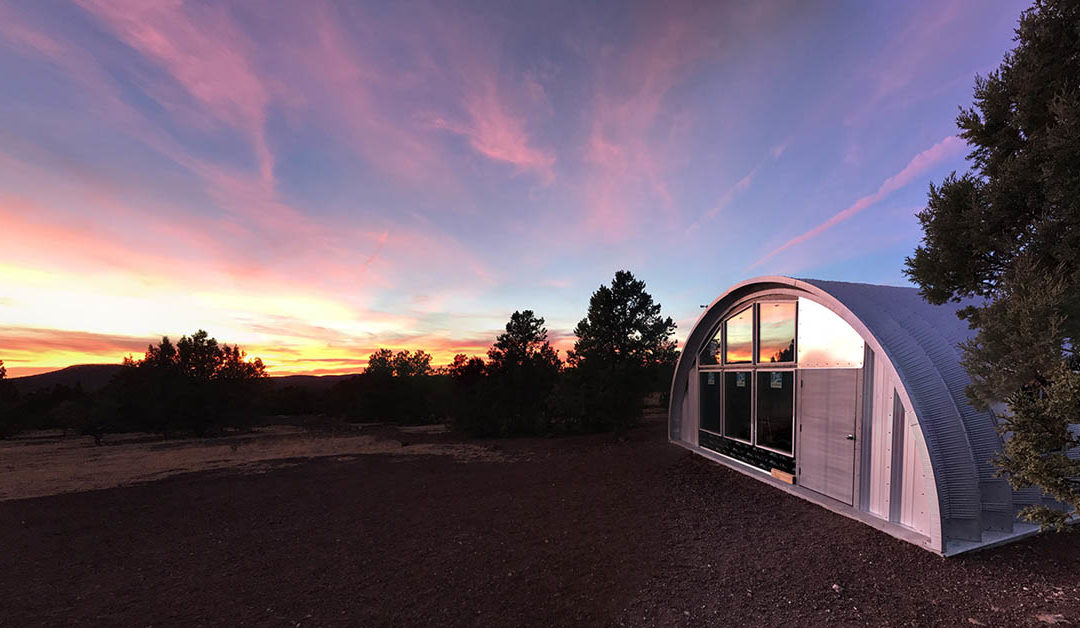
The Craziest Pink Sunset
It’s not hyperbole to say that this was the pinkest craziest sunset we’ve seen yet. Those Arizona skies are just unbelievable. There was one last summer that rivaled this one, but it was more orange and had more dramatic clouds.

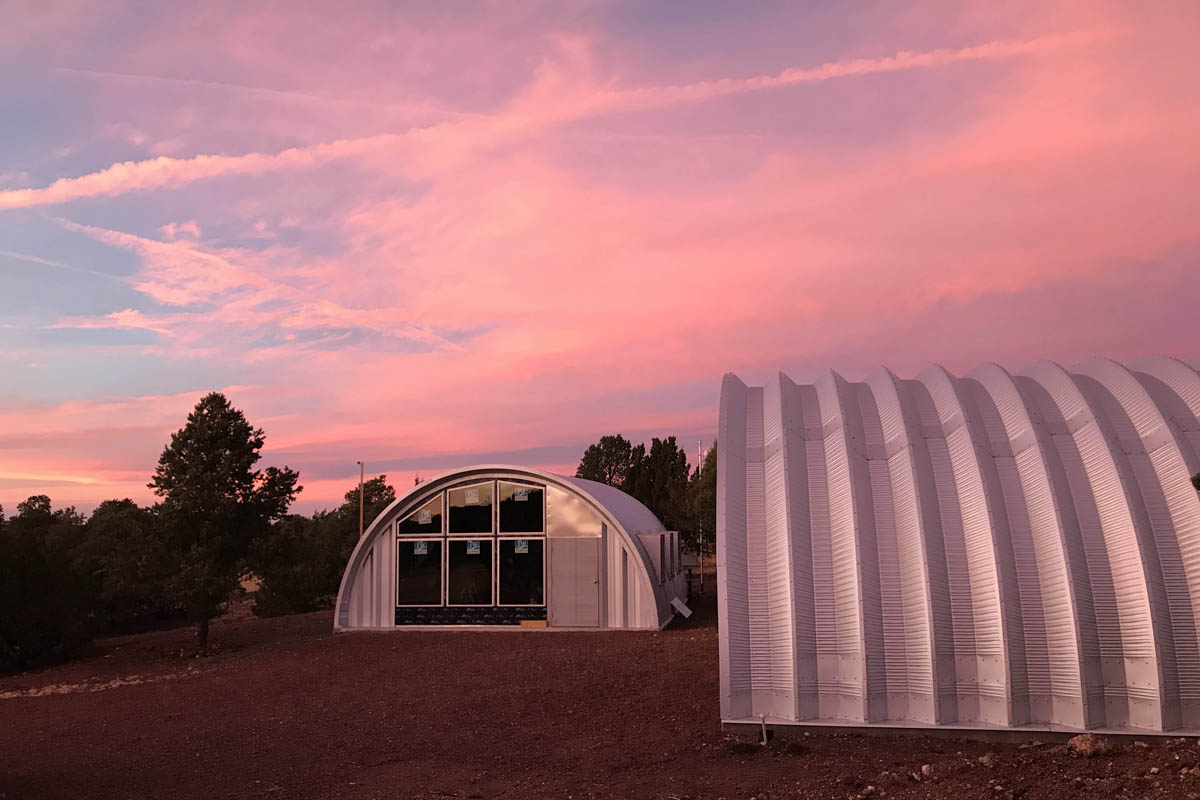
This one was just PINK PINK PINK everywhere you looked!
Curious about Quonsets? Ready to learn more about these bizarre, amazing, shiny, round, prefab structures? Drop your info below and I’ll start you off on my email tutorial series. Looking to build an inexpensive but beautiful home debt-free? Considering going off-grid? Or are you just tired of the same old same old and want something unique and beautiful? A Quonset House might be the answer for you.
Follow us on Instagram and Facebook. We also have a private Facebook group called DIY Quonset Dwellers, where we share discussion, design, and construction tips with others who are interested in building their own Quonset hut house. With over 6,000 members and counting, the Facebook group has grown into an amazing resource all of its own! Learn more and request to join the Facebook group here.
I did the electrical identical to what you are showing here. I wanted to put in the big windows but I was concerned about security.
What has to be done to put a window in the metal part of the building??
I have this topic in my relatively new FAQ section. Check out https://www.clevermoderns.com/faq and look for the topic on side windows. Basically you just order it when you order your building or contact the manufacturer and they will tell you if your building can structurally handle the retrofit. Cutting the hole significantly weakens the structure and that has to be compensated for, structurally.
I live in cornwall England whats my avaliabity ?
I think you misunderstand – I don’t sell buildings.