Our Workshop Hut: Design Evolution
Like the HQ Hut, this building went through a big of design evolution as we put it together. The ideas just kept flowing and we went for it!
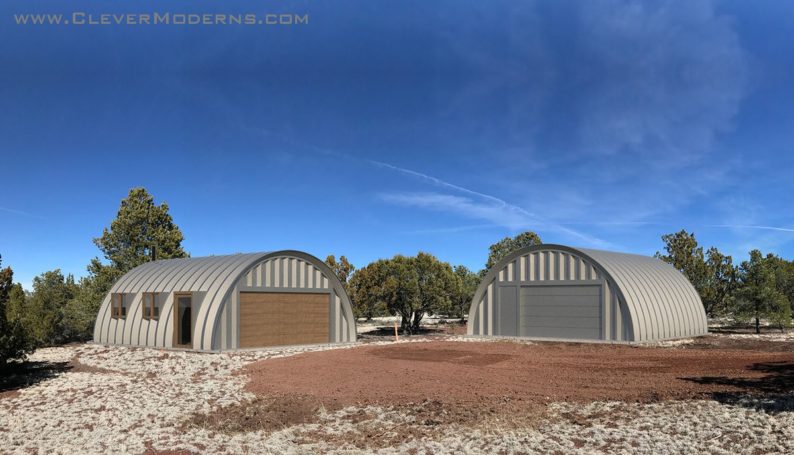
The original plan for both of our first two huts was to put in a regular garage door for each. The rendering below is one of my early versions of what the first two huts could look like, and we just had “regular old” garage doors on them both. Headquarters Hut on the left, Workshop Hut on the right. (This rendering also makes an appearance in my related post on the HQ Hut end wall design – here.)
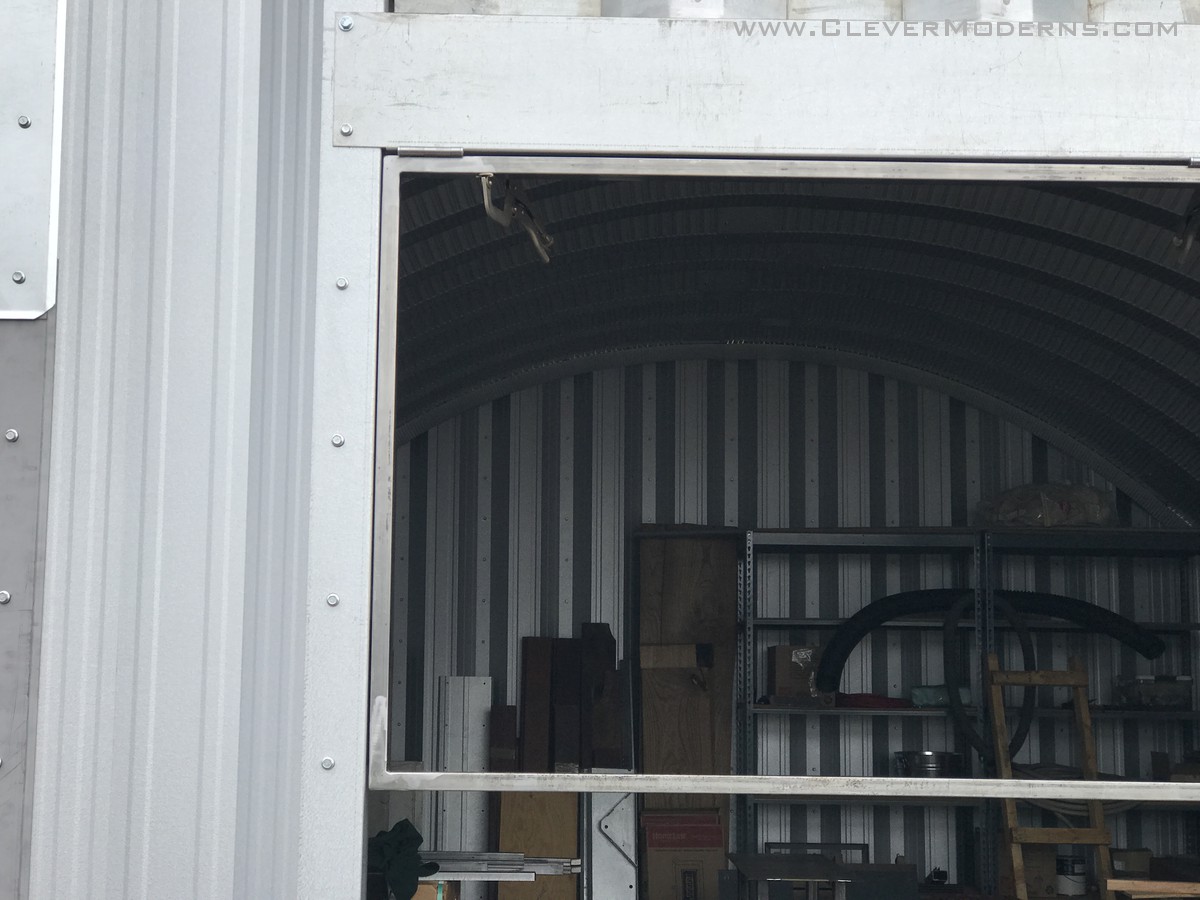
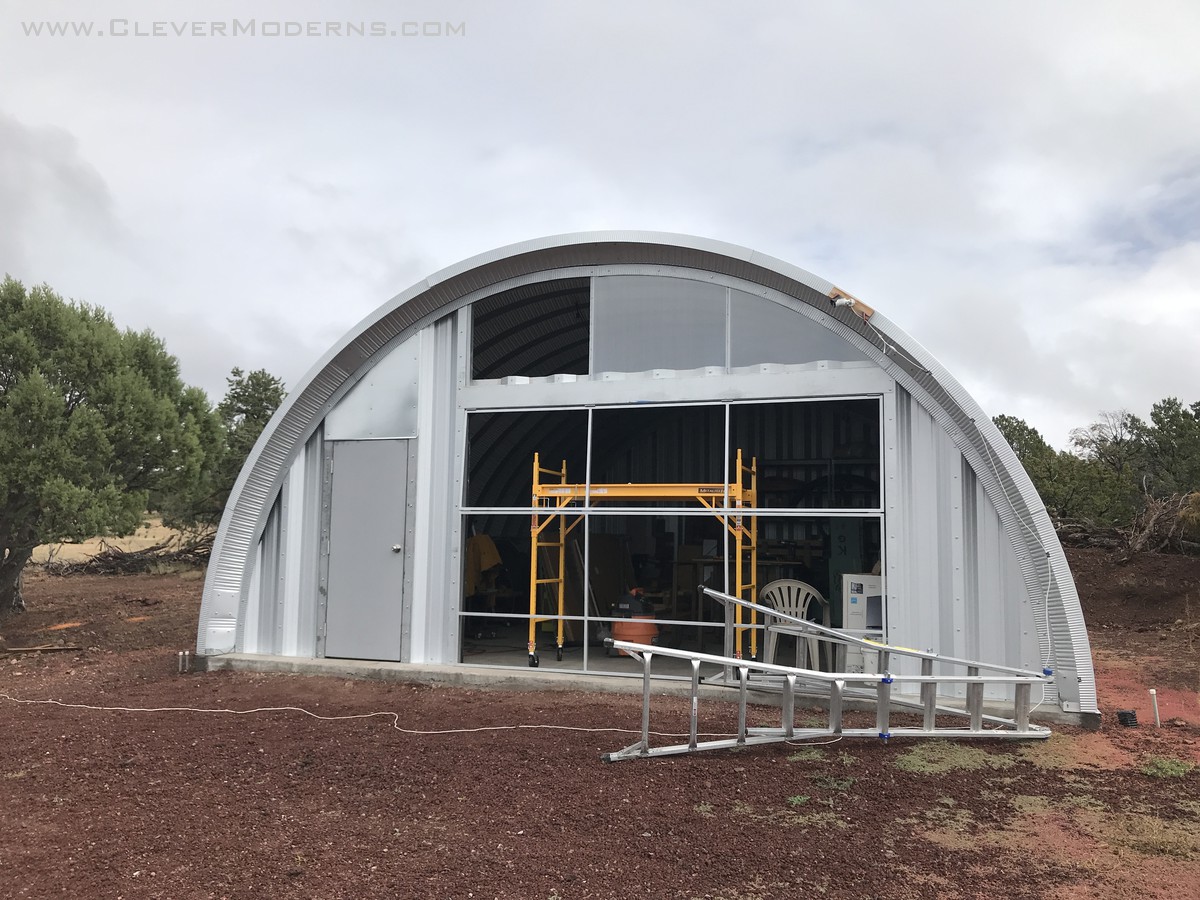
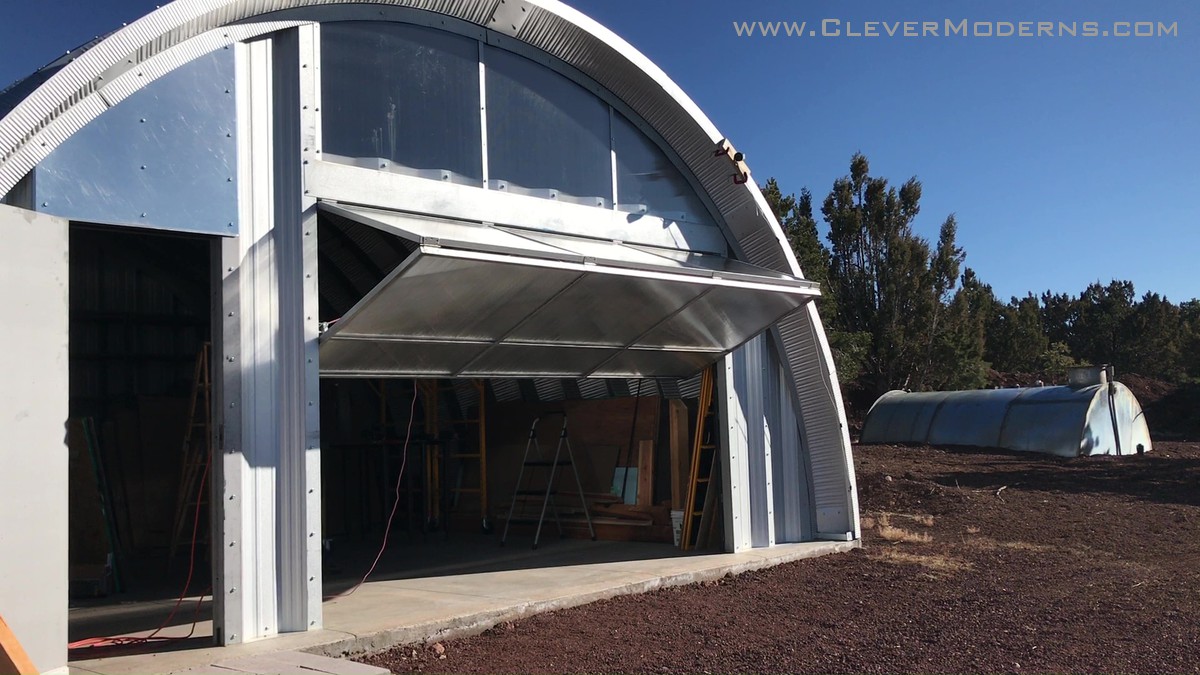
So there we were putting together our huts. Then all of a sudden we had this massive EUREKA moment when we got to this point with our Workshop Hut:
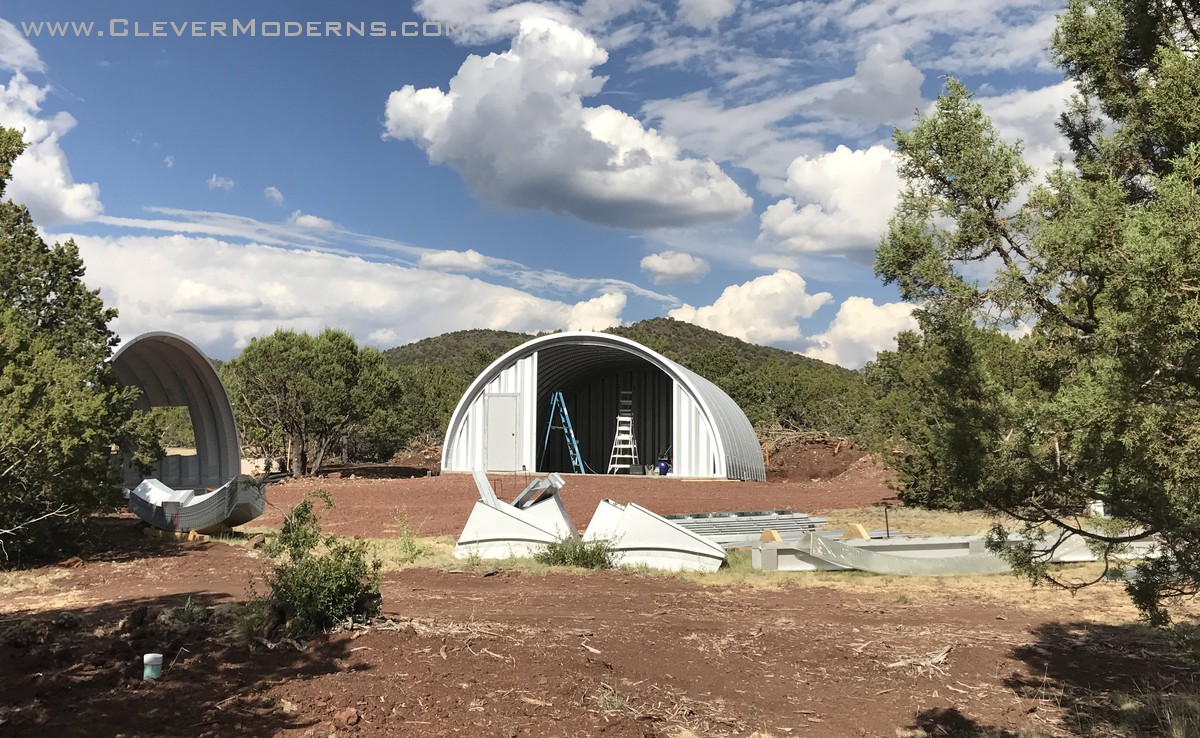
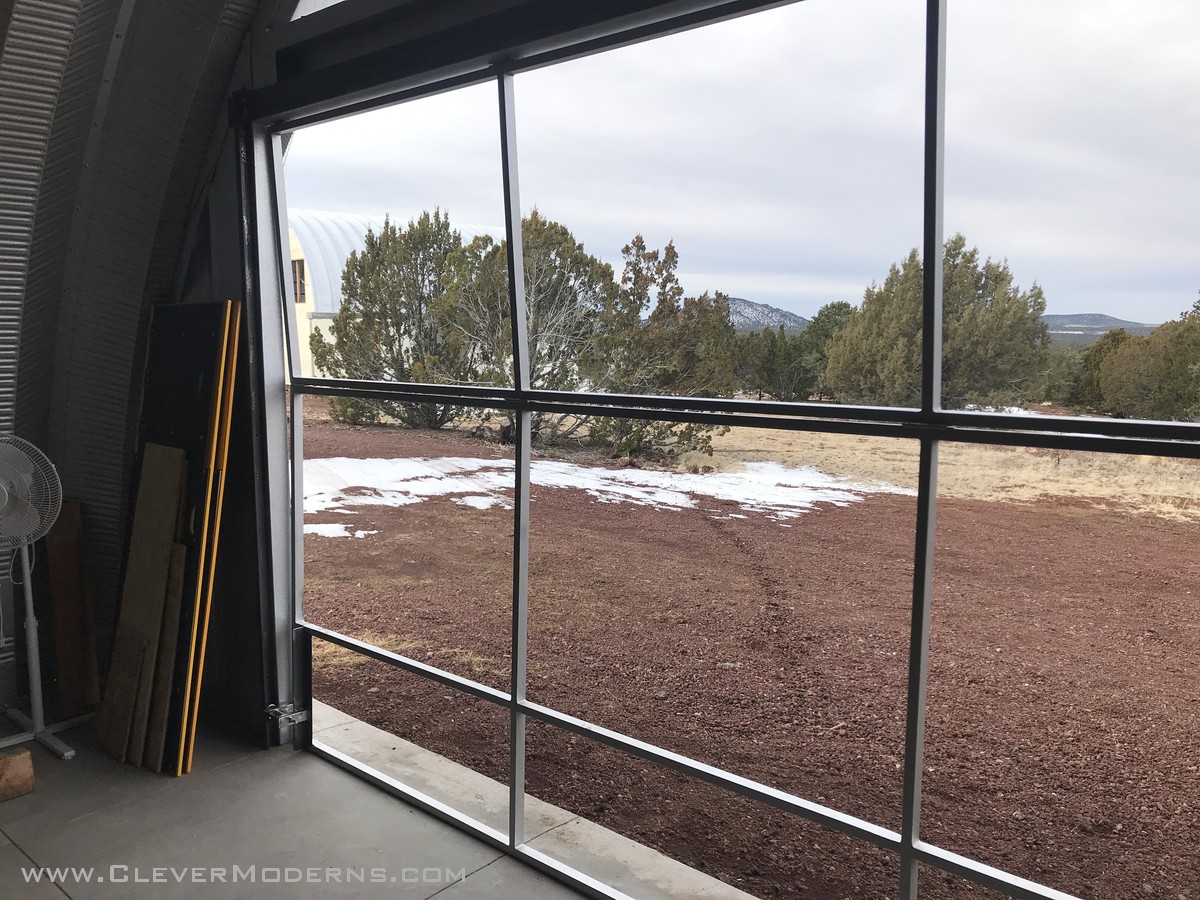
When we saw it like that, with the partial steel end wall built, but before the big garage door header went in, we said to ourselves, WAIT! STOP!
It just looked too cool like that to mess it up with a regular garage door. That asymmetrical opening going all the way from the slab to the arch, with the wider metal panel section to the left, and narrower metal panel to the right, just seemed to have perfect proportions. It probably helps that the opening itself is 12′, and the building overall is 25′ wide. So if you measure from the inside edge of the arch, the opening is pretty close to half the width. The section to the right is about 4′ wide, and the left is about 8′ wide. So there is kind of a 2-3-1 proportion thing going on with it.
So, we set out to create a garage door that would live up to the amazing potential the Quonset hut was starting to reveal.
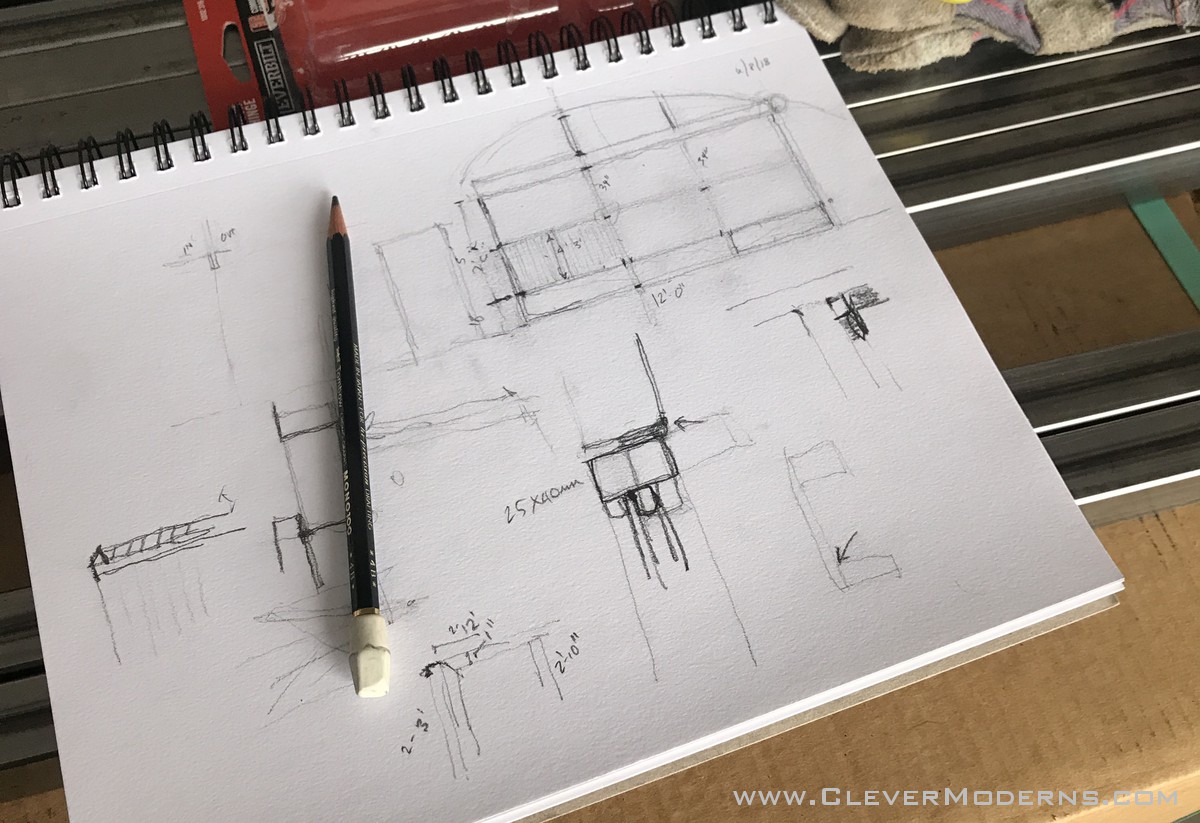
After a lot of sketching and deliberating, we decided to go for a hangar-style door.
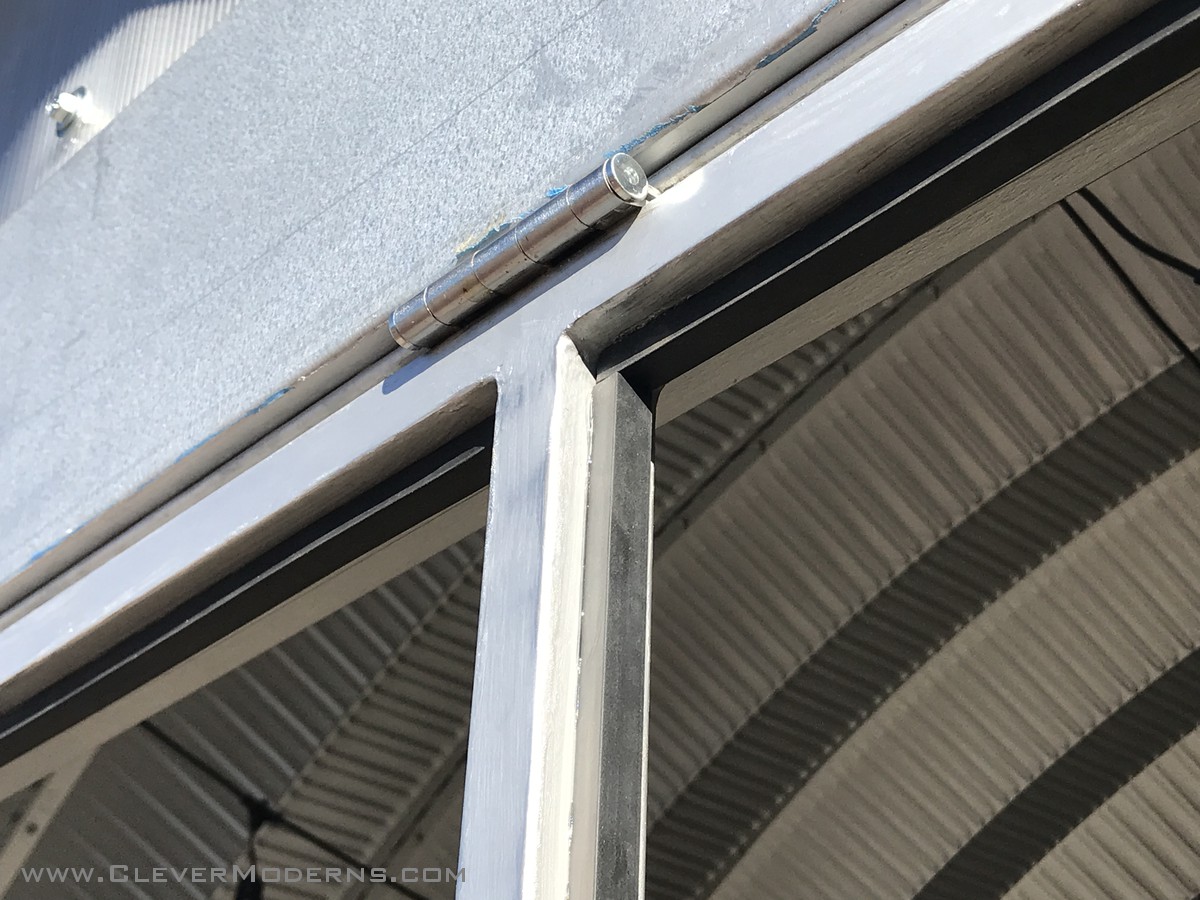
We did end up using the door header from SteelMaster that came with our building kit, but we reinforced it with an additional 3″ x 3″ x 1/4″ steel angle. We also added a vertical angle along each side, which helped support the horizontal angle, and also formed part of the track assembly.
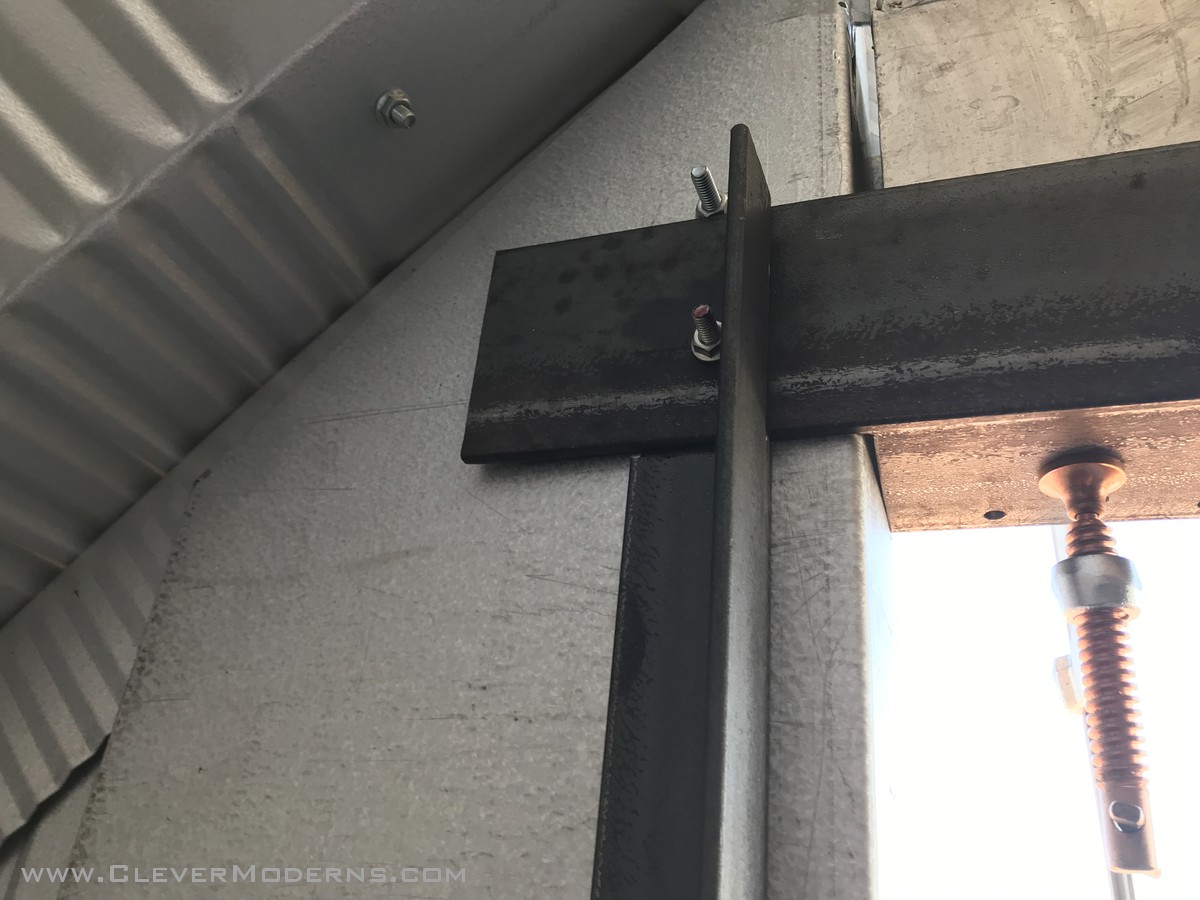
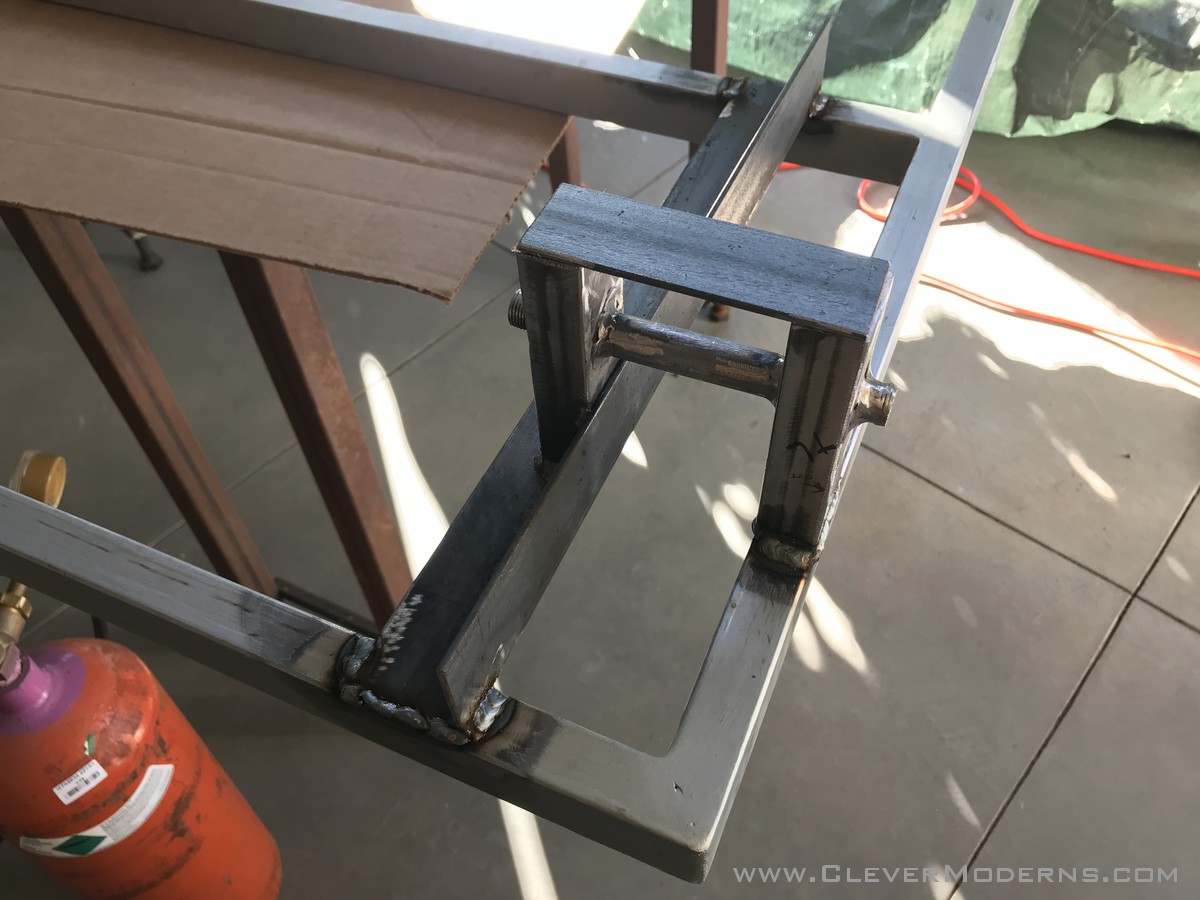
Then there was a lot of welding and fitting and welding and fitting and…
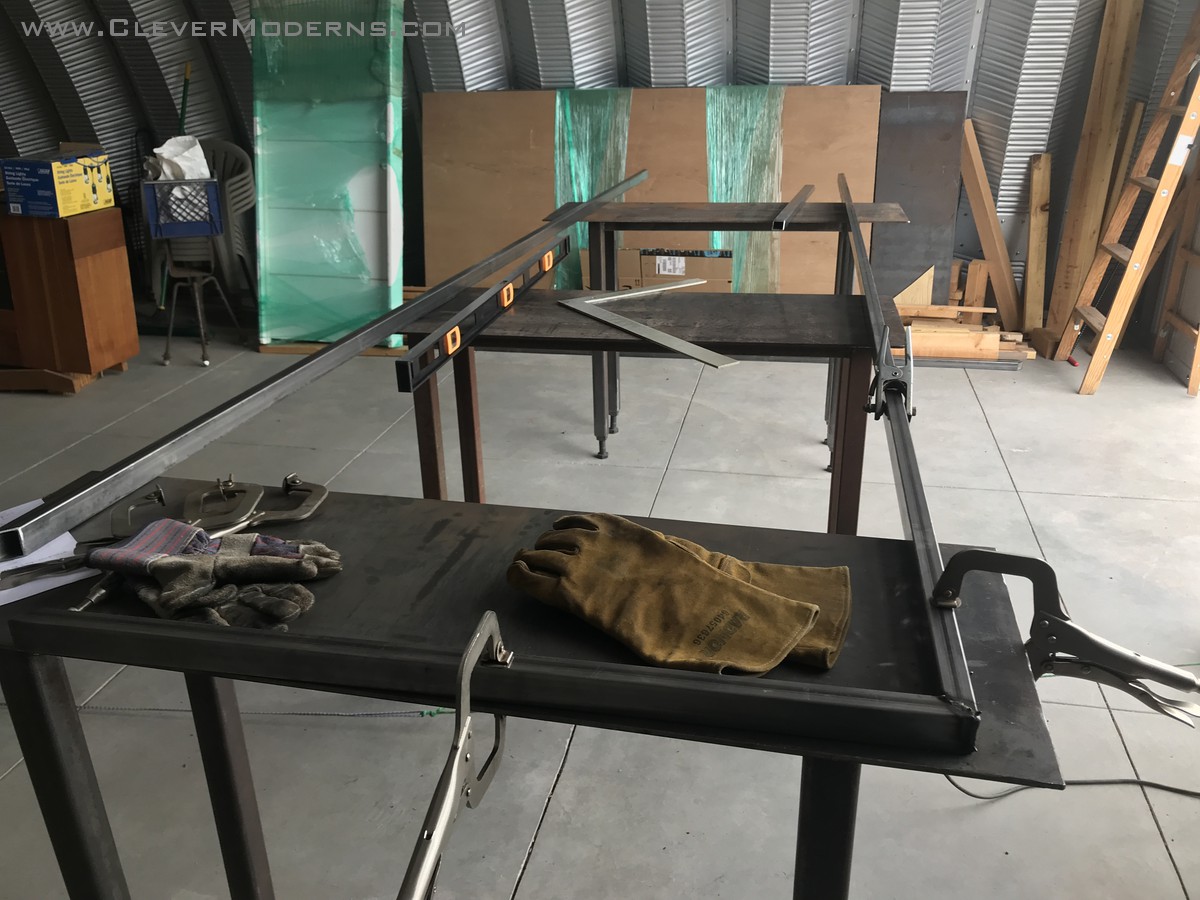
The assembly that holds the rollers that go up and down in the track is admittedly a little clumsy. If we ever made another door like this again, which doesn’t seem out of the question, we could easily improve on it.
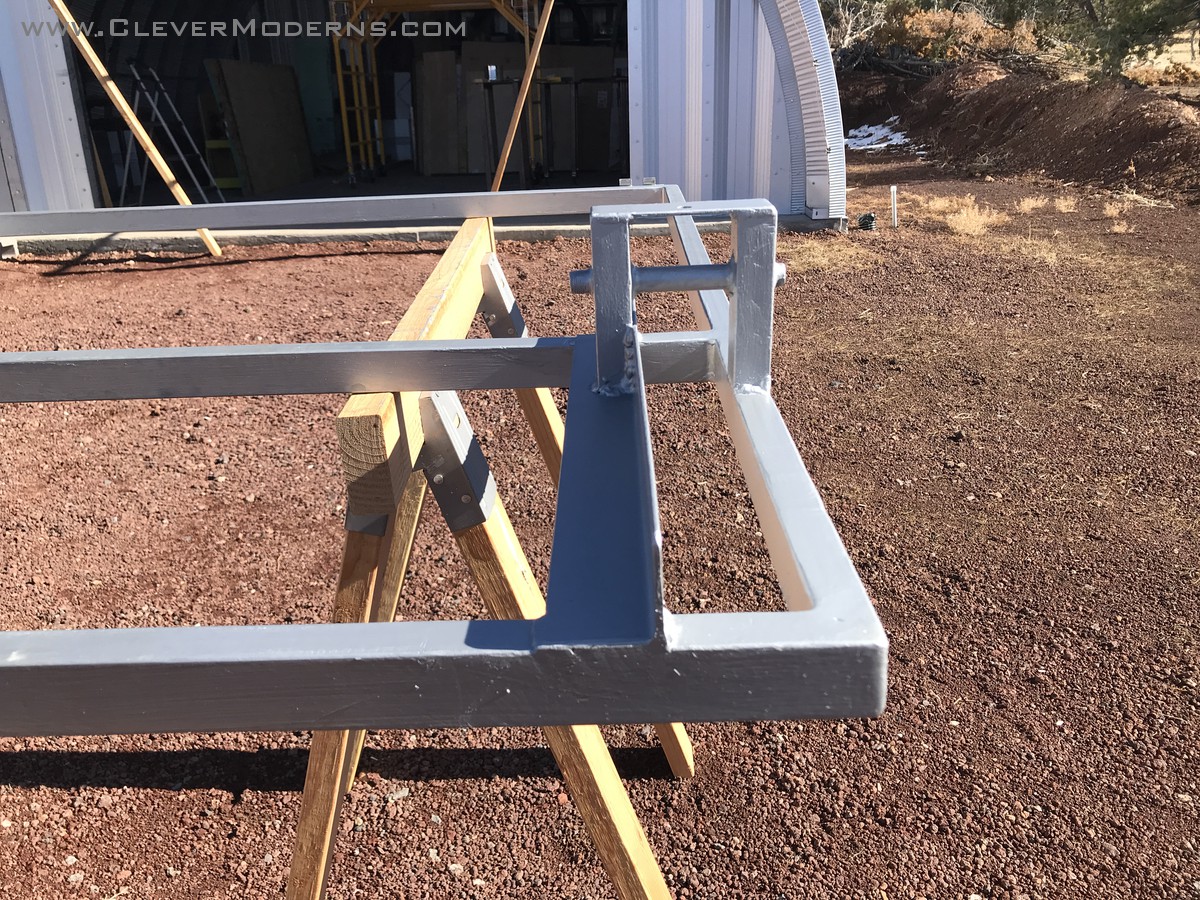

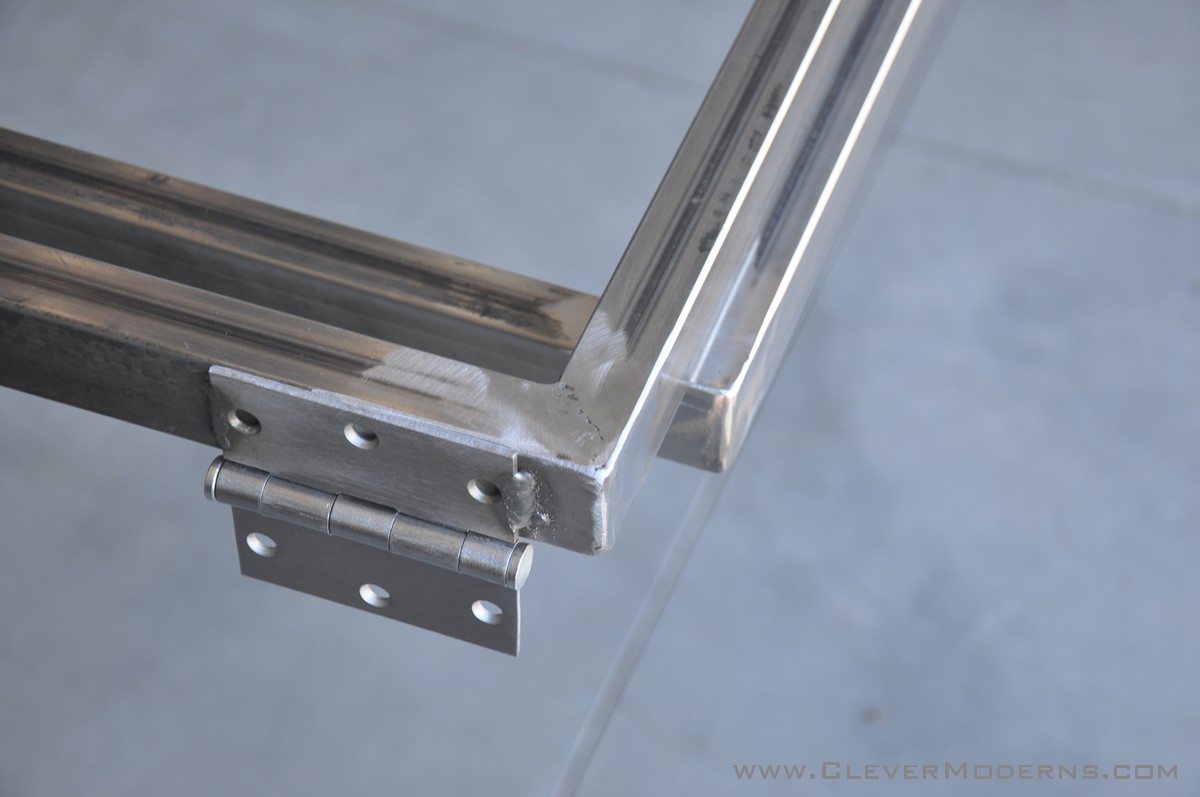
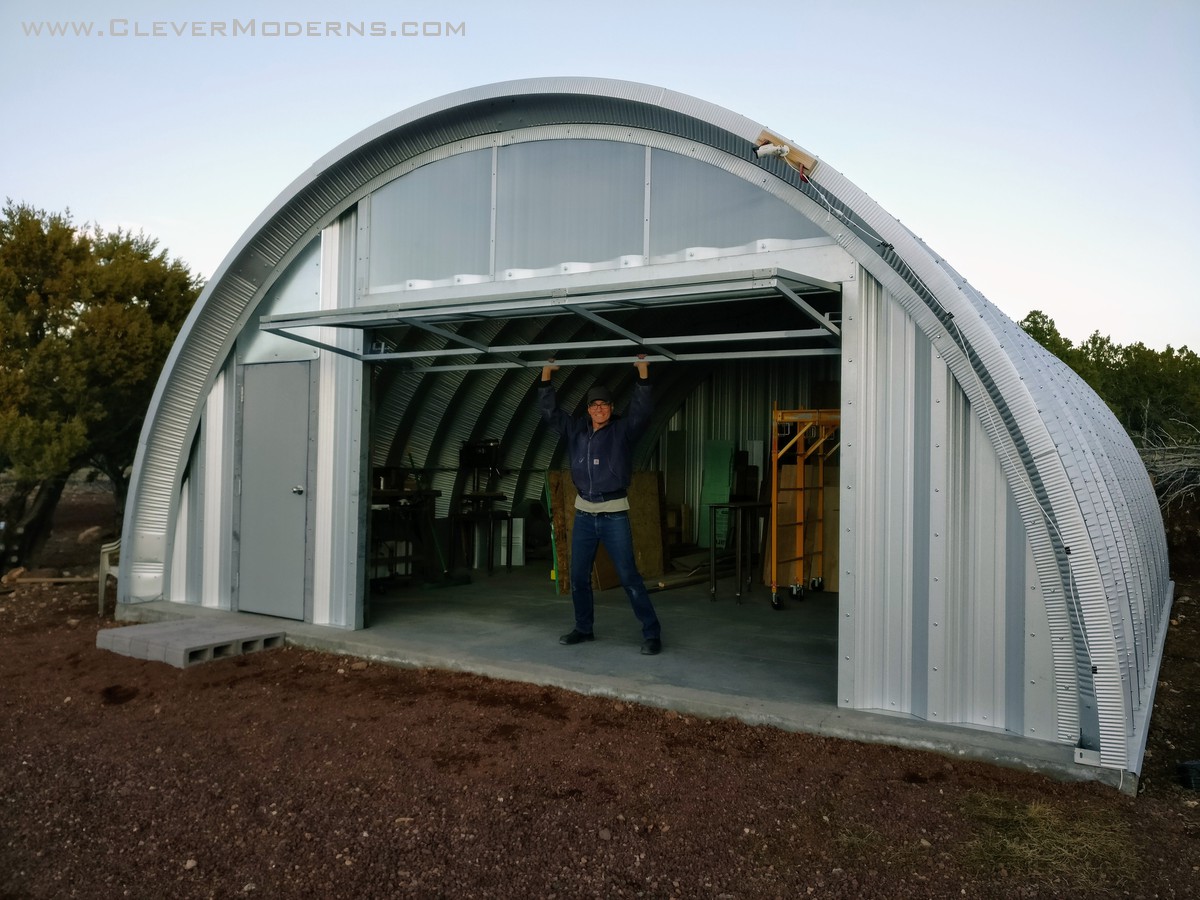
Finally we had the basic frame pieces all put together and operable and everything!
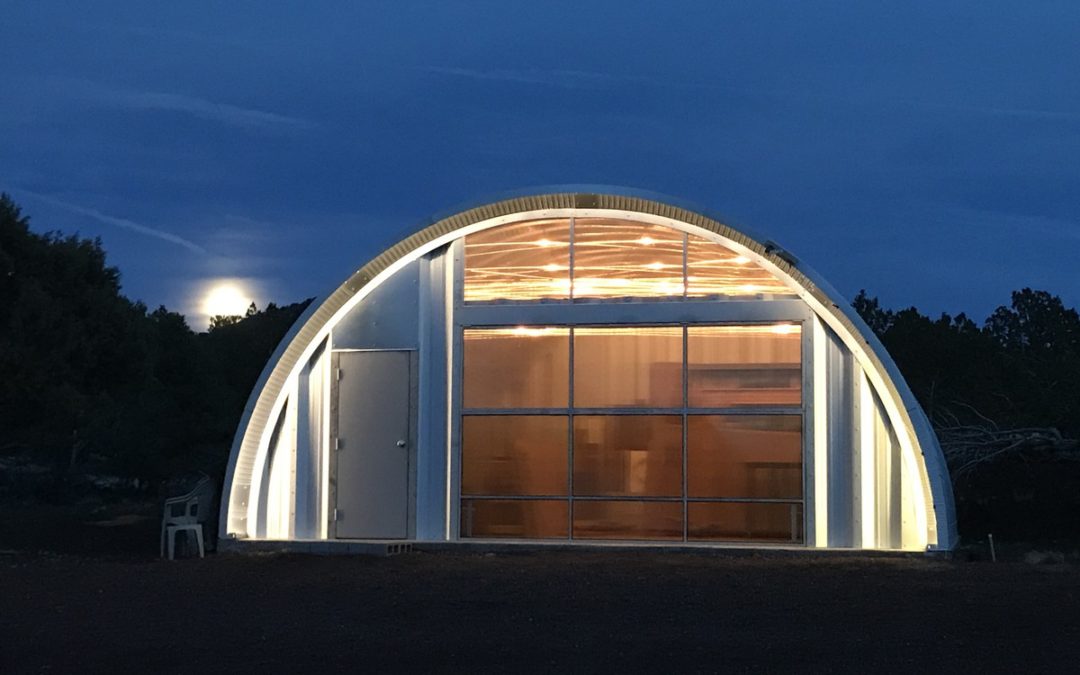
Glazing the Quonset End Wall and Hangar Door
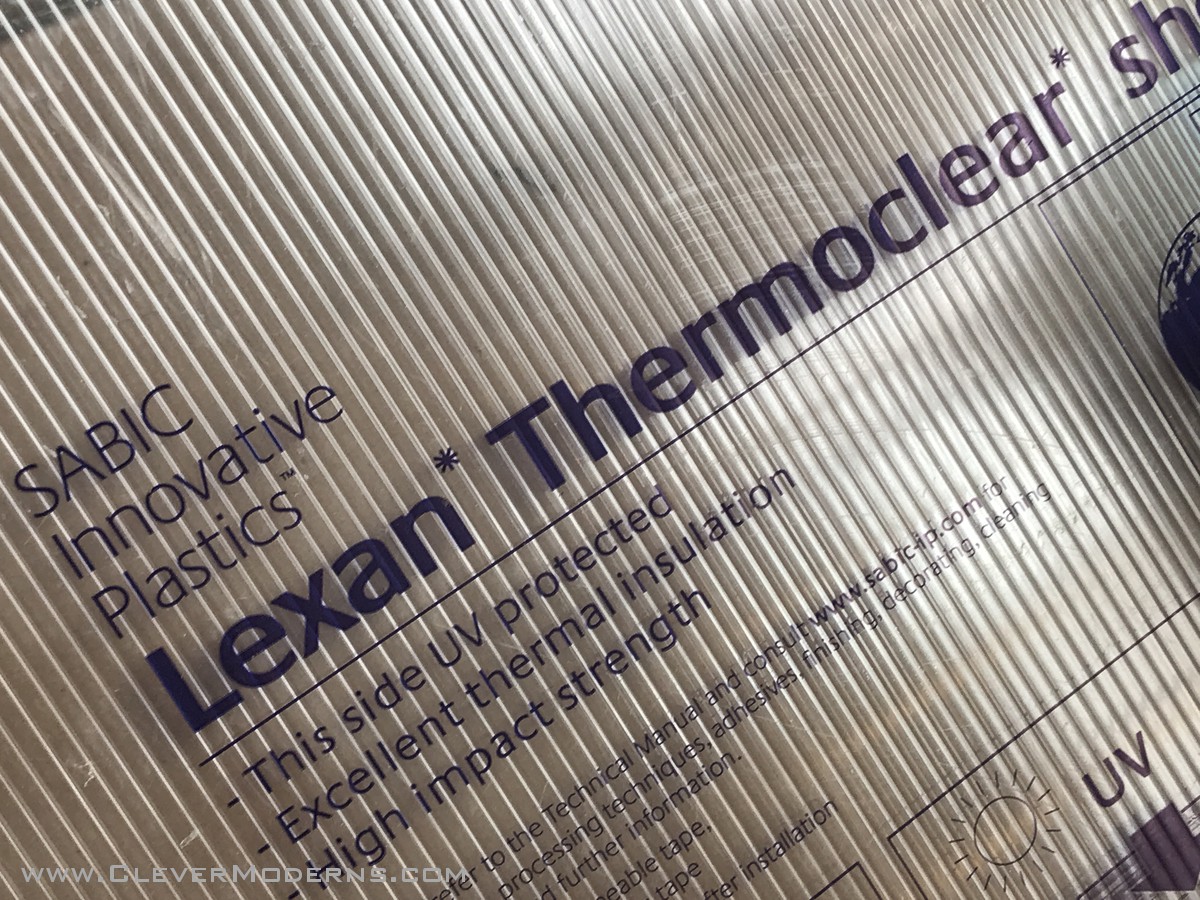
For the glazing, we used Lexan Thermoclear in its most basic 1/4″ thickness. Turns out you can order it from Home Depot.
Above the header (shown below) we opted to use the Lexan instead of the metal panels from SteelMaster. Since they serve no structural function in holding the building up, this was an easy swap to make.
To install the Lexan in the door itself, we used an industrial adhesive to mount neoprene strips in the openings, and then glue the Lexan panels in place.
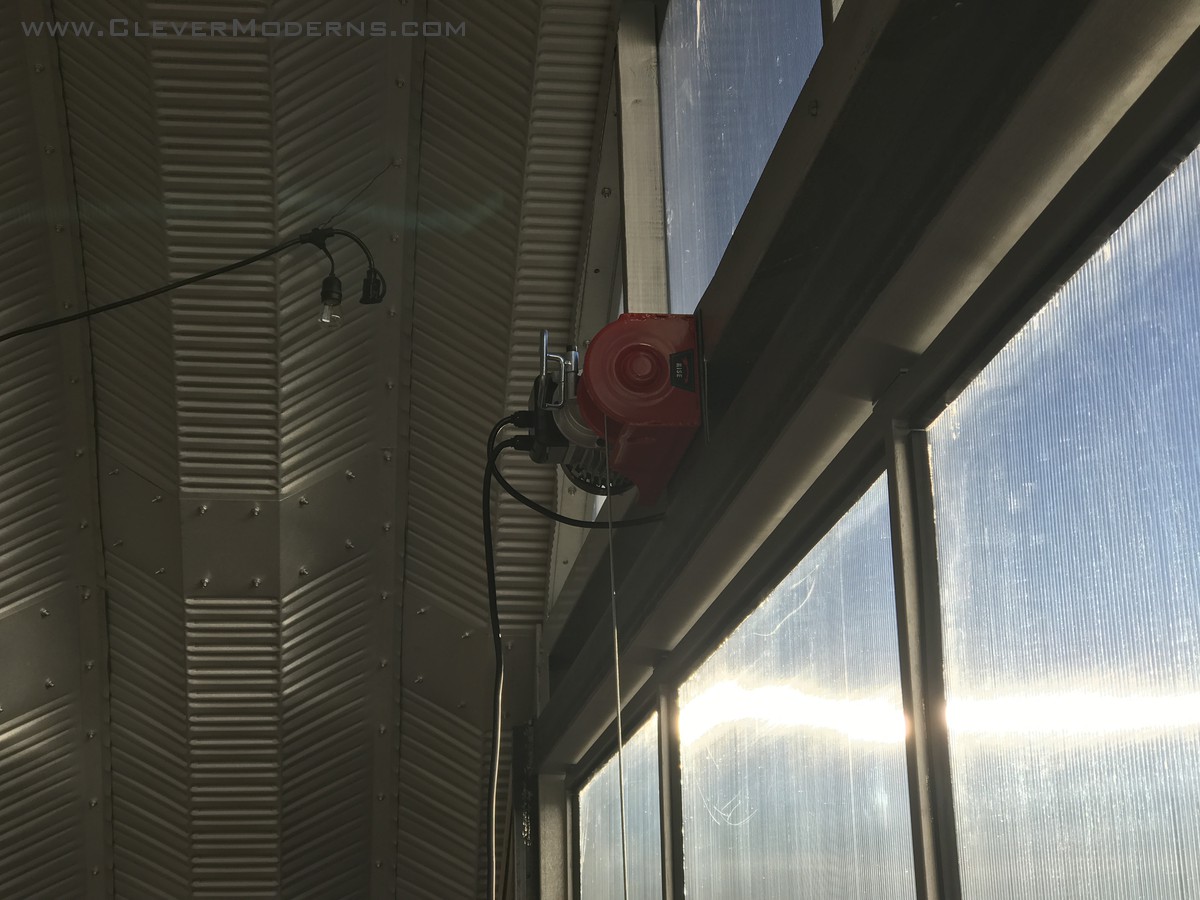
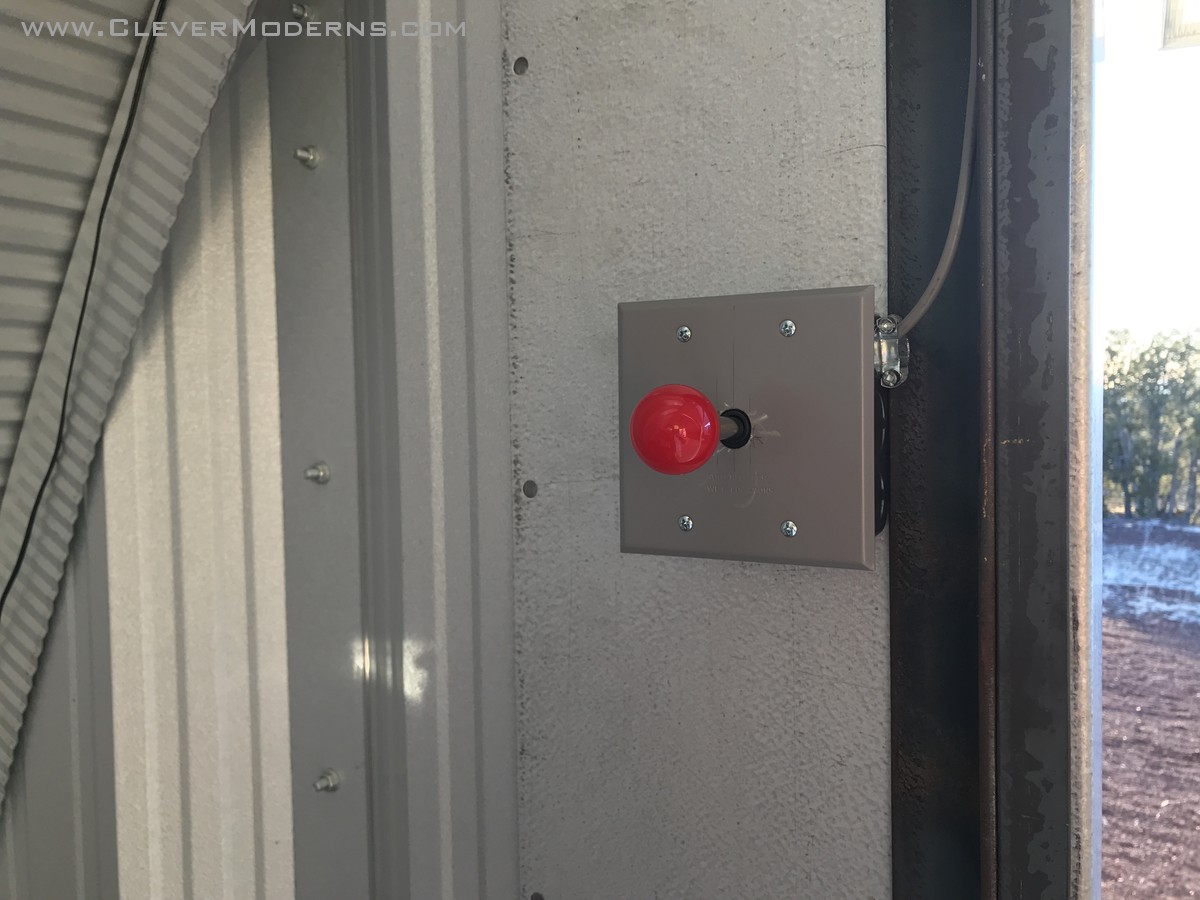
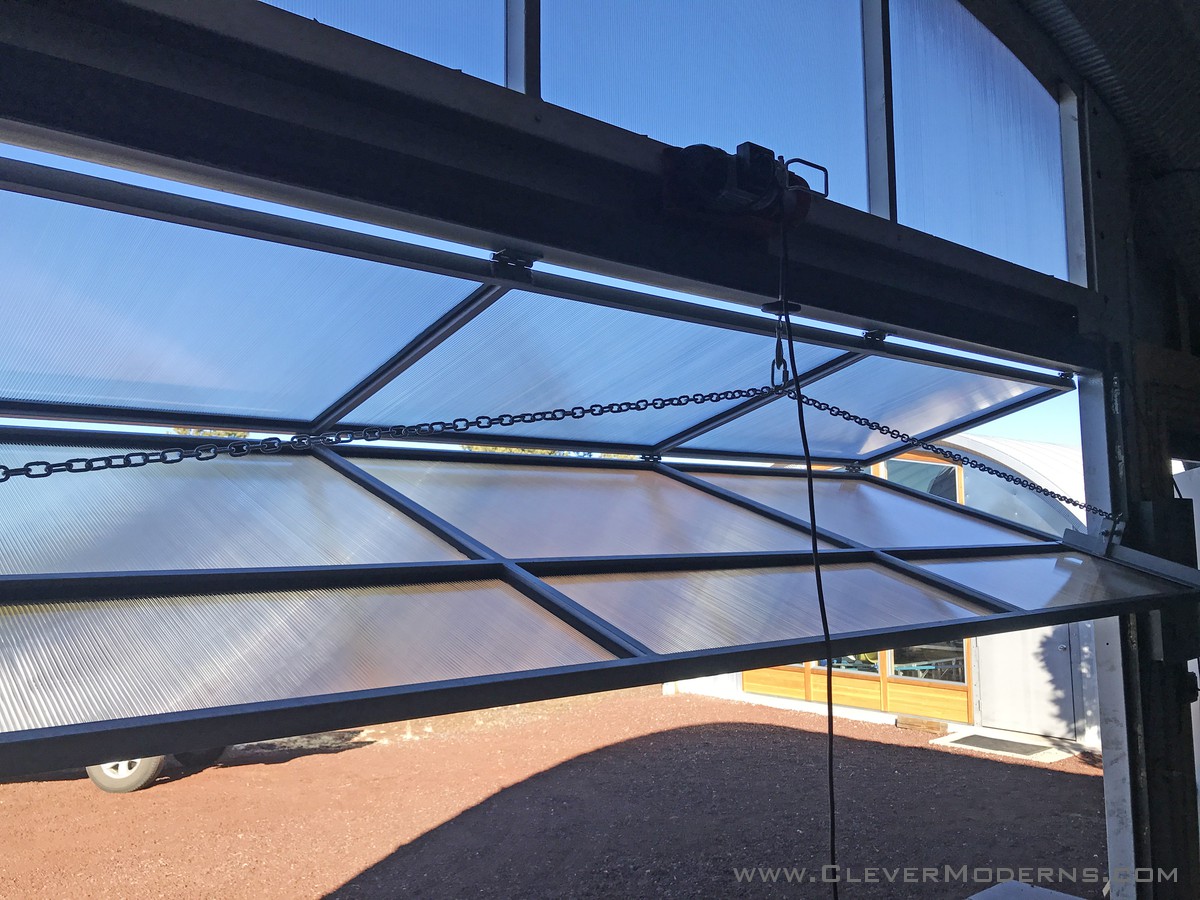
To raise the door, we got a hoist and mounted it on the header above the center of the door.
Just for fun, we ordered a video game joystick on Amazon.com and wired it so that when you push it up it raises the door, and pushing down on it lowers the door.
For the first experimental runs up and down with the hoist, we used a length of chain. It ended up having too much slack and play, and didn’t work so well. We replaced it with a steel tube.
And that’s our hangar door!

Curious about Quonsets? Ready to learn more about these bizarre, amazing, shiny, round, prefab structures? Drop your info below and I’ll start you off on my email tutorial series. Looking to build an inexpensive but beautiful home debt-free? Considering going off-grid? Or are you just tired of the same old same old and want something unique and beautiful? A Quonset House might be the answer for you.
Follow us on Instagram and Facebook. We also have a private Facebook group called DIY Quonset Dwellers, where we share discussion, design, and construction tips with others who are interested in building their own Quonset hut house. With over 6,000 members and counting, the Facebook group has grown into an amazing resource all of its own! Learn more and request to join the Facebook group here.