It’s one thing to draw something up, even something that takes a lot of thought, and hand it over to a General Contractor to build; it’s quite another to design something complicated and intricate and have to figure out every single part of it because you’re building it yourself. You learn so much along the way when you build something yourself.
This window wall was a major learning experience for us. It was also great proof that you don’t have to fail to learn lessons. Sometimes, the Gods smile down on you and everything goes together smoothly and you learn a ton in the process!
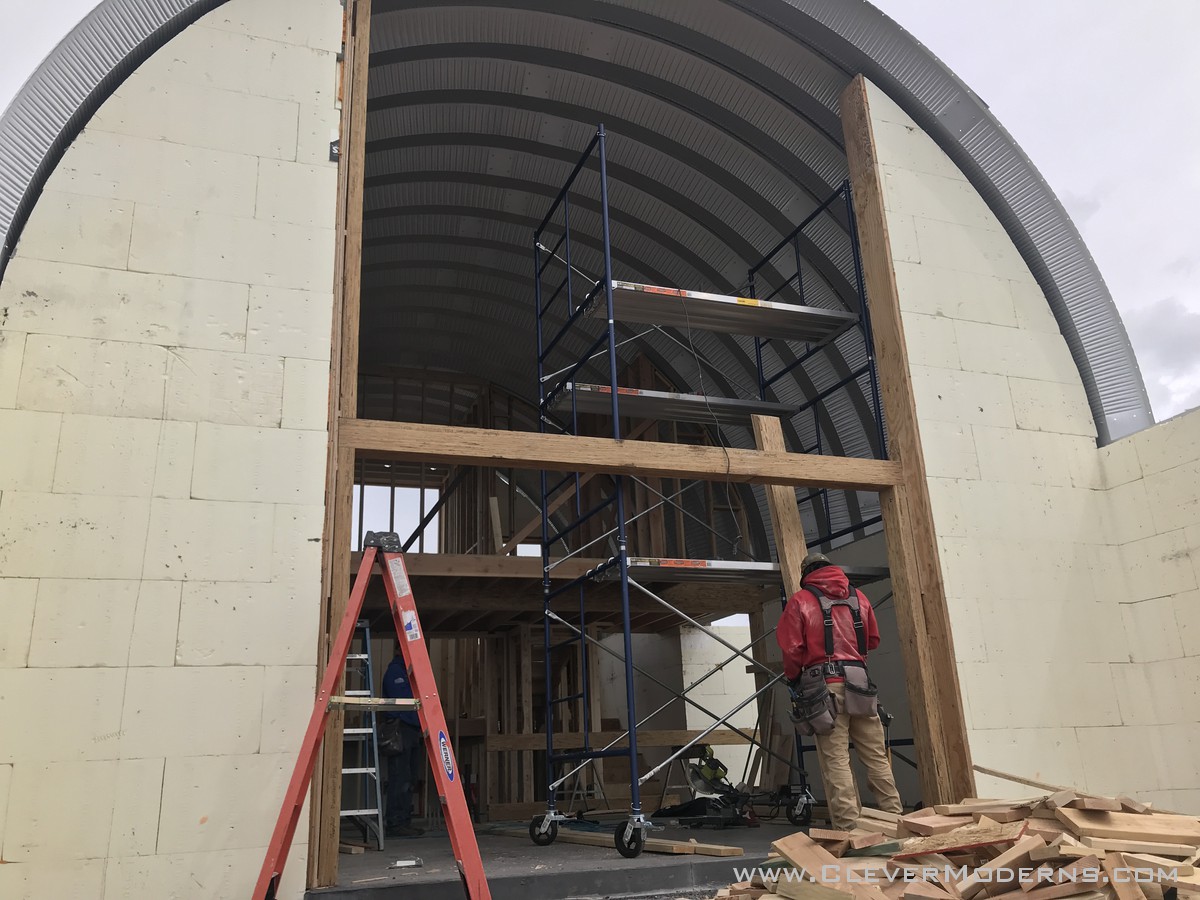
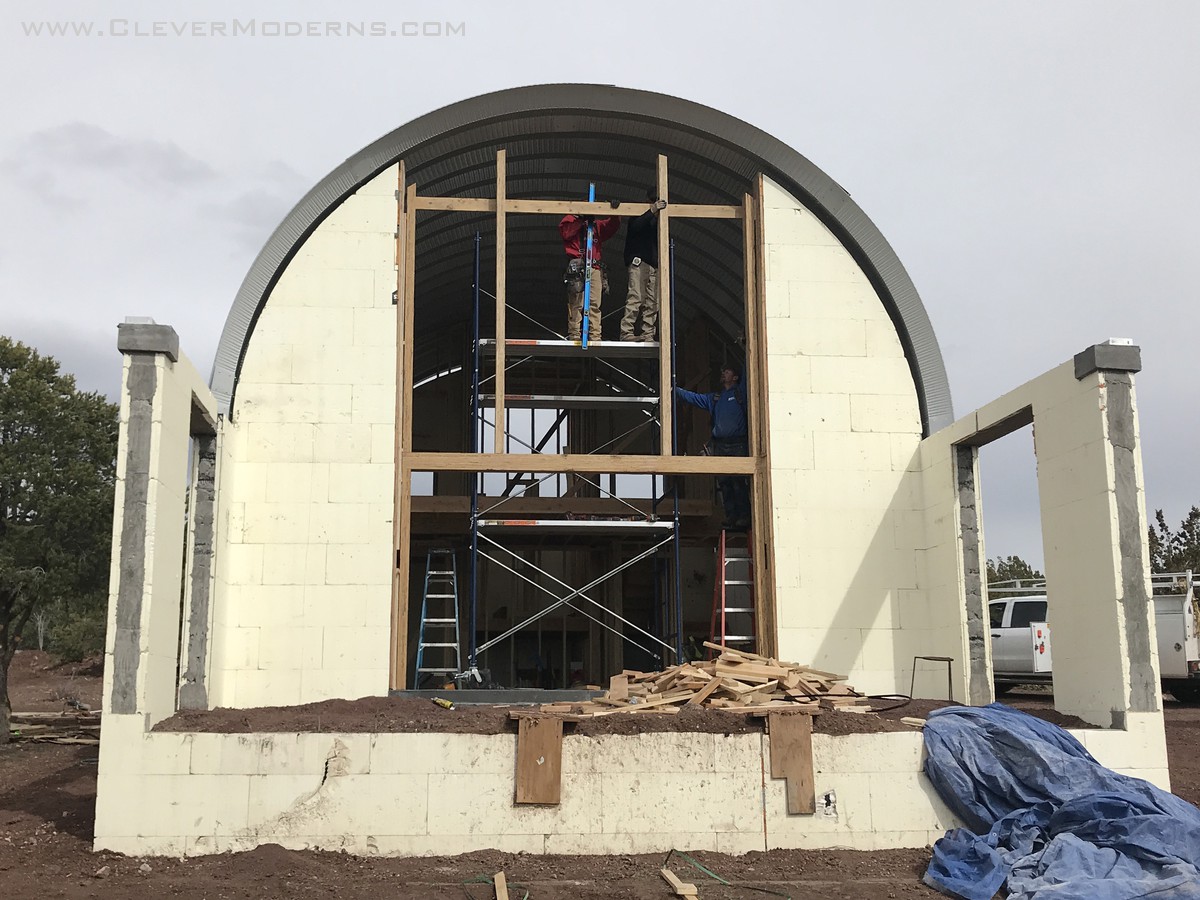
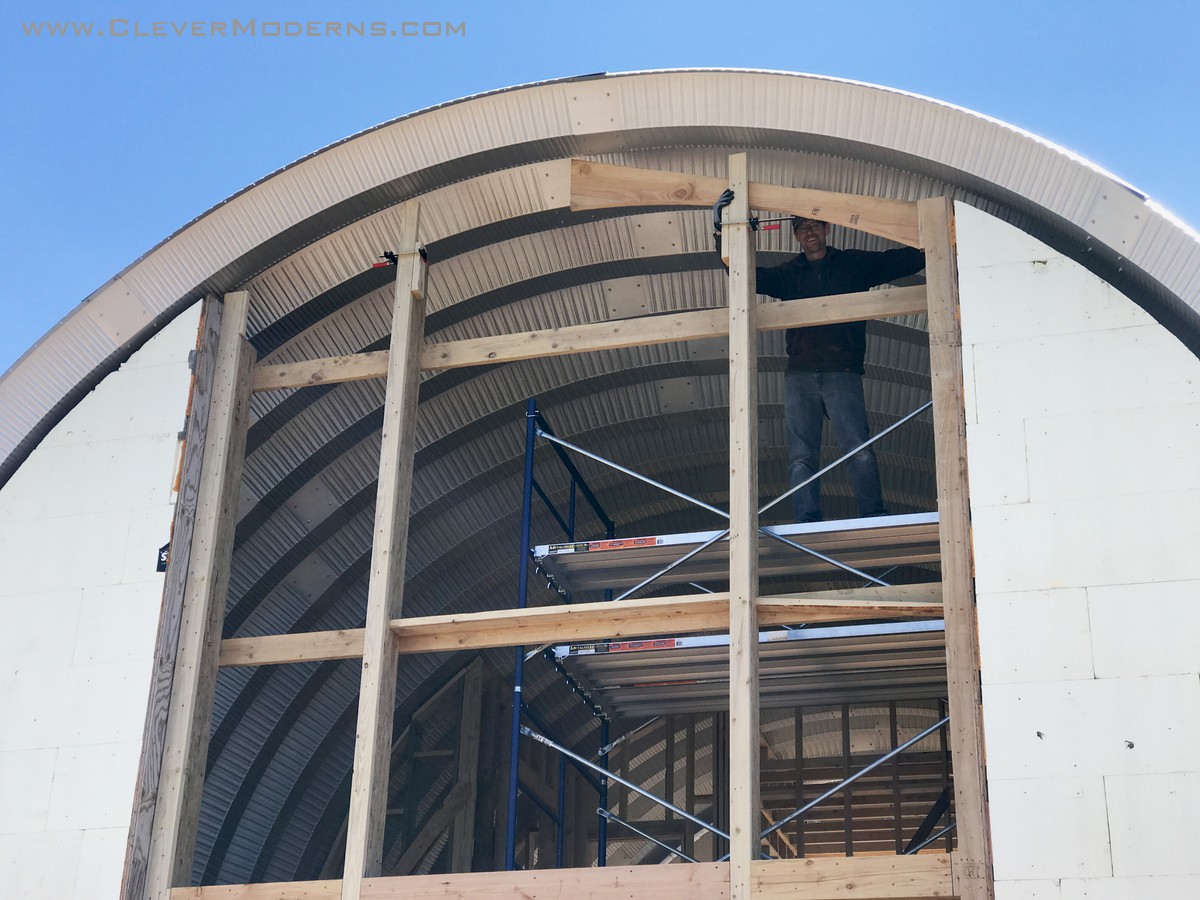
These first few images are of the crew we hired to do our framing. We could have done it ourselves but opted to hire a local builder to frame it, for a couple of reasons.
First, we didn’t want to take all summer screwing around with the framing, and that’s what would have happened if we did it ourselves. The big trade-off in DIY versus hired work is always time versus money. Sure you could do it yourself, figure it all out, make it work. But it’s pretty much guaranteed (unless you have mad skilz in the subject area, which you might) that it will take you 3x – 5x longer, minimum, to do it than if you hired someone. That has been our experience anyway, and I doubt we’re too far off the norm.
Second, there is a massive beam supporting the loft, (which you can read more about here,) and we had no idea how we would handle that particular item, simply due to the sheer weight of it. Similarly, the header and posts making up the window wall were pretty stout and would have been difficult for us to handle.
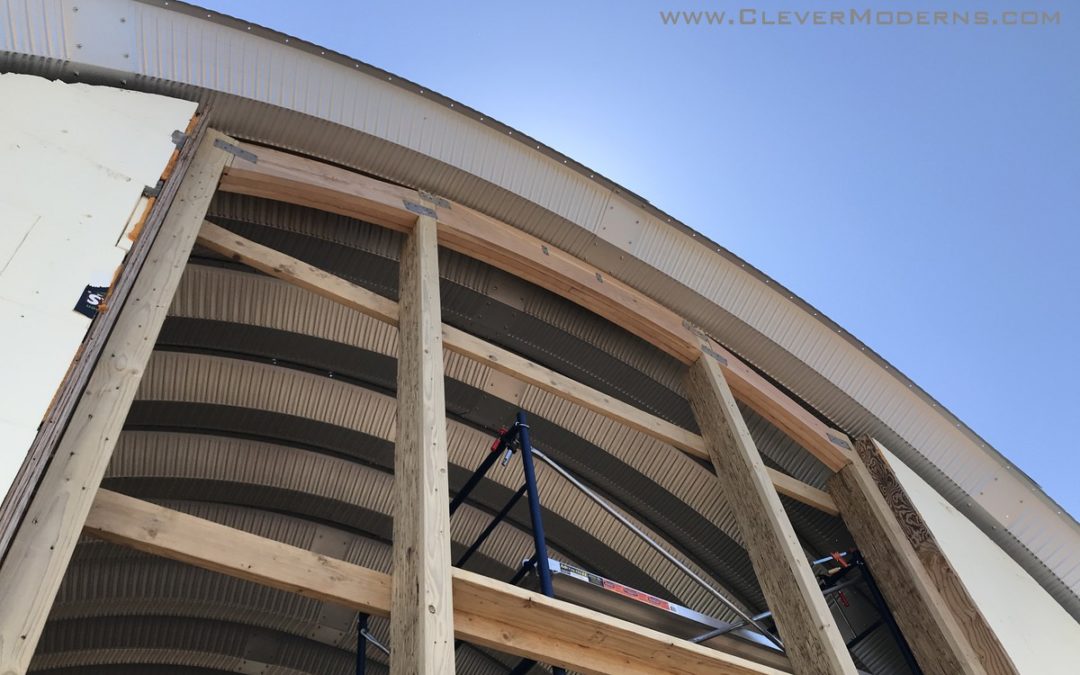
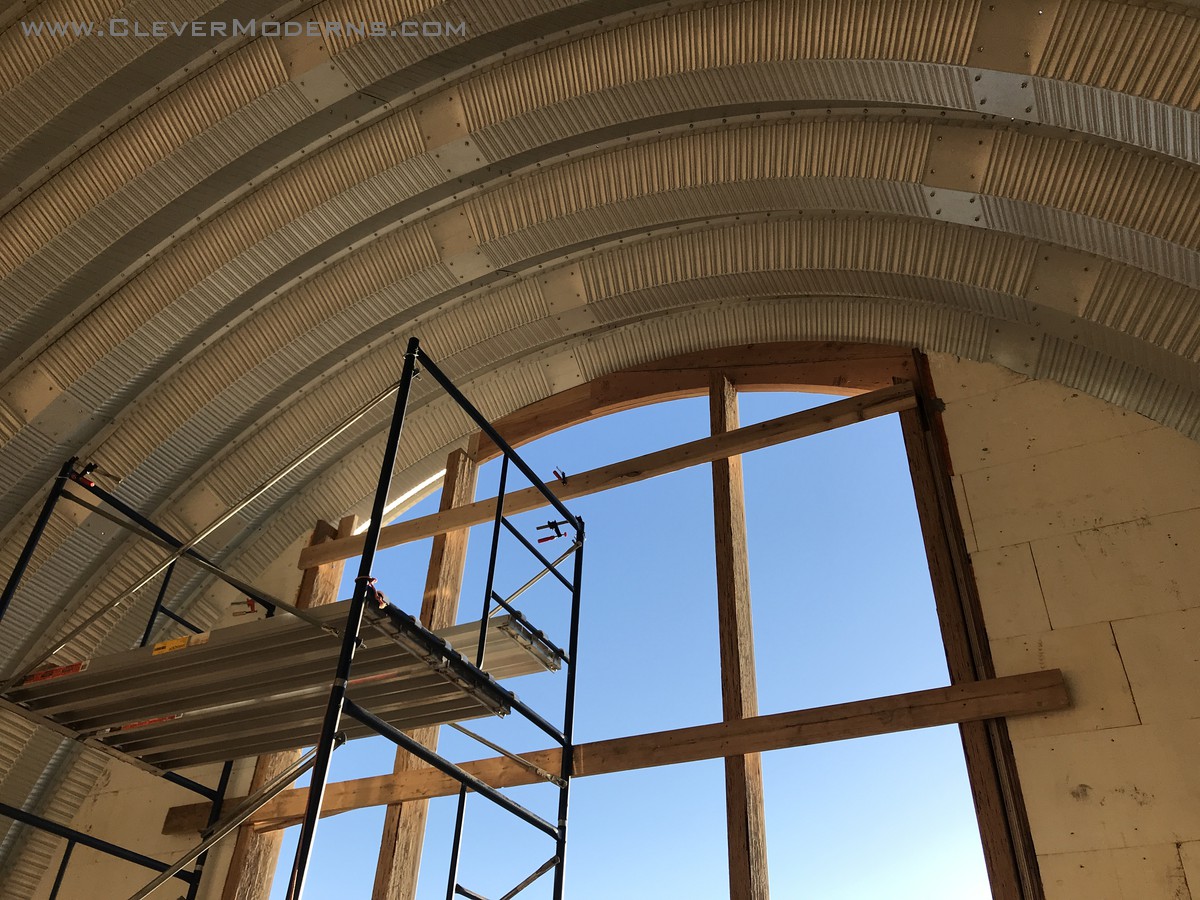
The weight of the larger members aside, the biggest figuring-it-out challenge for the window wall was the arched header at the top. This was where we stepped in and took over doing it ourselves. We knew what we wanted, and had a pretty good idea how to pull it off. We really wanted to give it a shot.
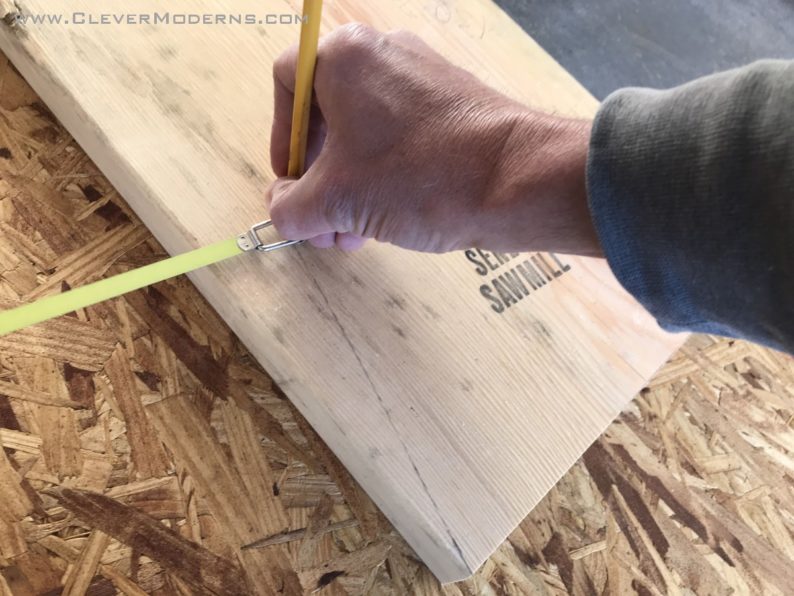
To get the curve, we used a tape to measure and scribe the radius we needed, and then cut the pieces with a jigsaw, as below.
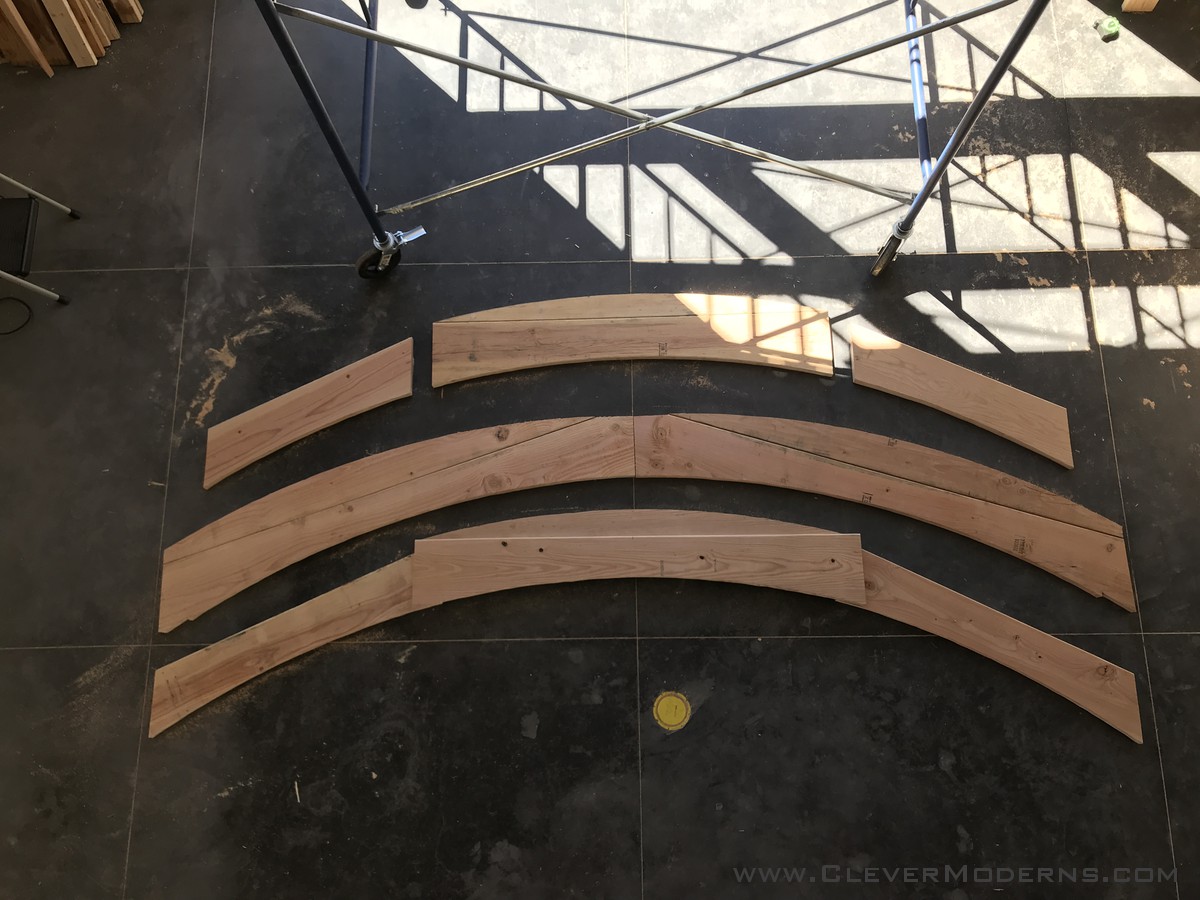
We cut multiple 2×12’s and 2×10’s to create the overall shape. We figured on 3 layers to make up the header. Below, notice how the top layer has wide gaps between the center and outer sections – I’ll explain that next.
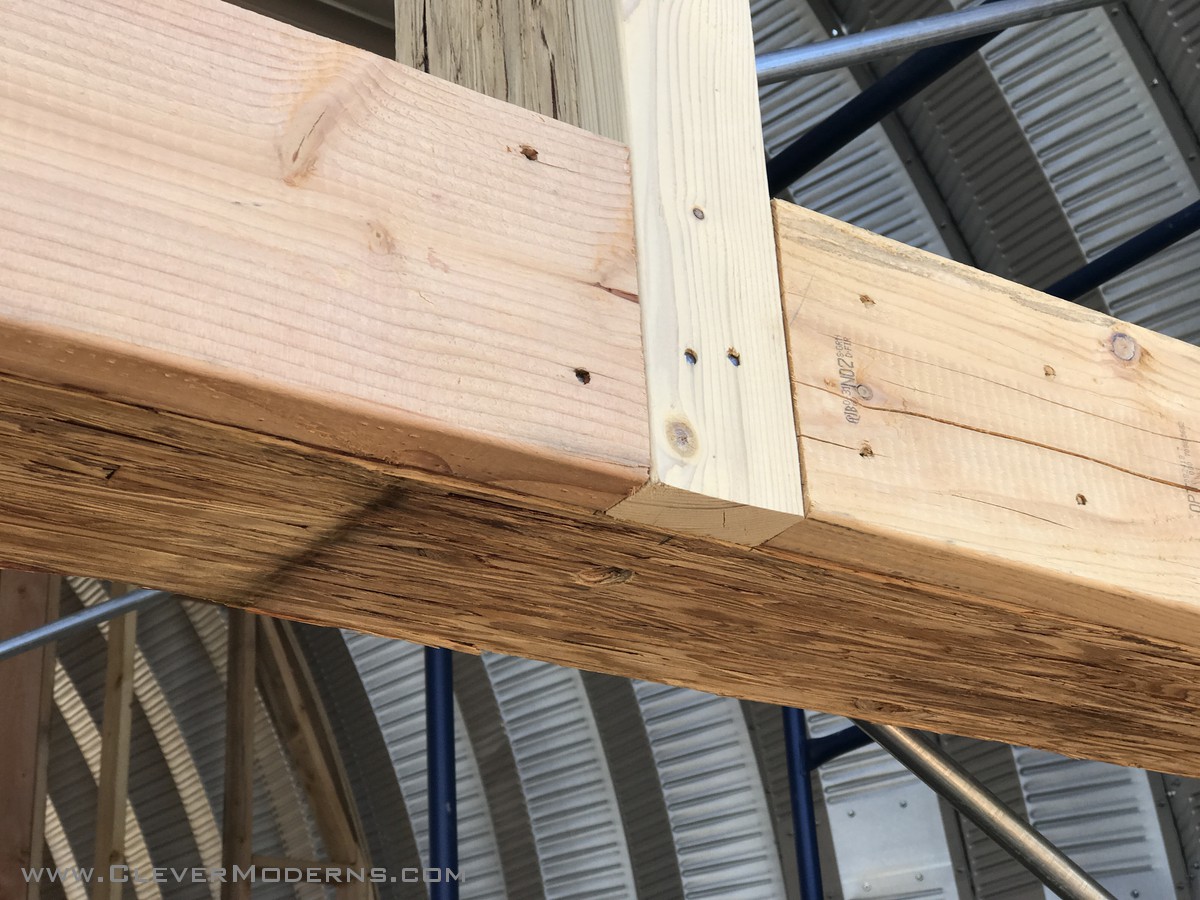
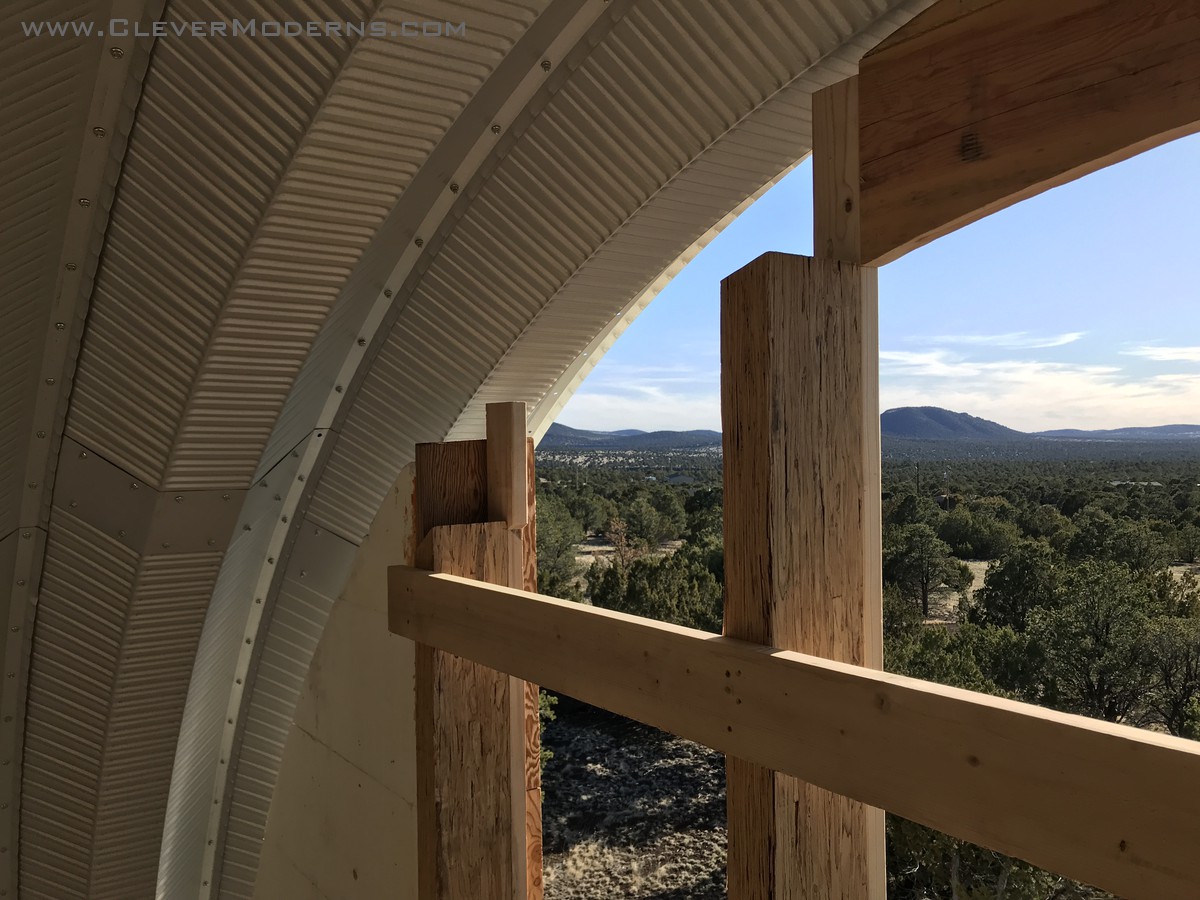
We hit upon a method to tie the header into the rest of the wall, and provide extra reinforcement to the whole wall at the same time. Onto the outer surface of the window wall members we glued and screwed 2×6’s to tie everything together, and we ran them long at the top (see below).
These 2×6’s got incorporated into the curved header as we built it up out of the multiple layers of curved members. This made the whole arch monolithic and tied it really solidly to the posts.
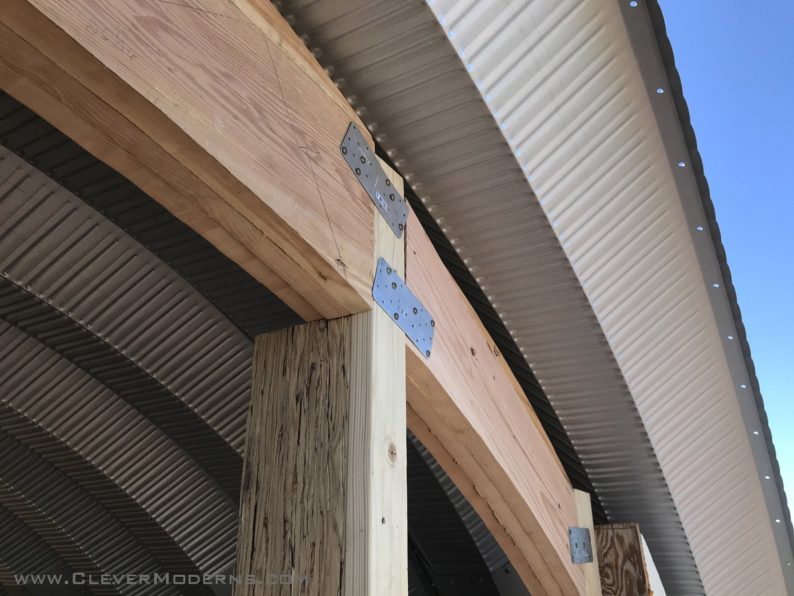
We fit up the arched layers up piece by piece, gluing and screwing them as we went. We made sure none of the seams lined up – everything was offset for greater strength.
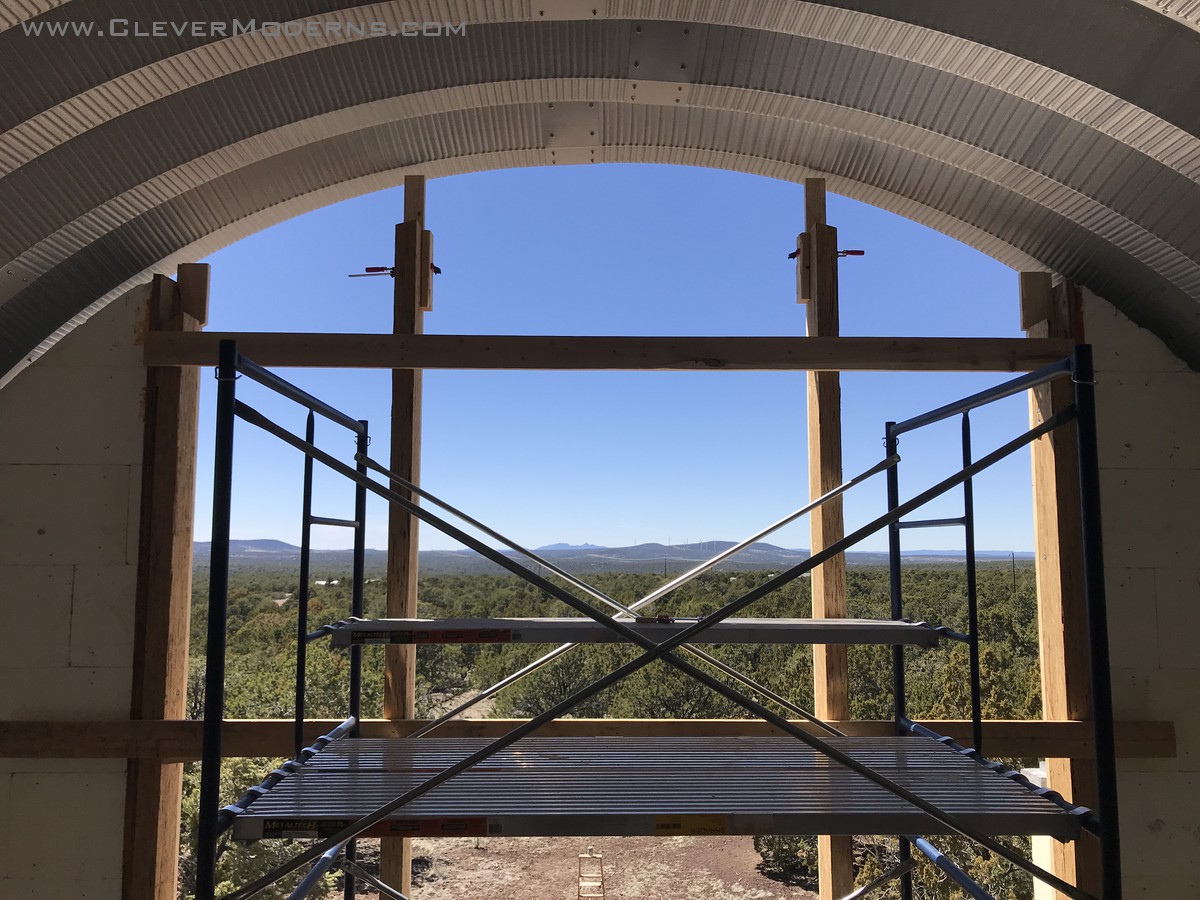
We used plates and straps to help tie it all together.

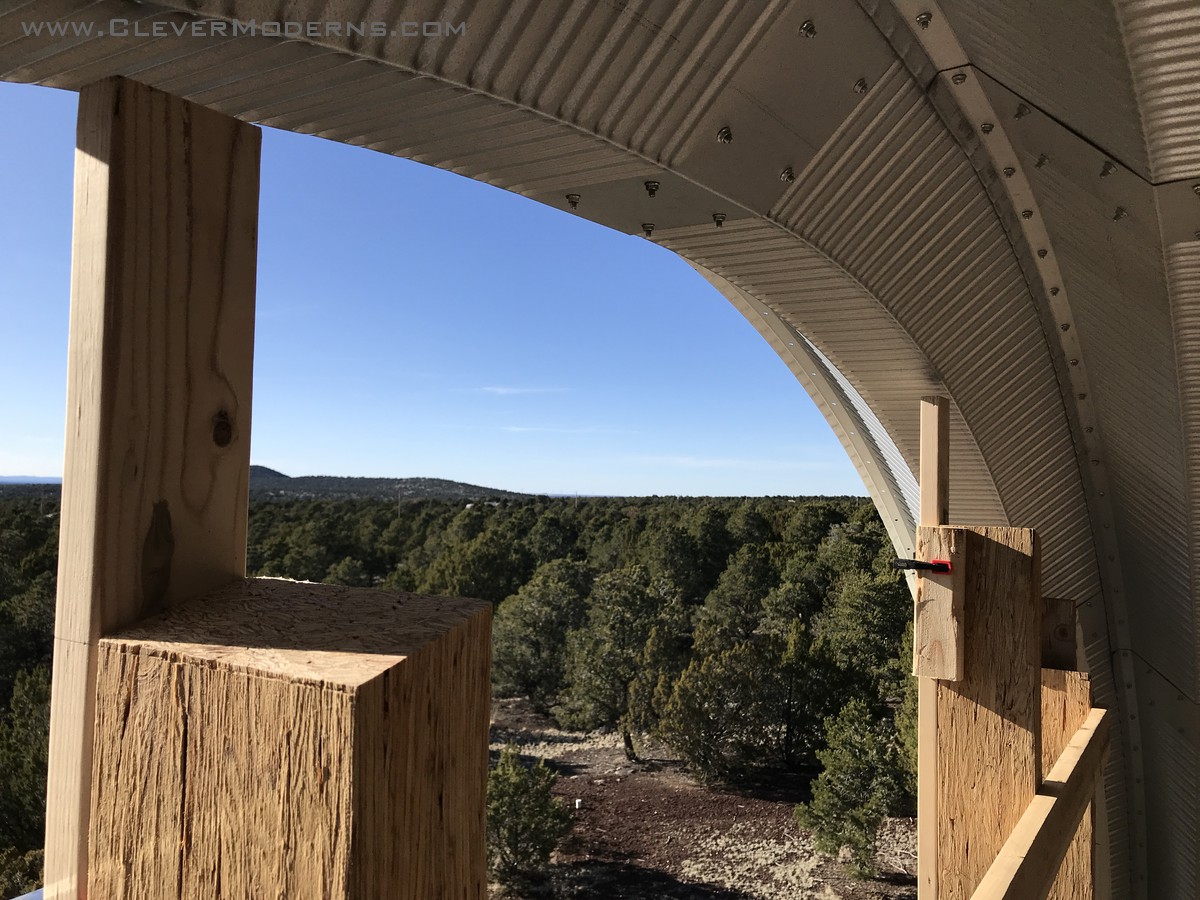
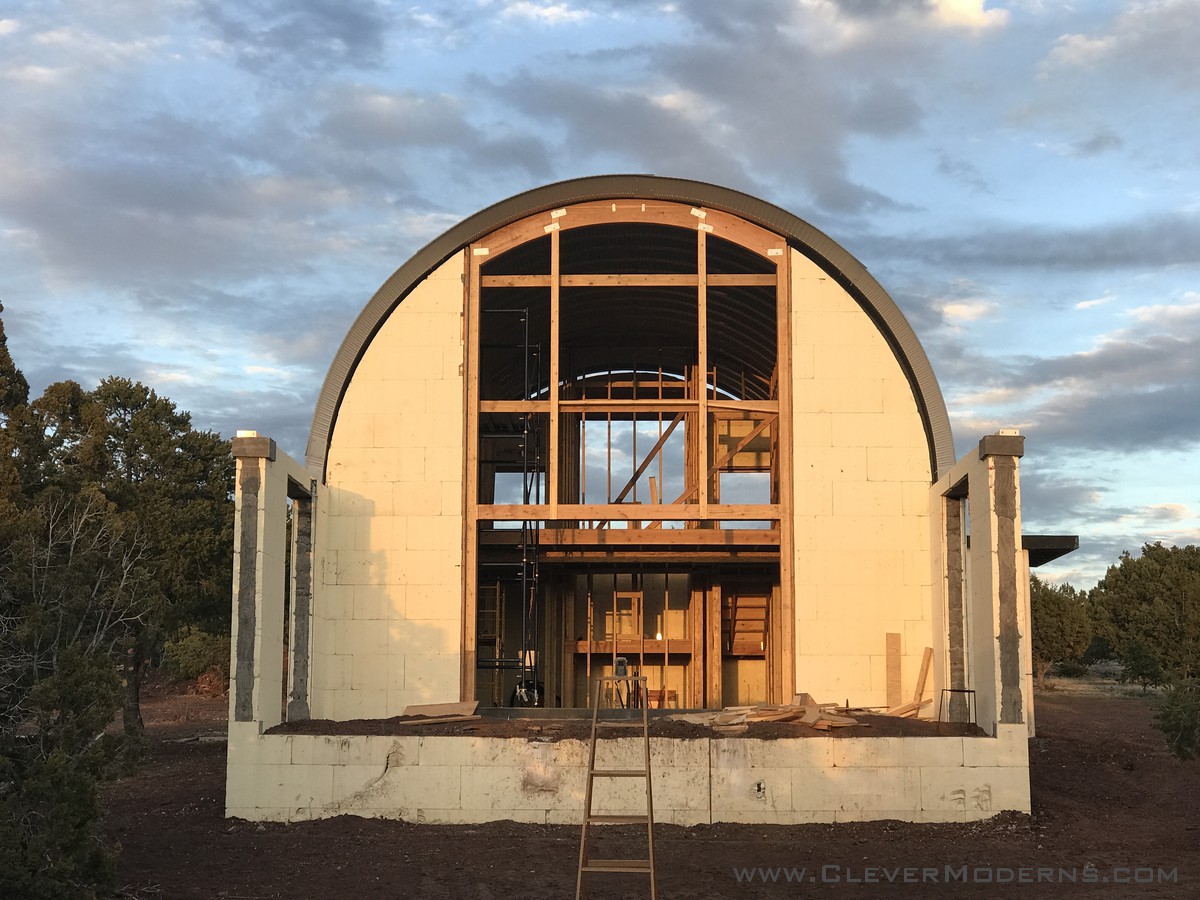
And there you have it: our window wall with its curved header! The final step, to tie it into the steel Quonset hut arches, deserved its own post. You can read about that step, with lots of pictures, here.
Curious about Quonsets? Ready to learn more about these bizarre, amazing, shiny, round, prefab structures? Drop your info below and I’ll start you off on my email tutorial series. Looking to build an inexpensive but beautiful home debt-free? Considering going off-grid? Or are you just tired of the same old same old and want something unique and beautiful? A Quonset House might be the answer for you.
Follow us on Instagram and Facebook. We also have a private Facebook group called DIY Quonset Dwellers, where we share discussion, design, and construction tips with others who are interested in building their own Quonset hut house. With over 6,000 members and counting, the Facebook group has grown into an amazing resource all of its own! Learn more and request to join the Facebook group here.