Last week we converged on our property in Northern Arizona with some friends, and started in earnest on building The Quompound. It was a week of camping and Quonset hut building that we dubbed “Quonsetpalooza”. It’s safe to say that everyone had a blast! While we didn’t get as far as we initially hoped, we did end up getting a LOT done that week, and we feel great about our progress.
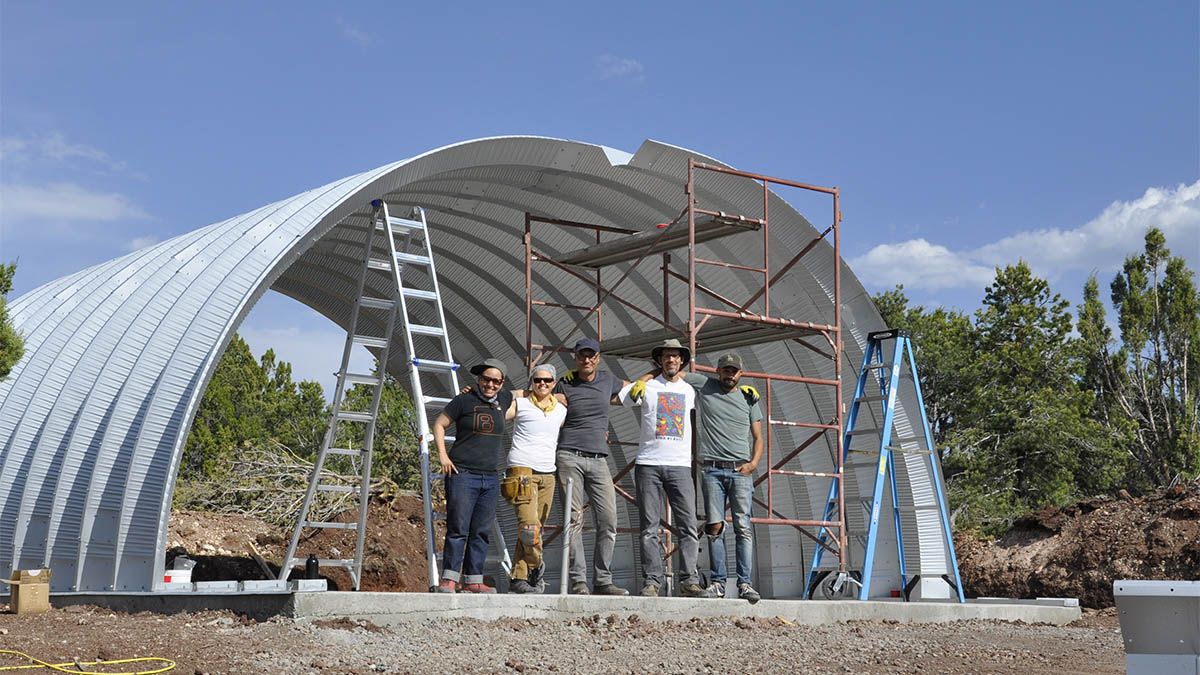
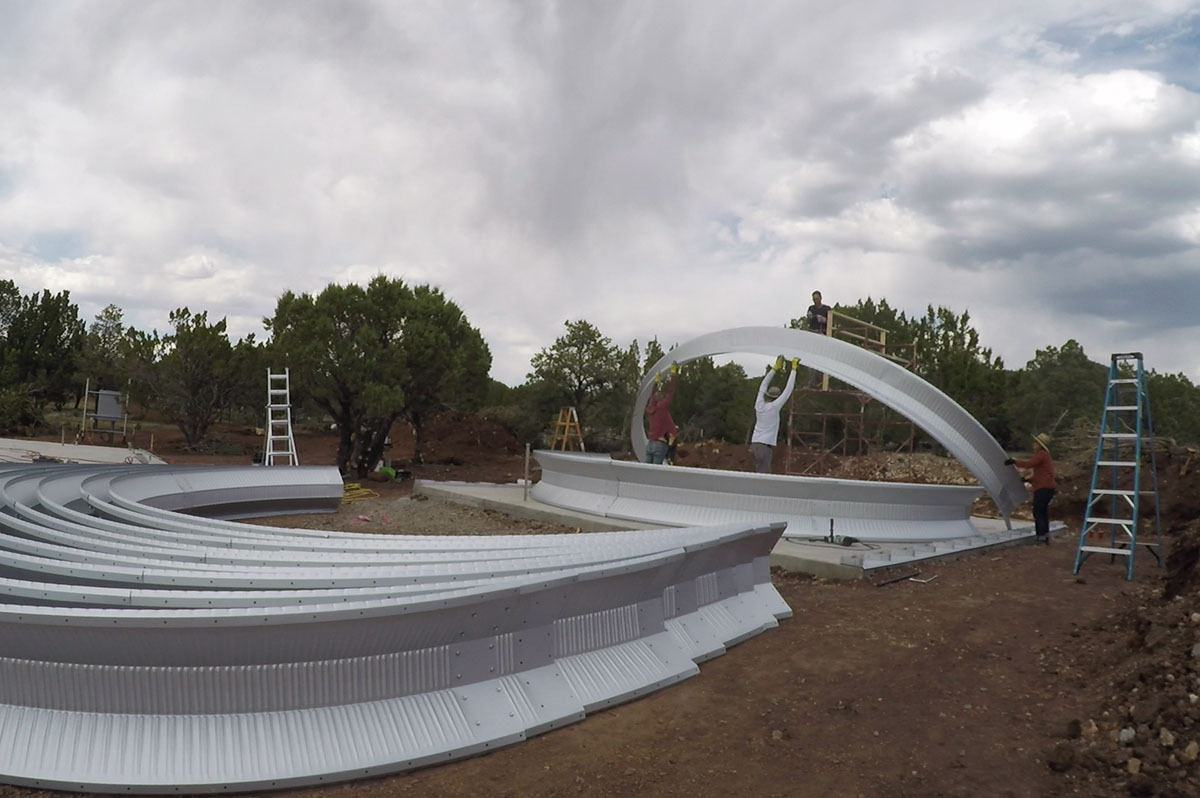
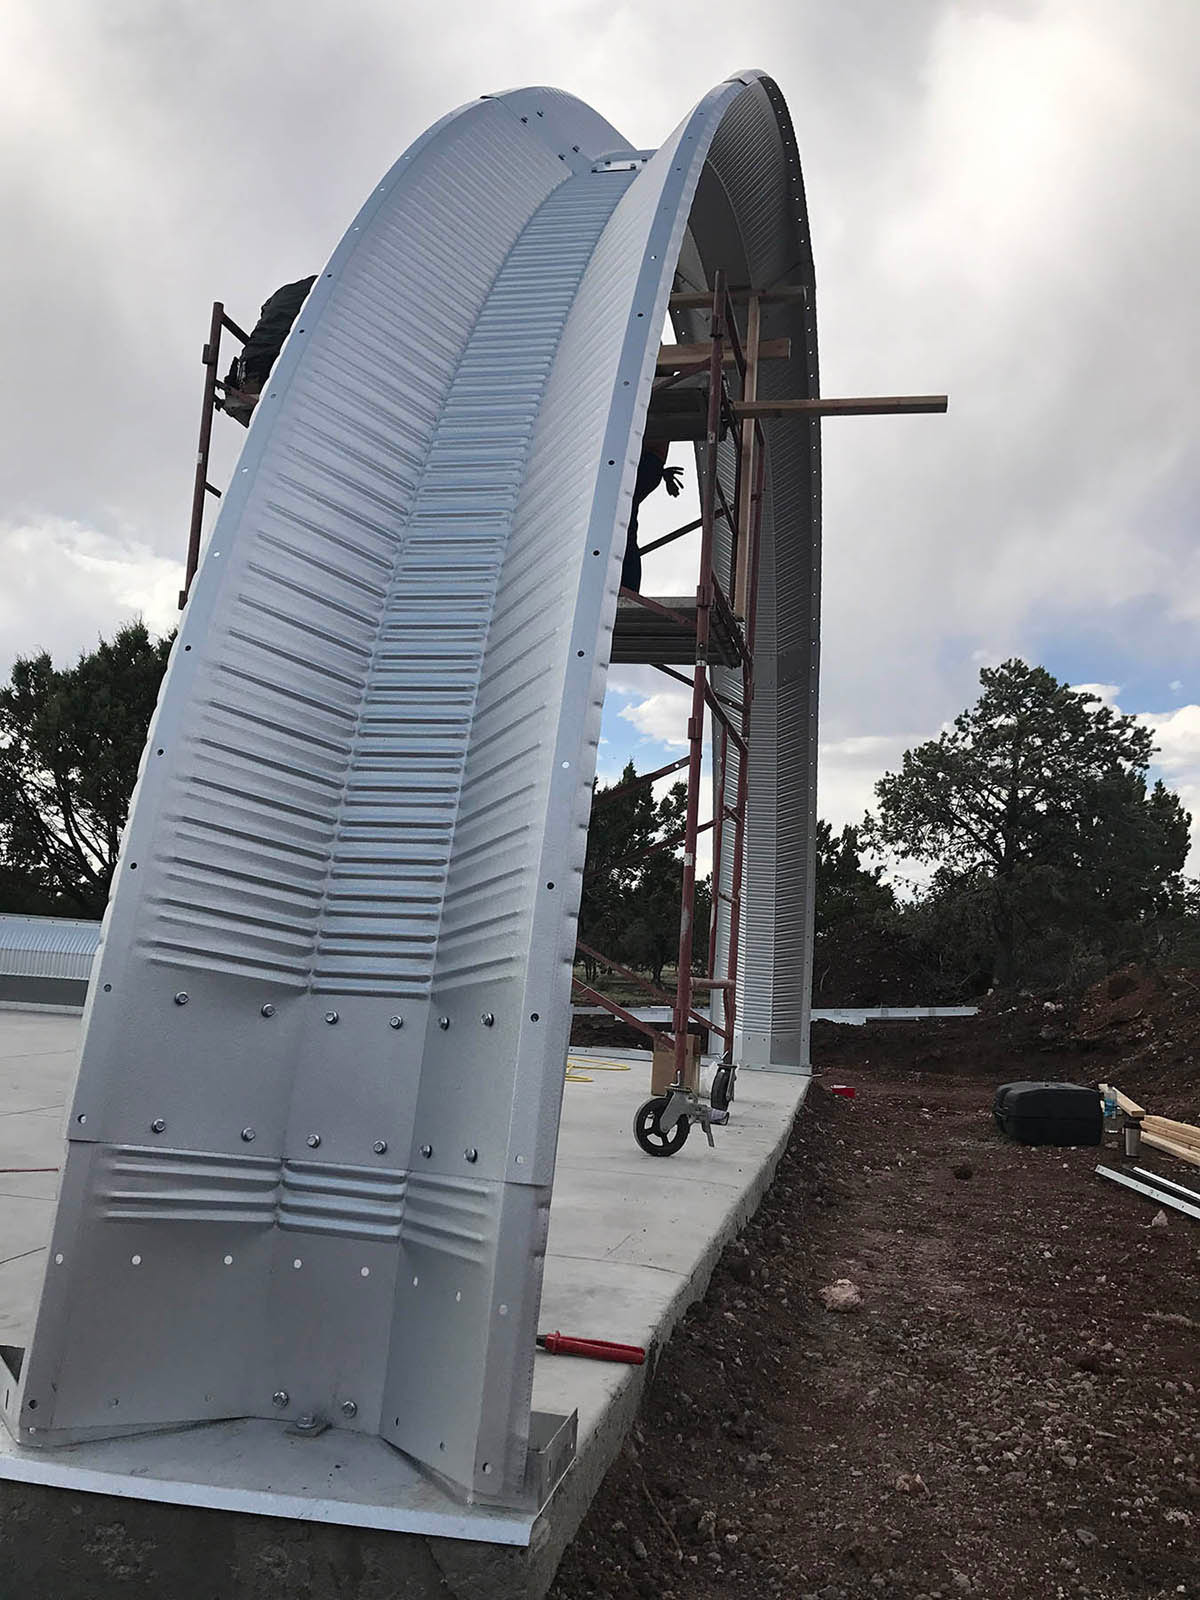
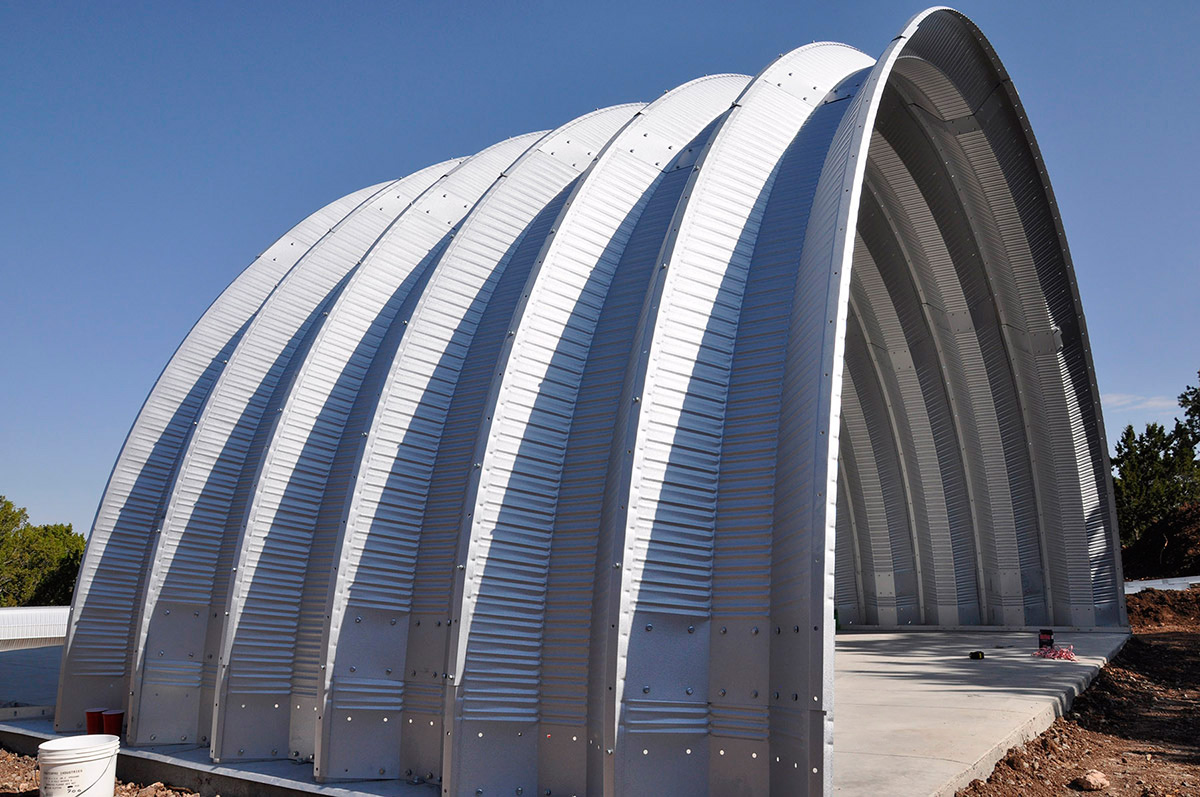
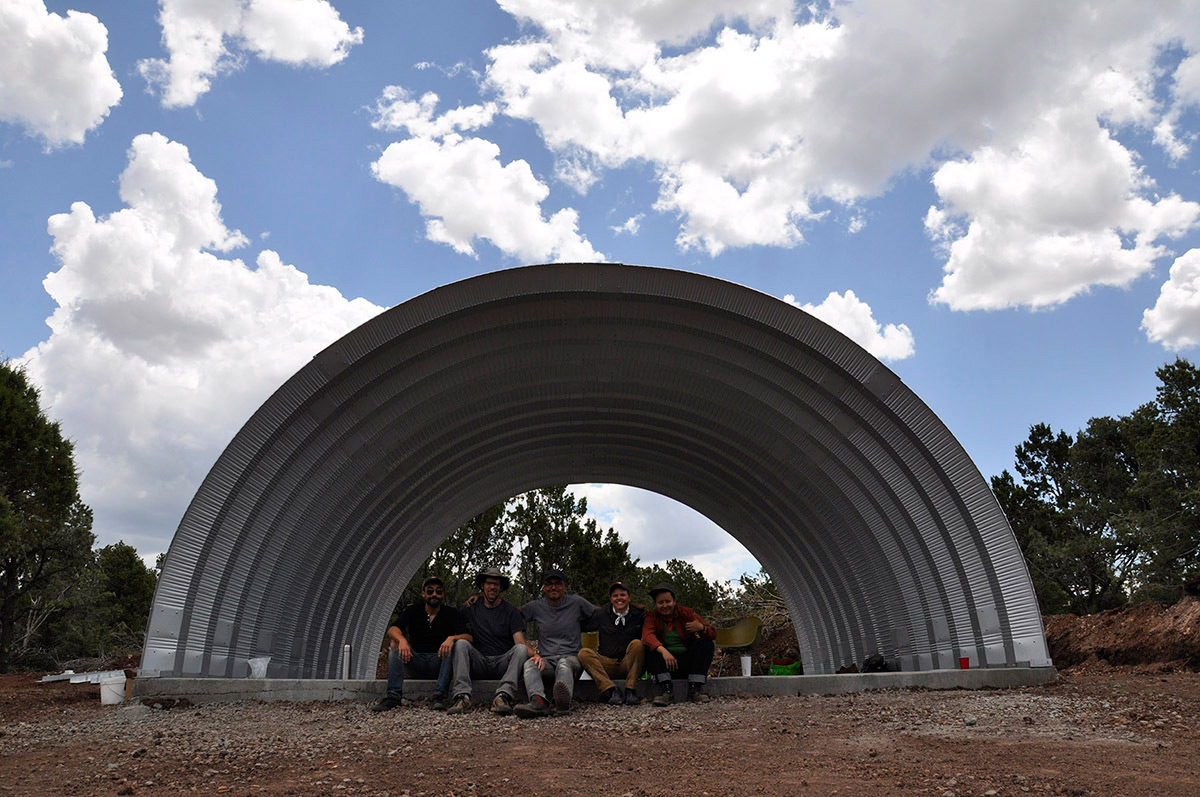
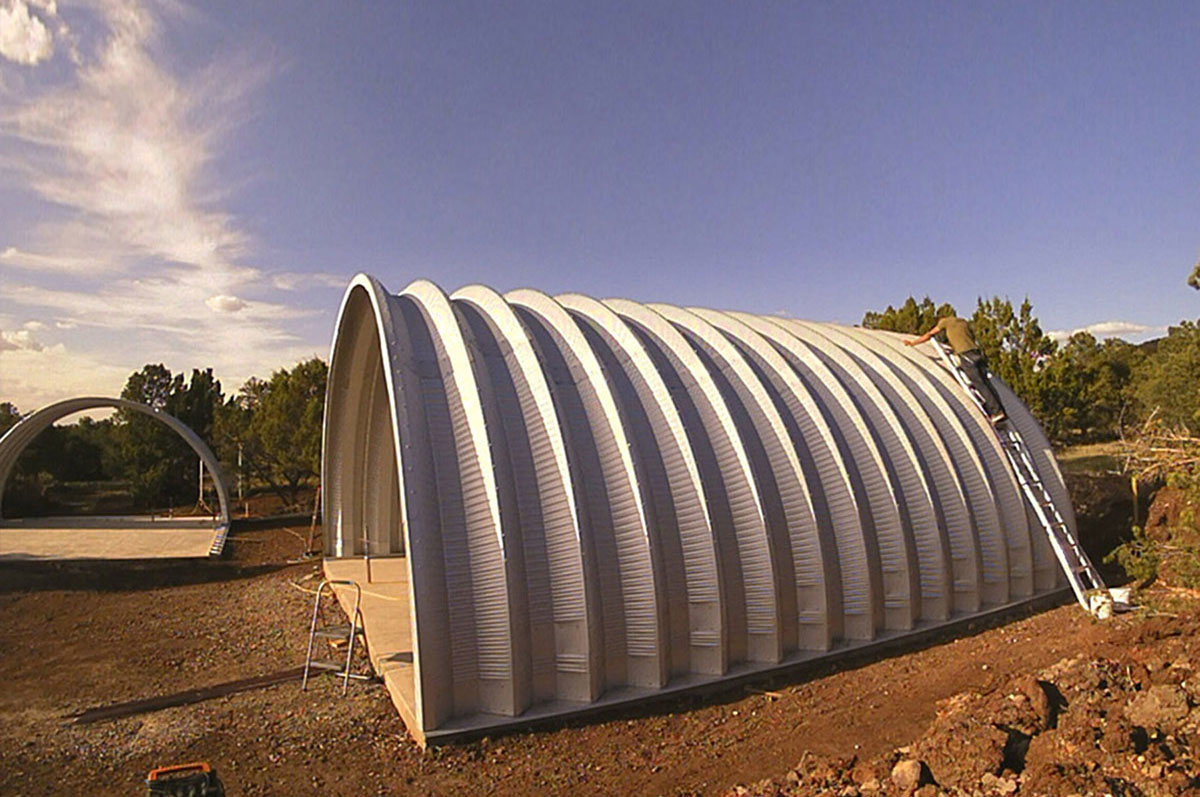
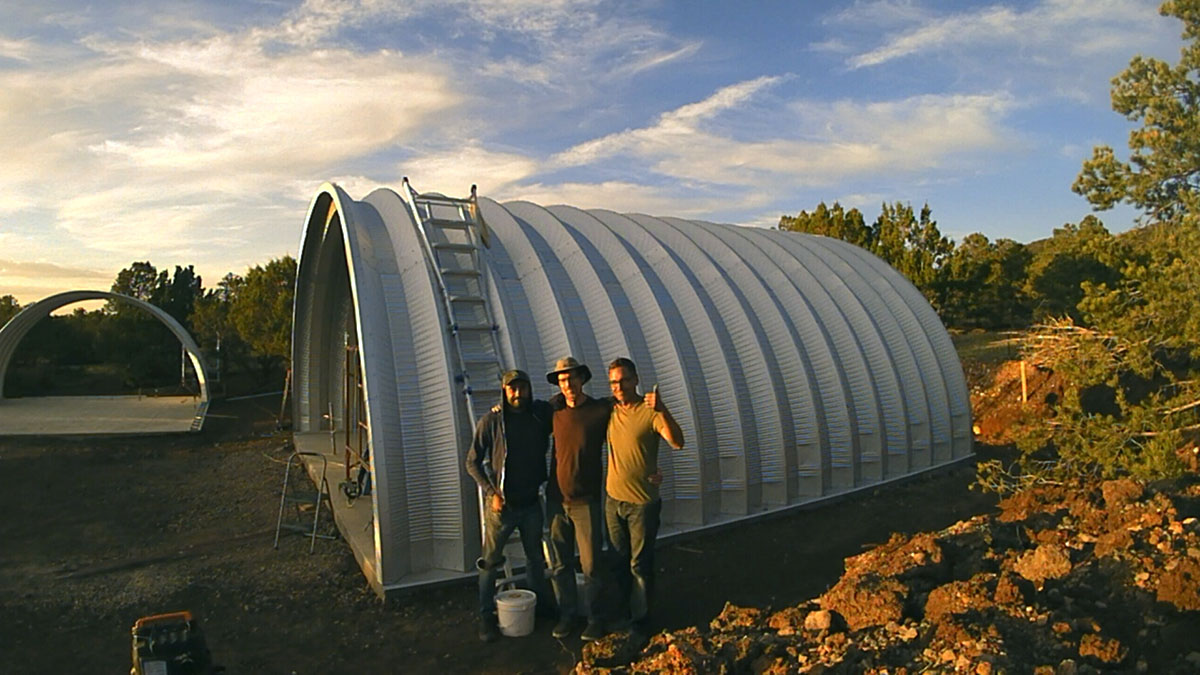
By the time we broke camp after a week, all of the arches were assembled and bolted together for Building #1 (fourteen total), and four out of fourteen were in place for Building #2. Since each step in the construction process could be an elaborate, detailed tutorial of its own, I’m going to present a simplified version here, and return to the various individual steps for more lengthy future posts.
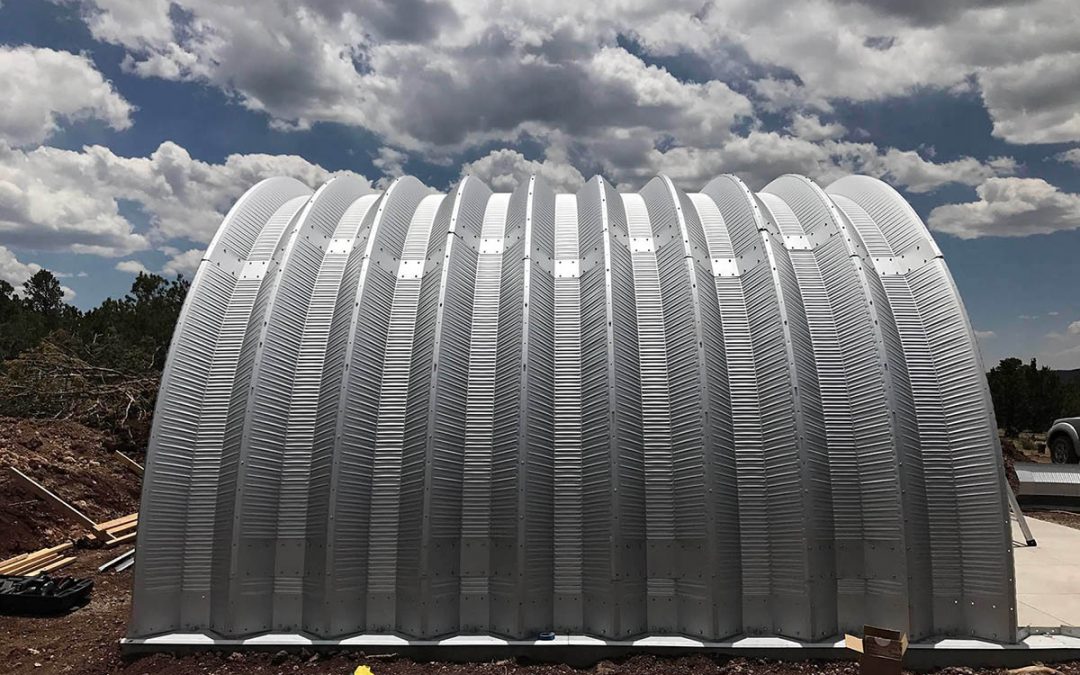
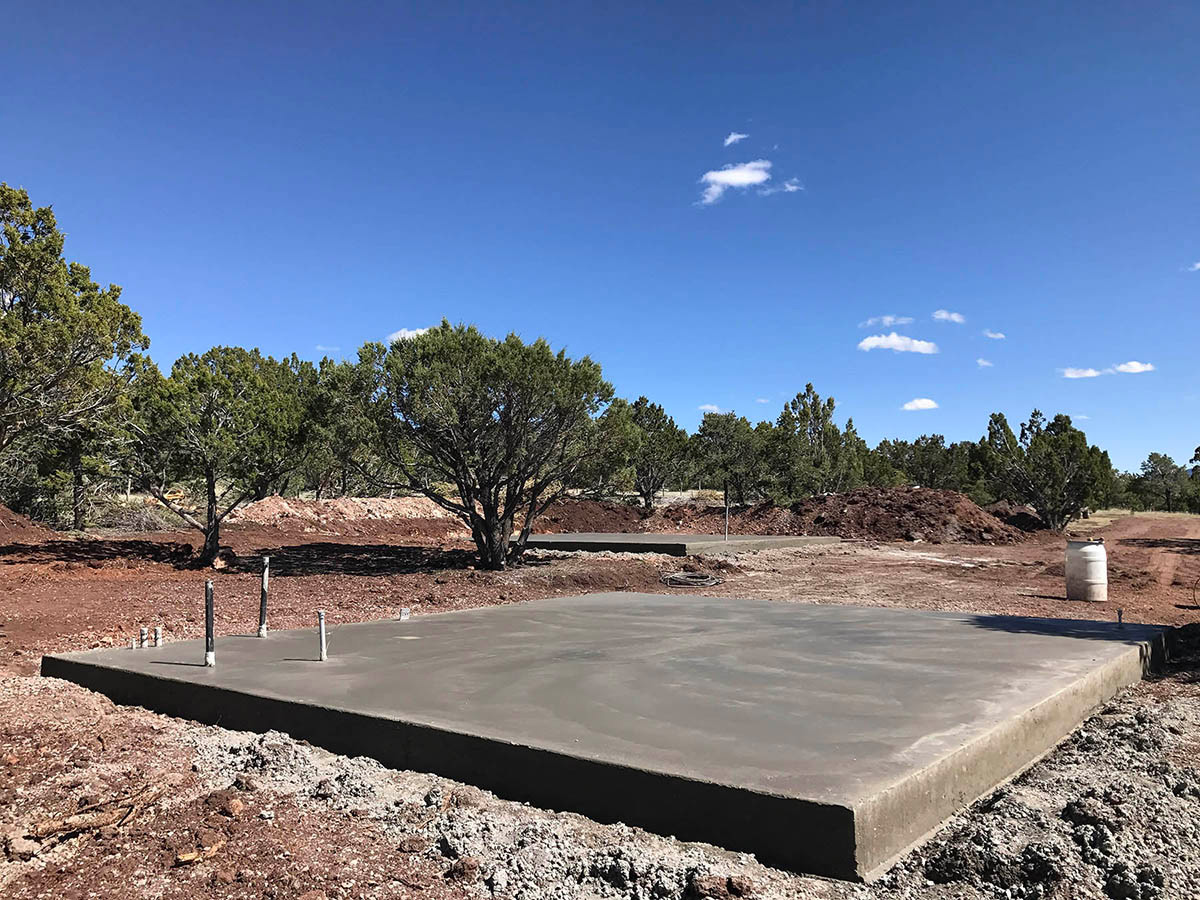
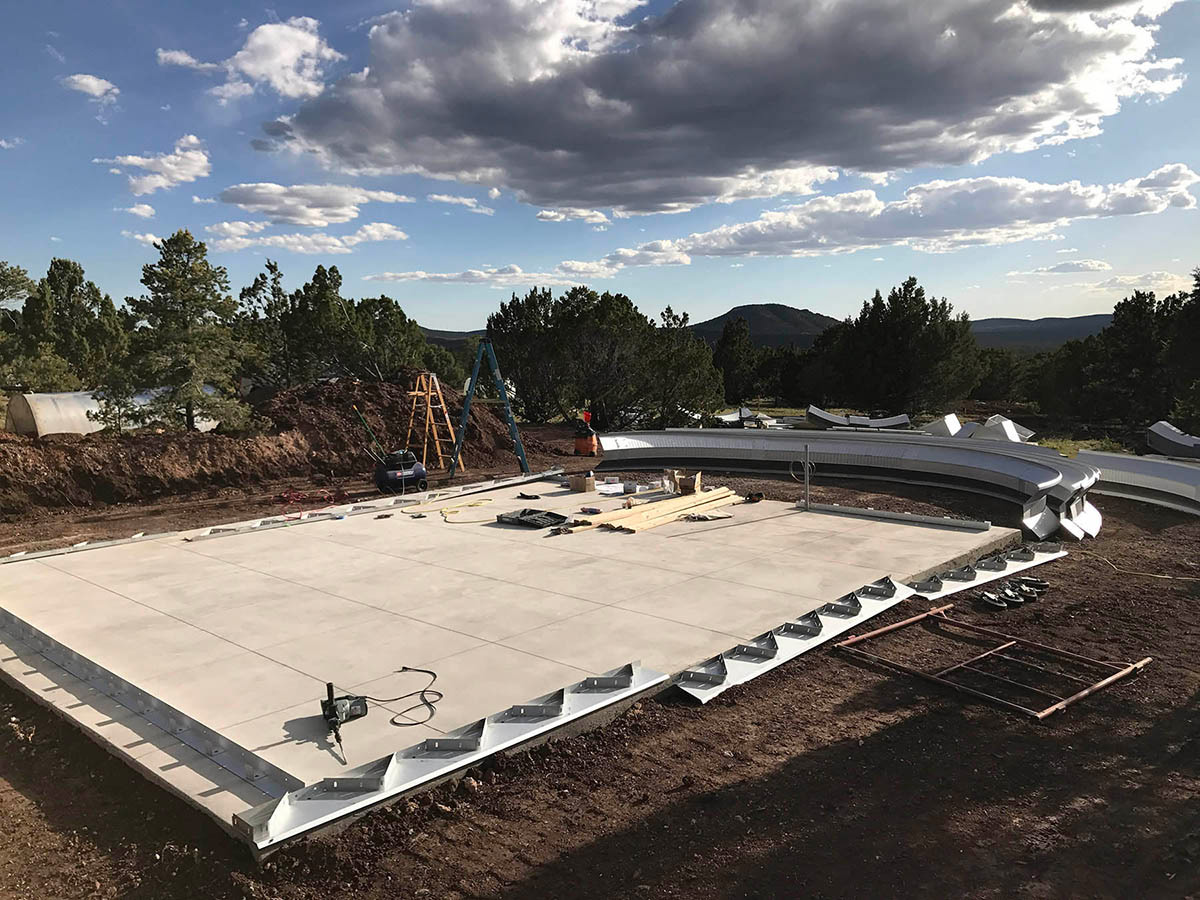
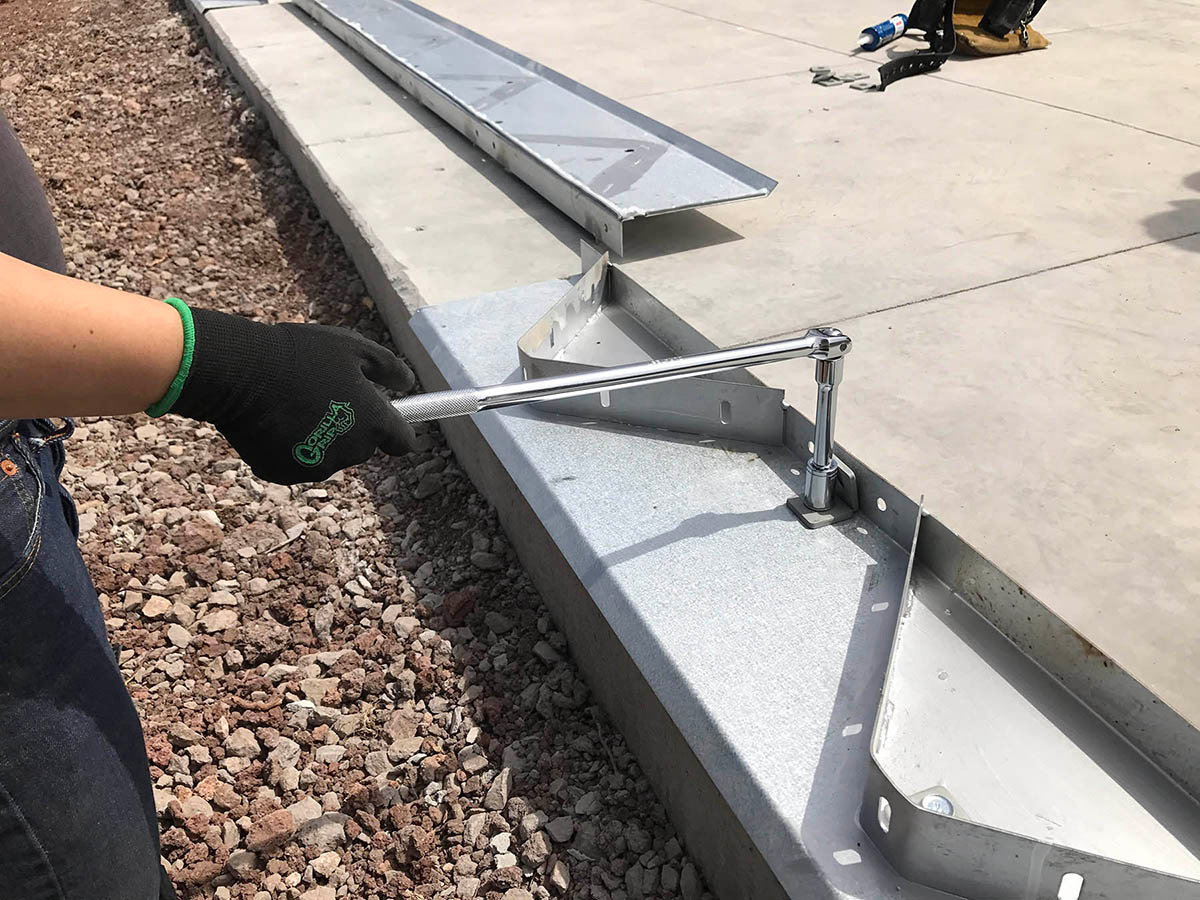
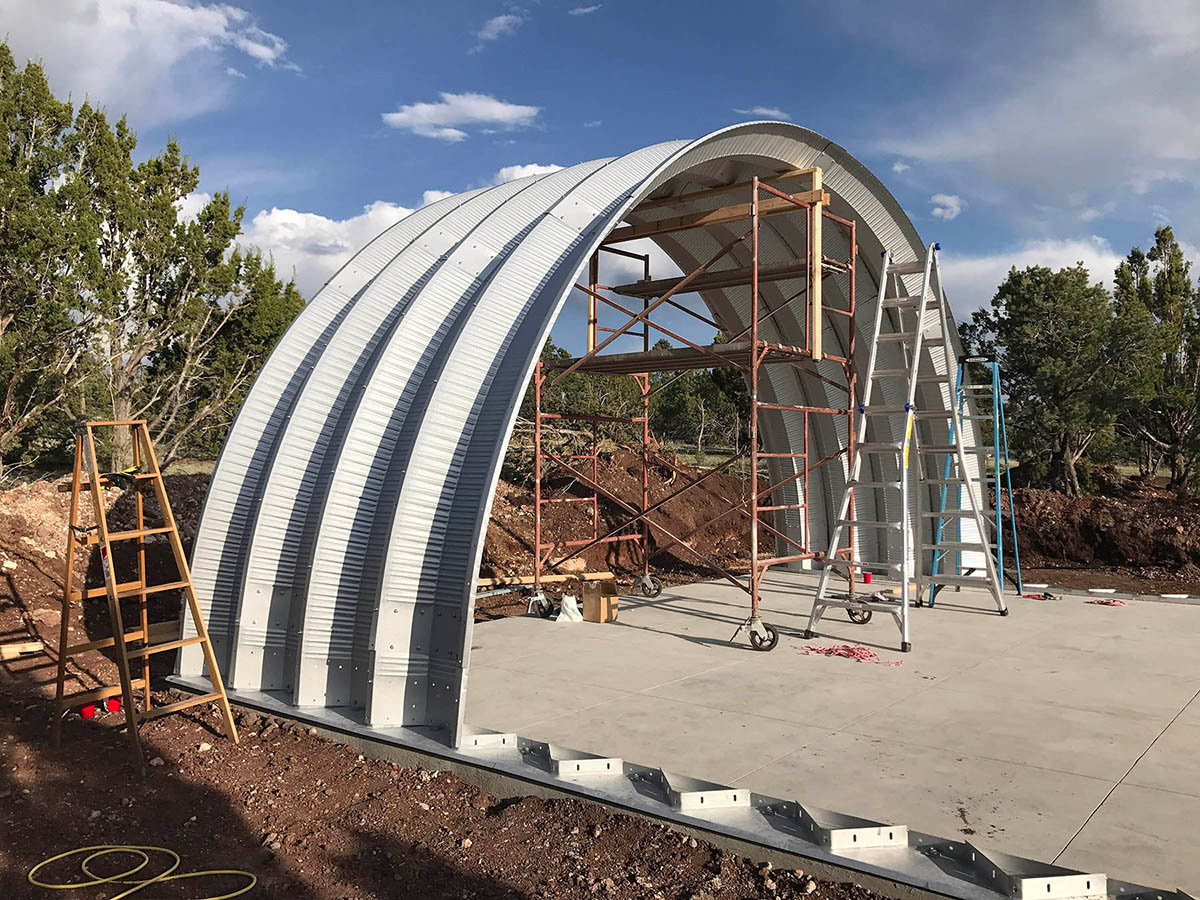
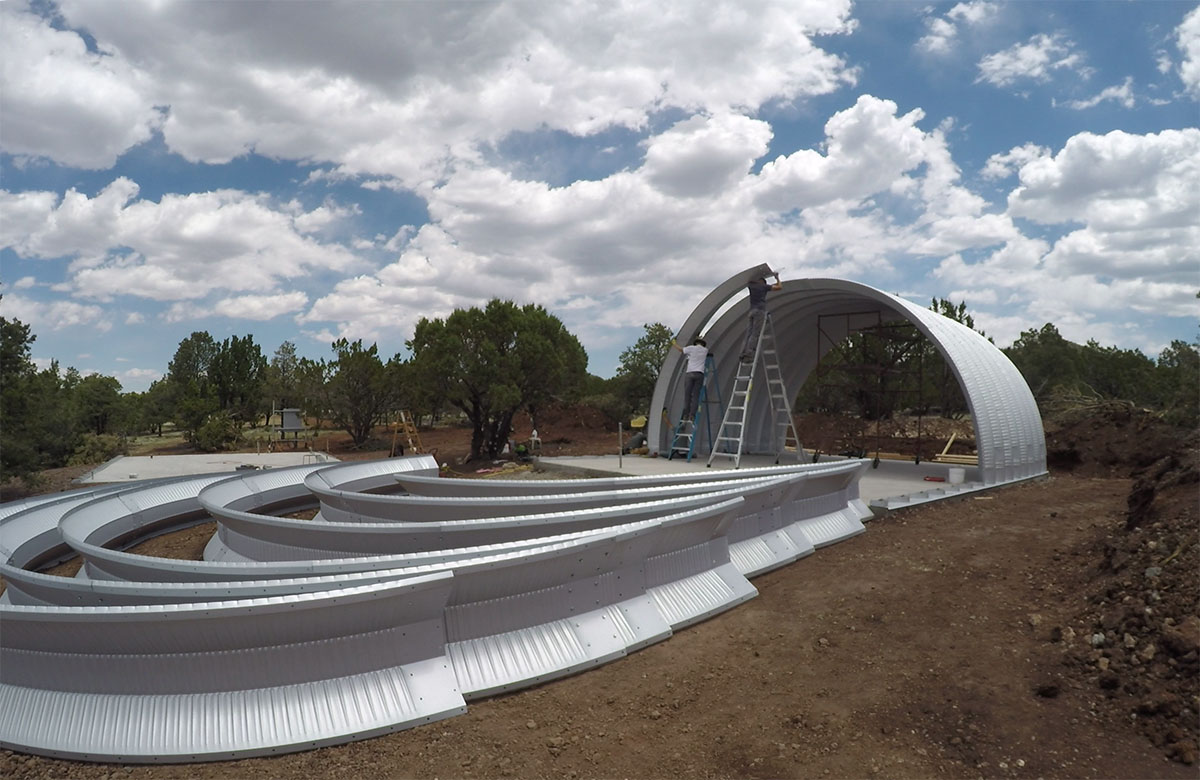
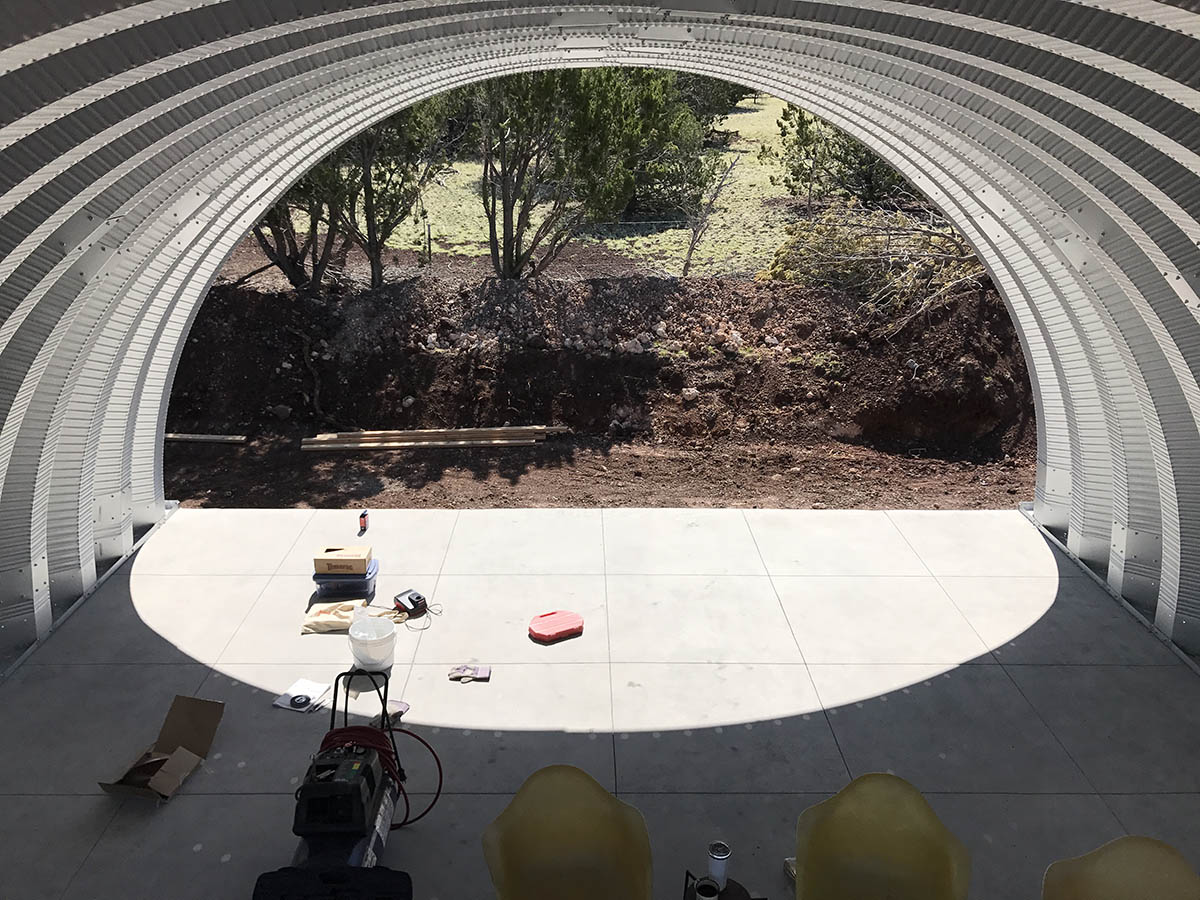
We started with two plain concrete slabs. Both buildings are the same size: 25′ wide, by 28′ long. Each arch is 2′ wide, so that’s 14 arches per building. The first task was to drill holes in the concrete and bolt down the base plates that run along either side of the building.
At first the concrete drilling gave us some trouble, until we realized we were using the wrong kind of drill! We had a hammer drill, but what we needed was a rotary hammer. They sound similar but it turns out they are very different! The rotary hammer is much more powerful. Once we found a rental place in Flagstaff and got the right tool for the job, the concrete drilling was a piece of cake. Sort of.
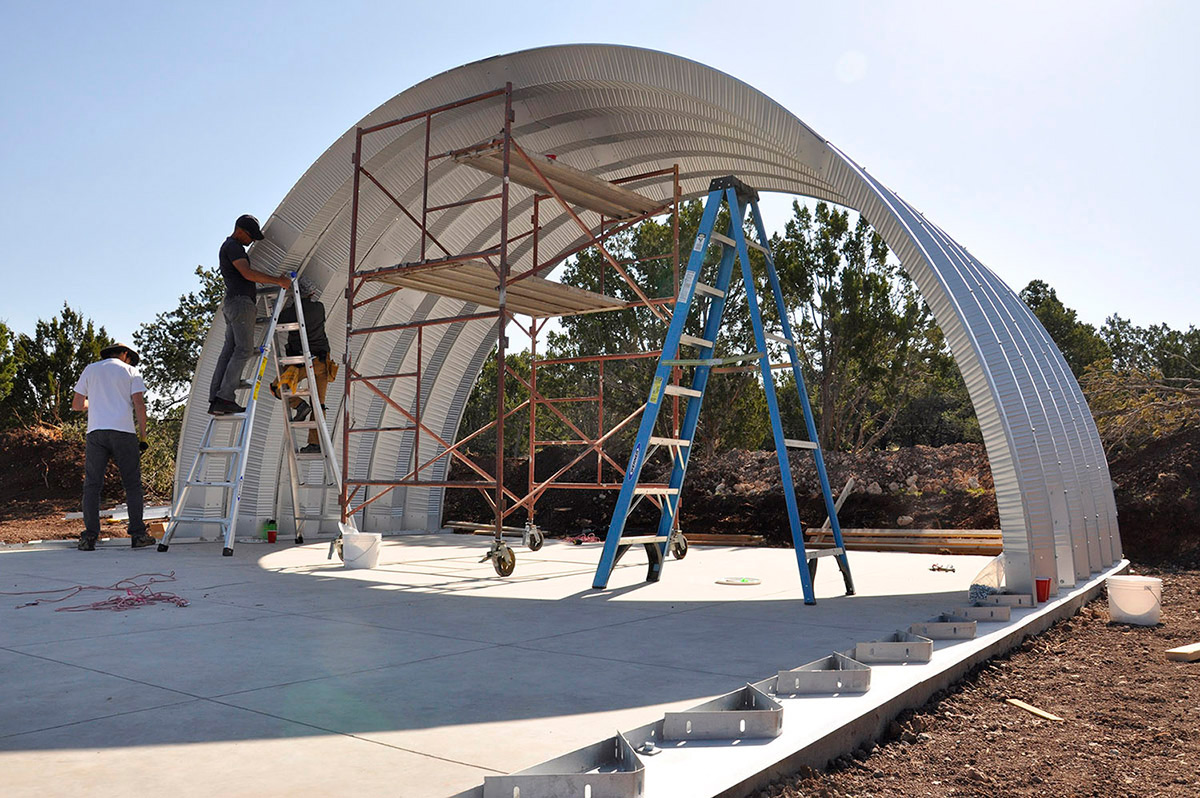
For the first few days, we were also a little worried about strong winds that were blowing through the area. High winds while you’re trying to assemble a Quonset hut can make for a real disaster. We started laying out base plates and drilling on Saturday morning, and by late Sunday afternoon the winds had calmed enough that we raised our first arches into place. We got four arches raised up and bolted together that afternoon.
The next morning, which was Memorial Day Monday, we kept going. It was exciting to see the building grow! After all this planning we were finally starting to see our Quonset hut take shape!
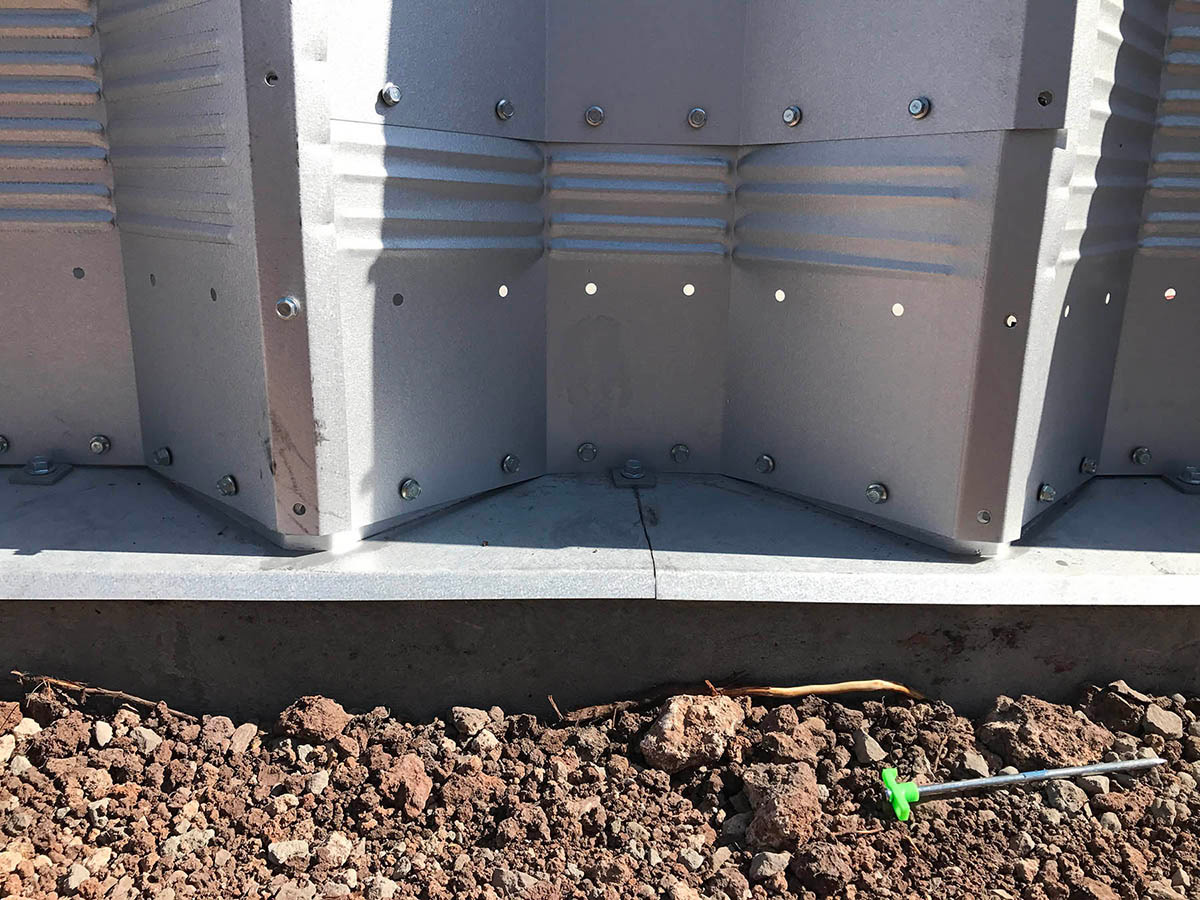
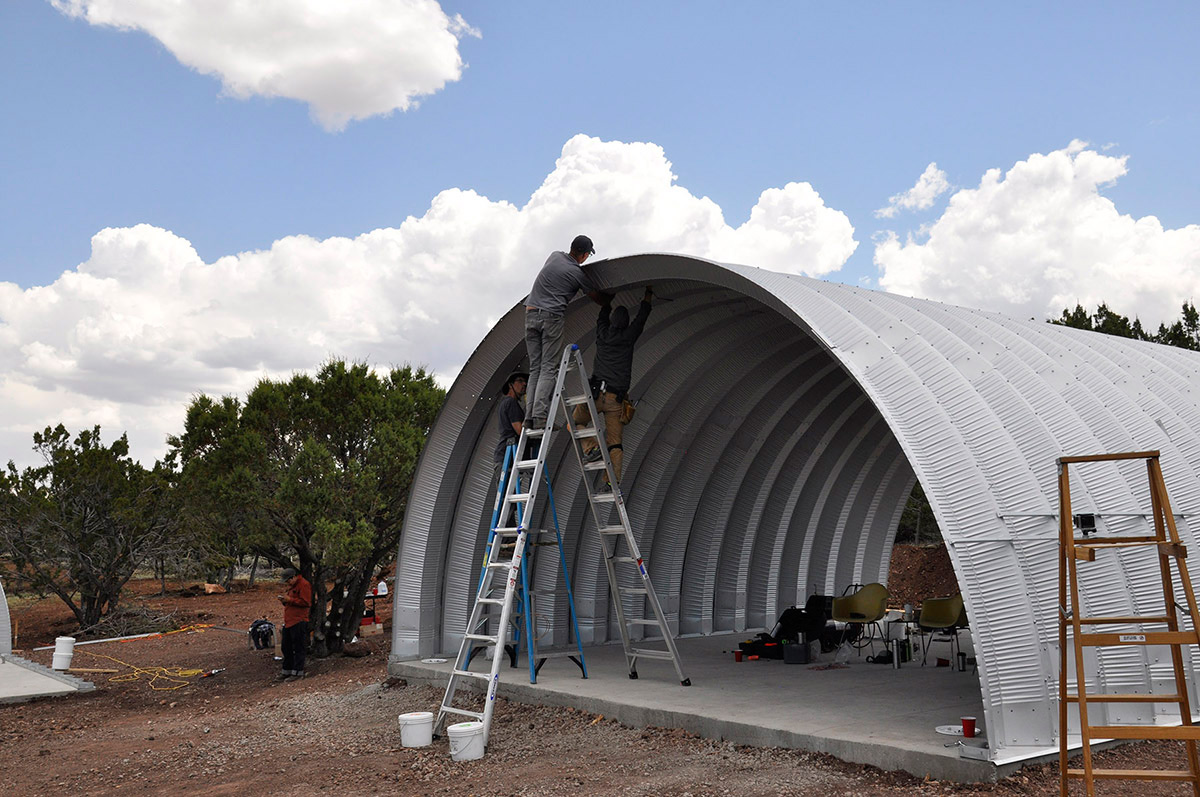
After a few more arches though, it became clear that we were having consistent issues getting the outermost bolt holes to align, where the arches came together at the base plate. (Look at the bottom row of bolts in the photo below, where there are two bolts missing.)
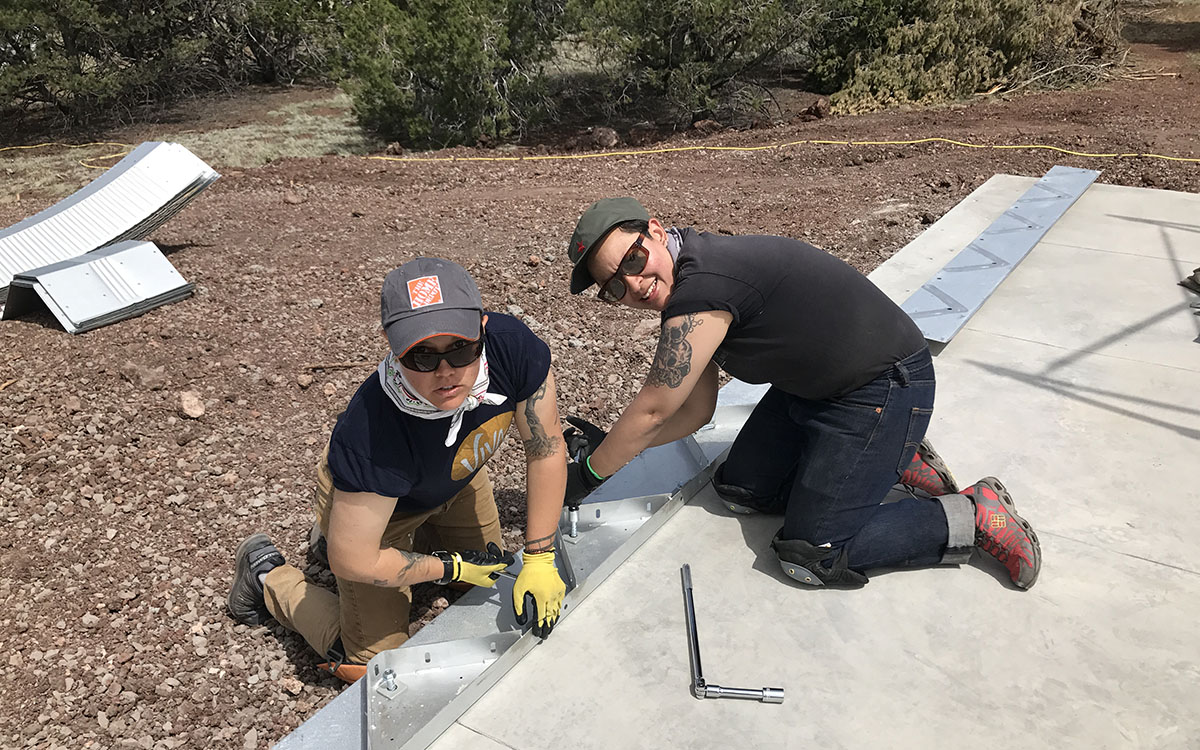
We debated and discussed this at length among our group. We decided to try putting half an arch in place at a time, rather than lifting the whole arch into place as we had been doing. It worked! Positioning half the arch at a time gave us much better control over the way the bottom edge fit against the base plate.
We did the next several arches using this half-by-half method and got a total of eight arches done that day. It was a good day! Only two arches left to go on Quonset hut #1.
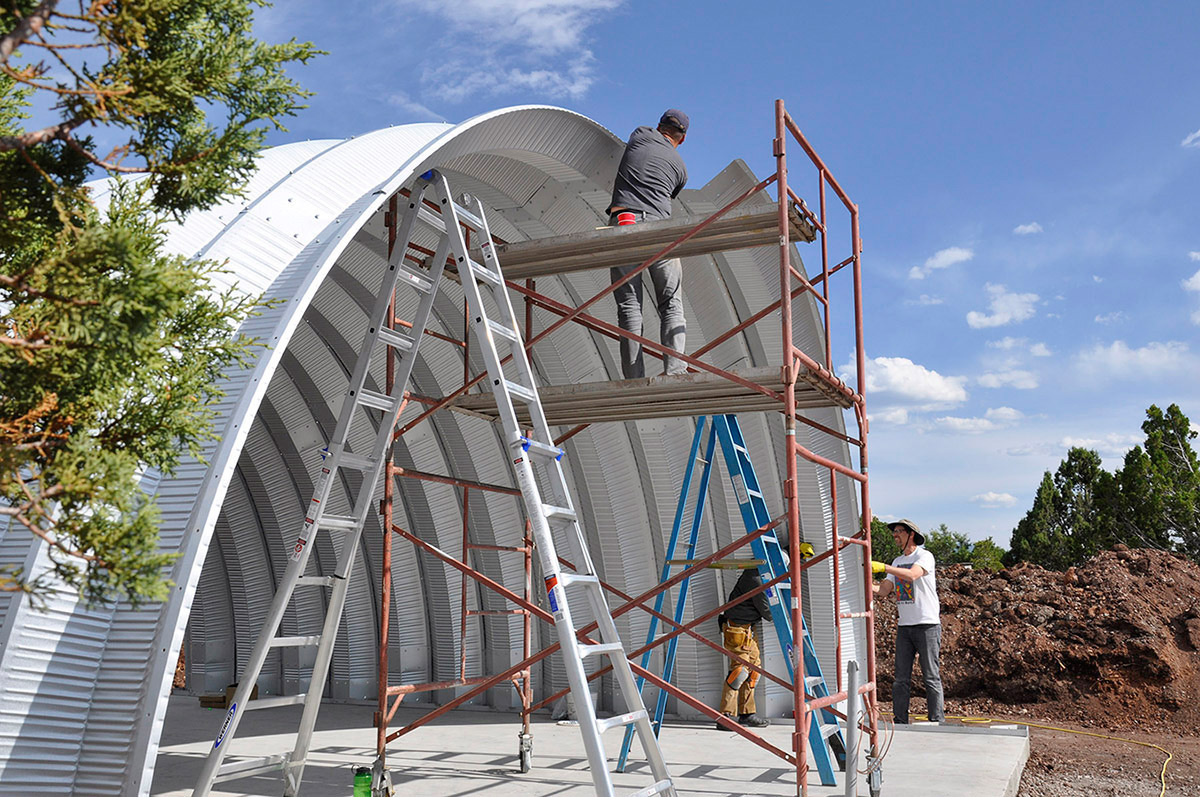
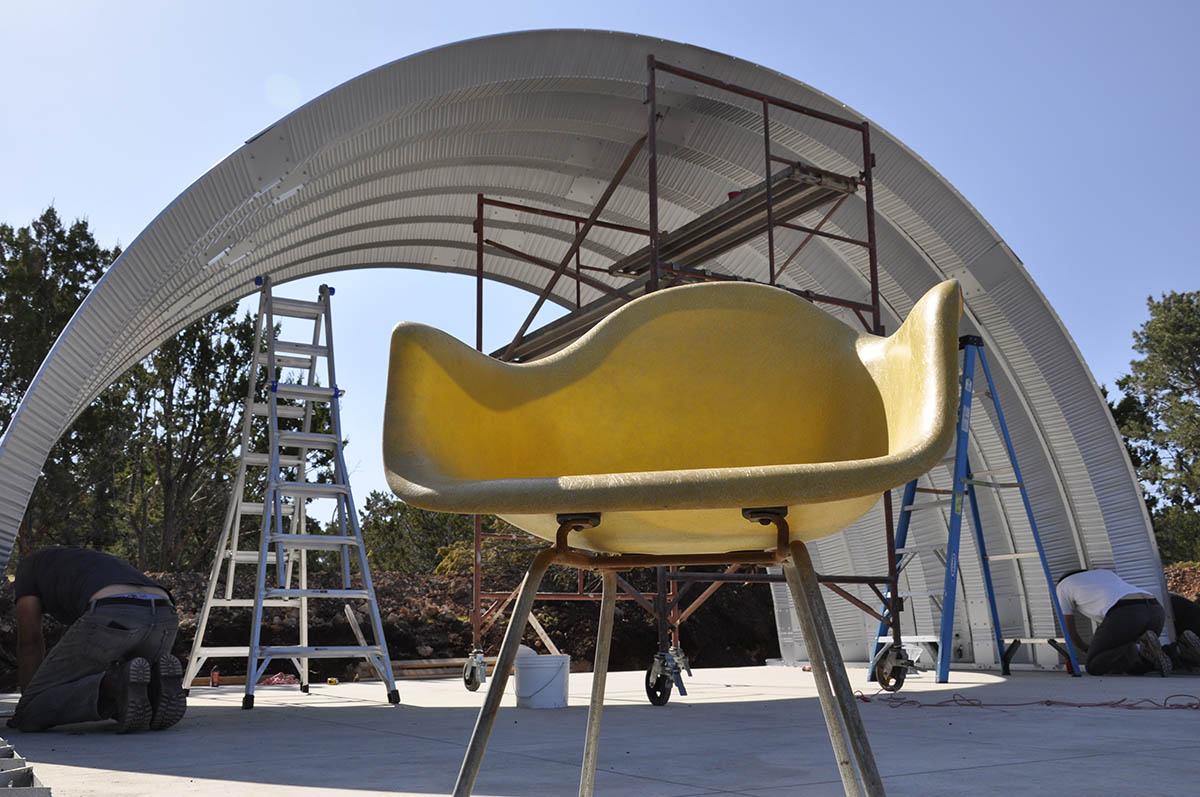
As our building grew towards the end of the slab, it became harder to make use of the scaffolding. When you raise each arch, you need to be able to reach over the top of it, to insert the bolts through the holes. At the edge of the slab, the scaffolding can only be directly under the arches, preventing you from reaching over the top. (Putting the scaffolding on the uneven, loose dirt seemed like a bad idea.) Thus we built the last two arches of Quonset hut #1 piece-by-piece on ladders, instead of by whole or half arches. Again we had success, and these last two arches went up relatively smoothly.
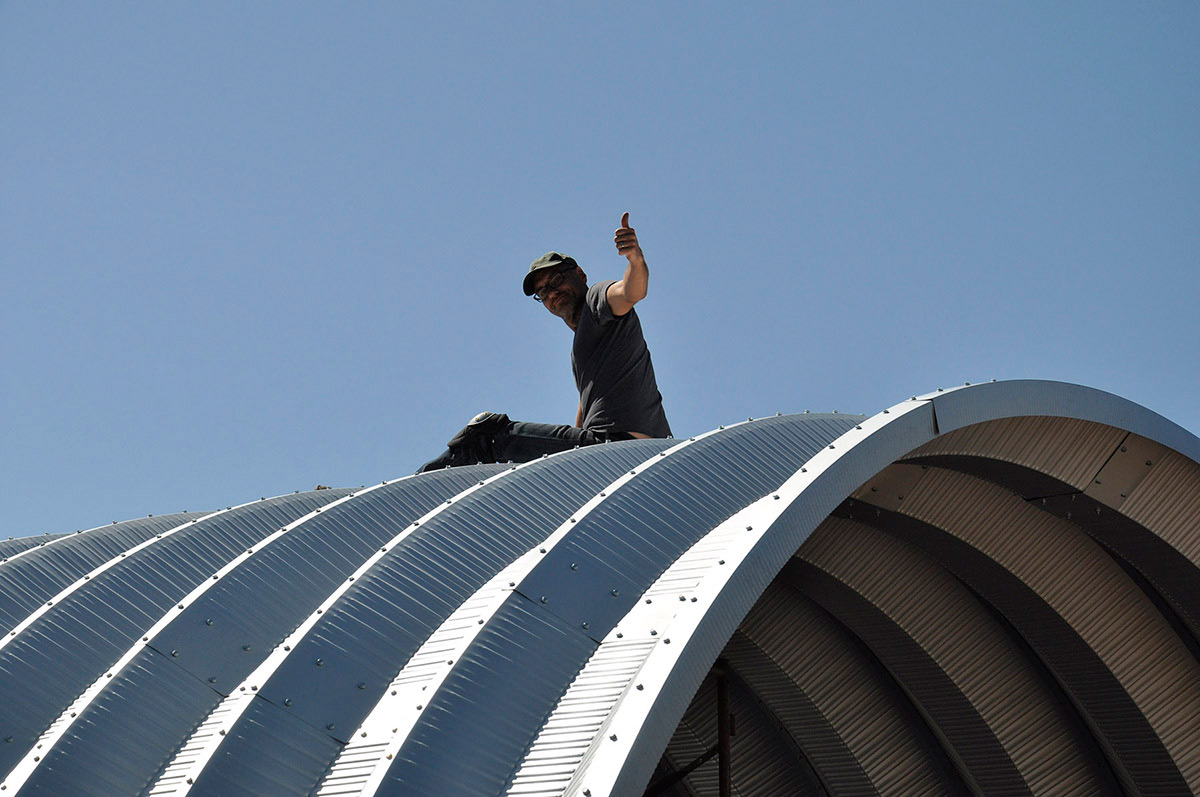
As you assemble your building, SteelMaster advises that you only install every other bolt, or even every third one, and leave the rest for later. Also, they advise that you only screw on the nuts finger tight and no tighter. Once the whole building is complete, you go back and fill in all the remaining bolts and tighten them all with a wrench. After all our arches were in place and loosely bolted, it took about a day to go back over the whole building, fill in the missing bolts, and tighten everything up.


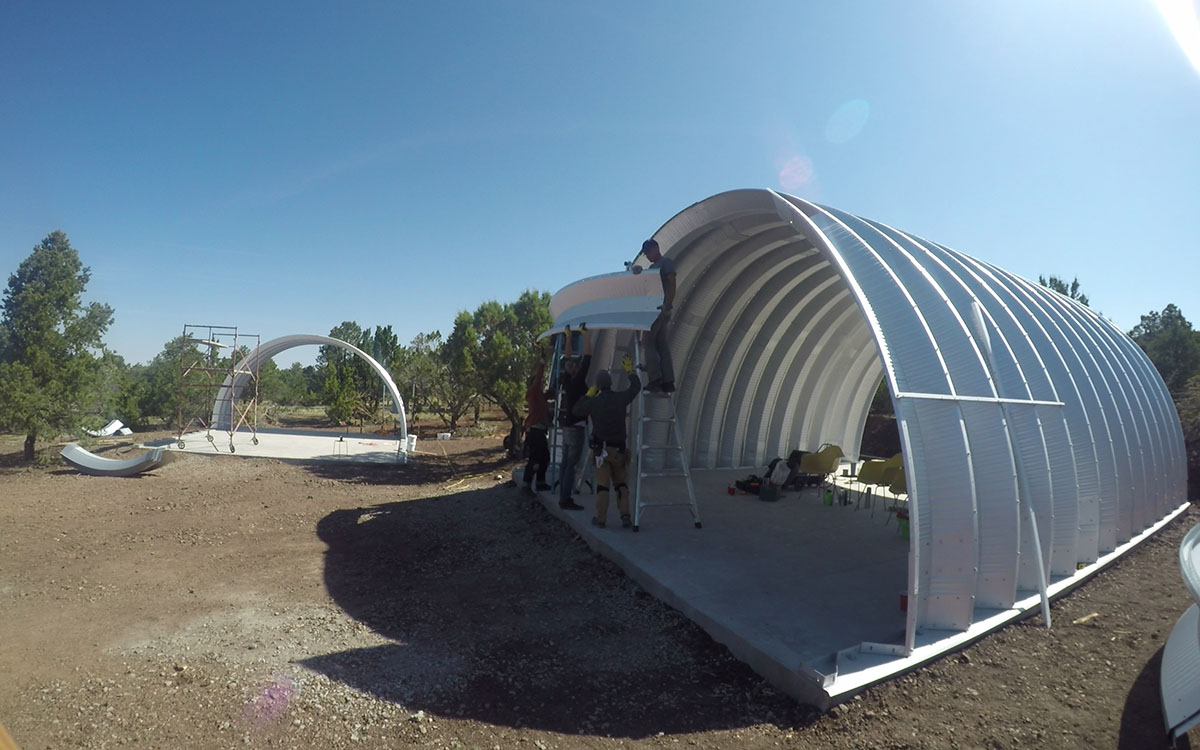
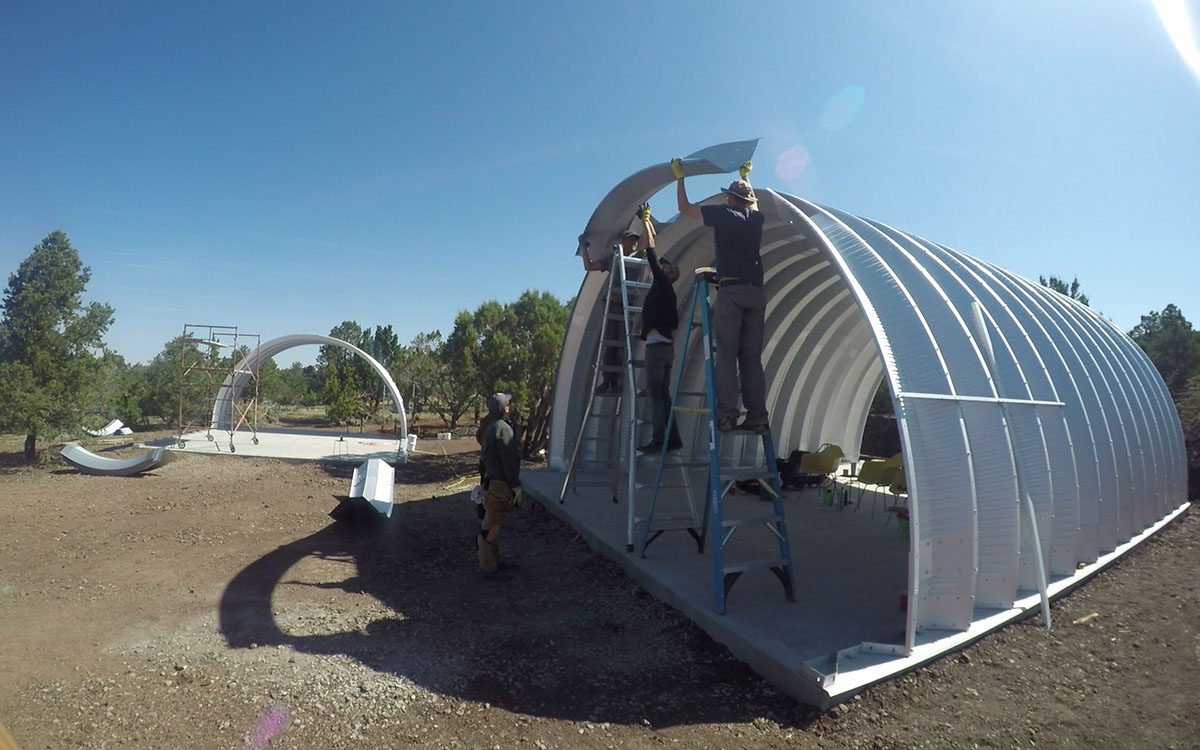
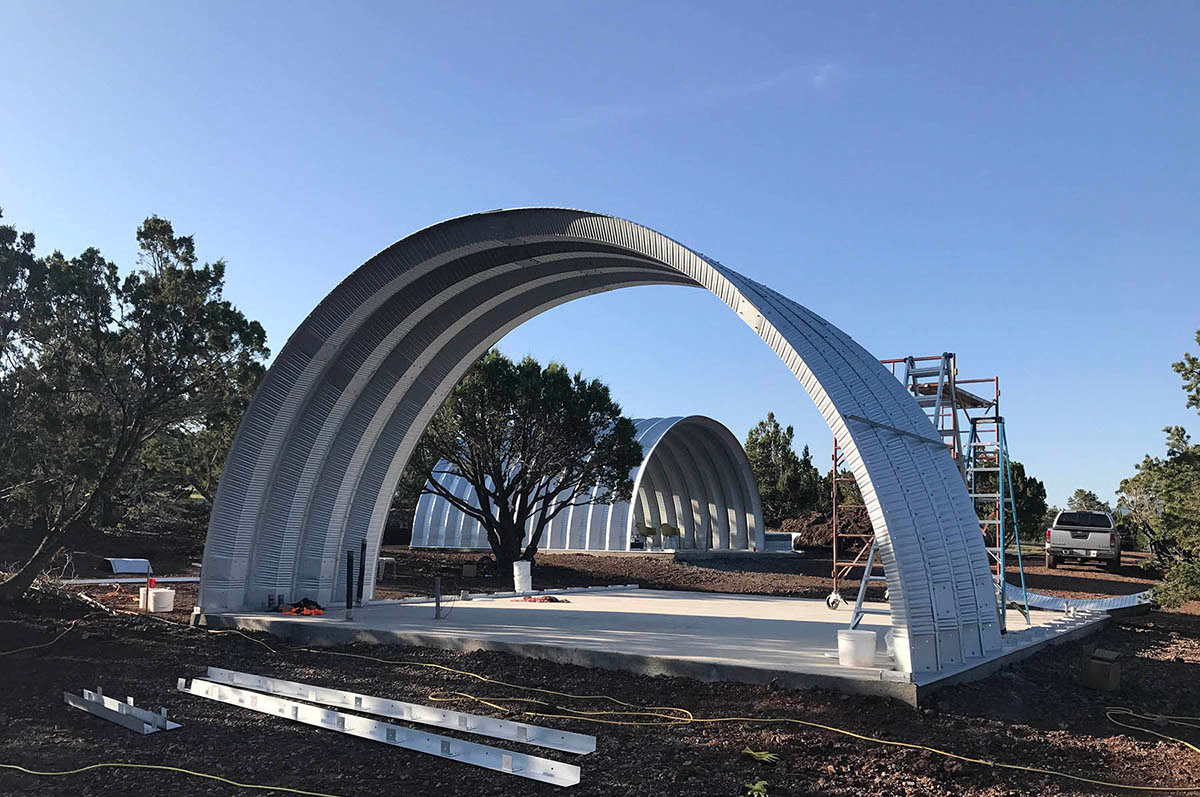
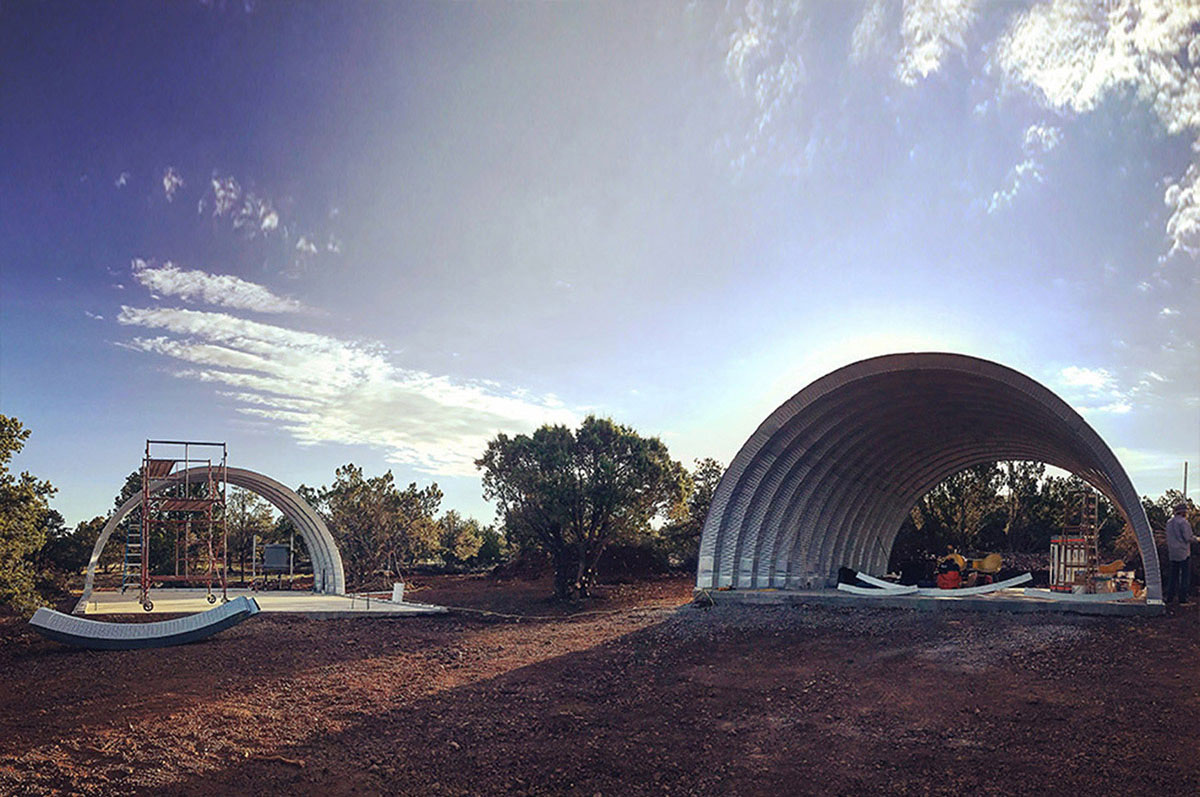
In addition to getting all the arches standing and bolted up for Building #1, we made some progress with the arches on Building #2 as well. The picture below shows Building #1 in the background, seen through the arches of Building #2.
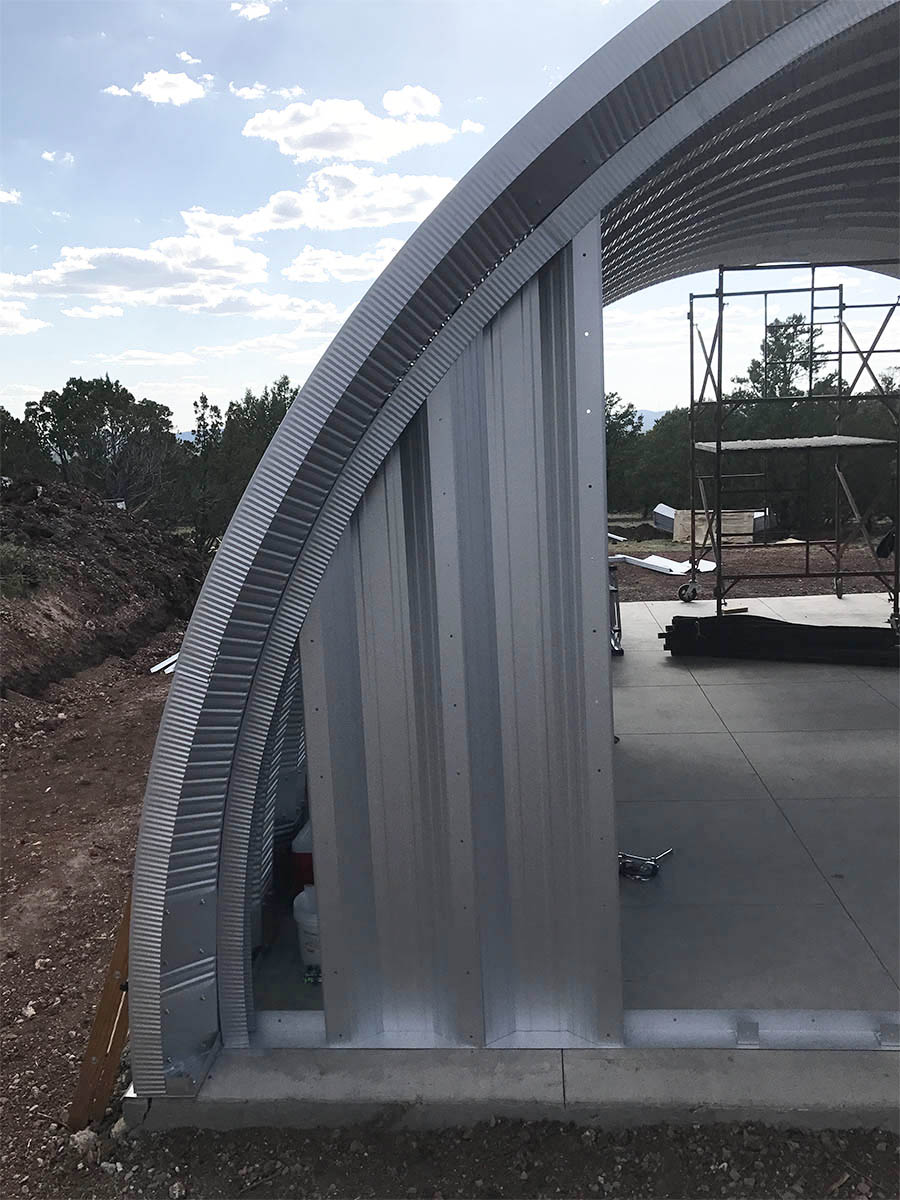
We also made a little progress on the rear end wall of Building #1, but we ran out of time on this trip. This is where we’ll pick up when we return in about a week.
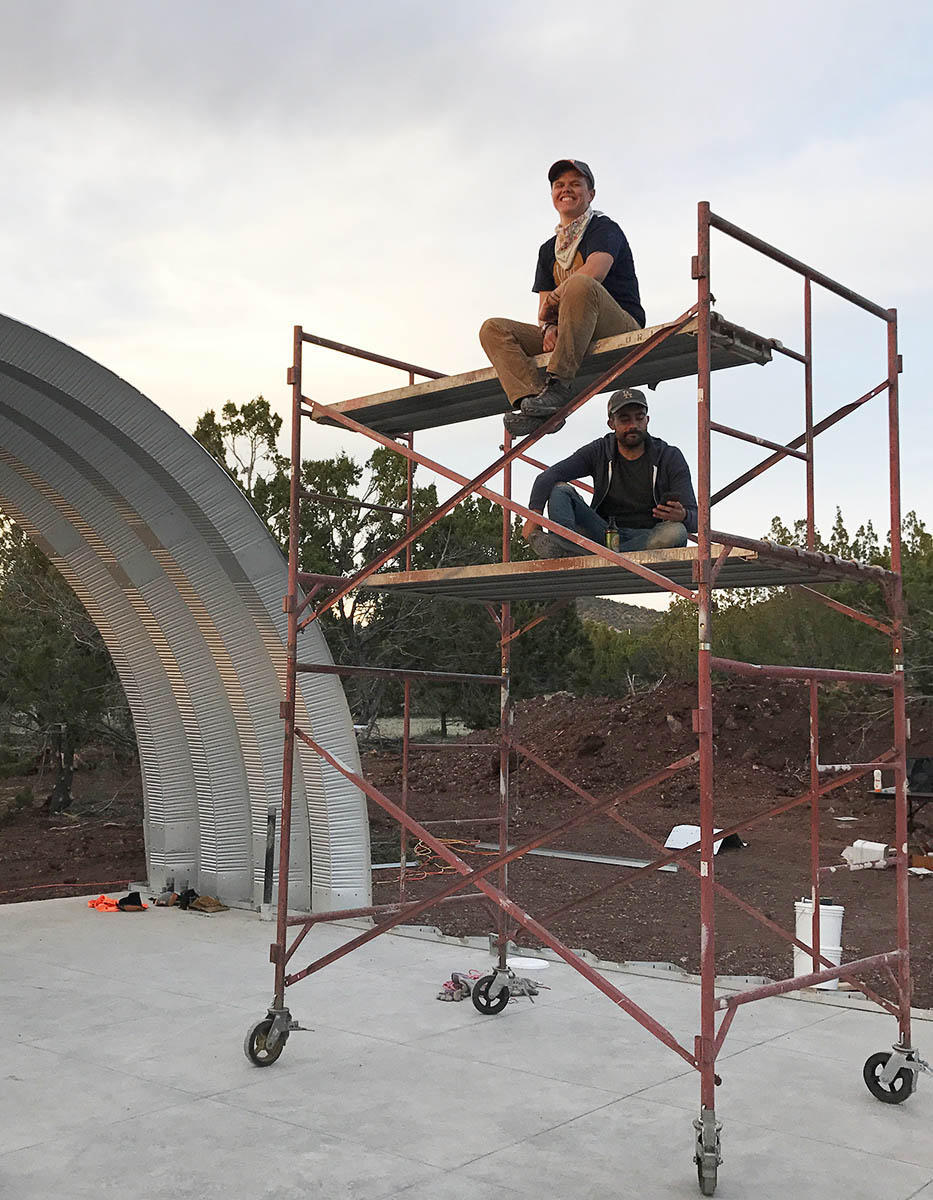
And, besides getting a lot done on our Quonset huts, we had a lot of fun!

We certainly learned a lot, and we have been busy brainstorming ways to make our Quonset construction process more efficient on our next trip out. If you’re interested in learning more, we’ve started a private Facebook group called “DIY Quonset Dwellers” where there is a robust, ongoing conversation happening! You can request to join the group here.
If you have any questions or want more details about any part of the process, let me know in the comments!
Curious about Quonsets? Ready to learn more about these bizarre, amazing, shiny, round, prefab structures? Drop your info below and I’ll start you off on my email tutorial series. Looking to build an inexpensive but beautiful home debt-free? Considering going off-grid? Or are you just tired of the same old same old and want something unique and beautiful? A Quonset House might be the answer for you.
Follow us on Instagram and Facebook. We also have a private Facebook group called DIY Quonset Dwellers, where we share discussion, design, and construction tips with others who are interested in building their own Quonset hut house. With over 6,000 members and counting, the Facebook group has grown into an amazing resource all of its own! Learn more and request to join the Facebook group here.
thank you for sharing, my wife and and I are in the preliminary stages of getting info gathered for our build. I’m in the hvac business and one of our customers had a quonset hut home, which was a steelmaster, and my wife is all for it. thanks again
Hey Armando, that’s exciting! Good that your wife is on board 🙂
Keep me posted on your progress, I’d love to hear how it goes!
What size is this, WxLxH?
What gauge steel did you use?
Thanks.
Both these huts are 25′ x 28′. I think they were about 20 gauge but building #2, which wasn’t finished yet as of this post, had heavier gauge arches next to the side windows. I think those arches were 16 gauge. They were pretty heavy. But you don’t just pick whatever gauge you want, the manufacturer has to run it through their engineering to determine the minimums for your snow and wind load, etc.
Really great system. I saw the demo of this shuttering used for a bunker build and a bit of Googling brought me here. Appreciate the step by step and challenges faced and solutions.