After a little more of a break in the action than we had planned on, having hurt my back on the last day of our previous trip, Eric and I finally made it back to the property on Monday the 7th of August, and worked for a week. We found everything pretty much as we had left it.
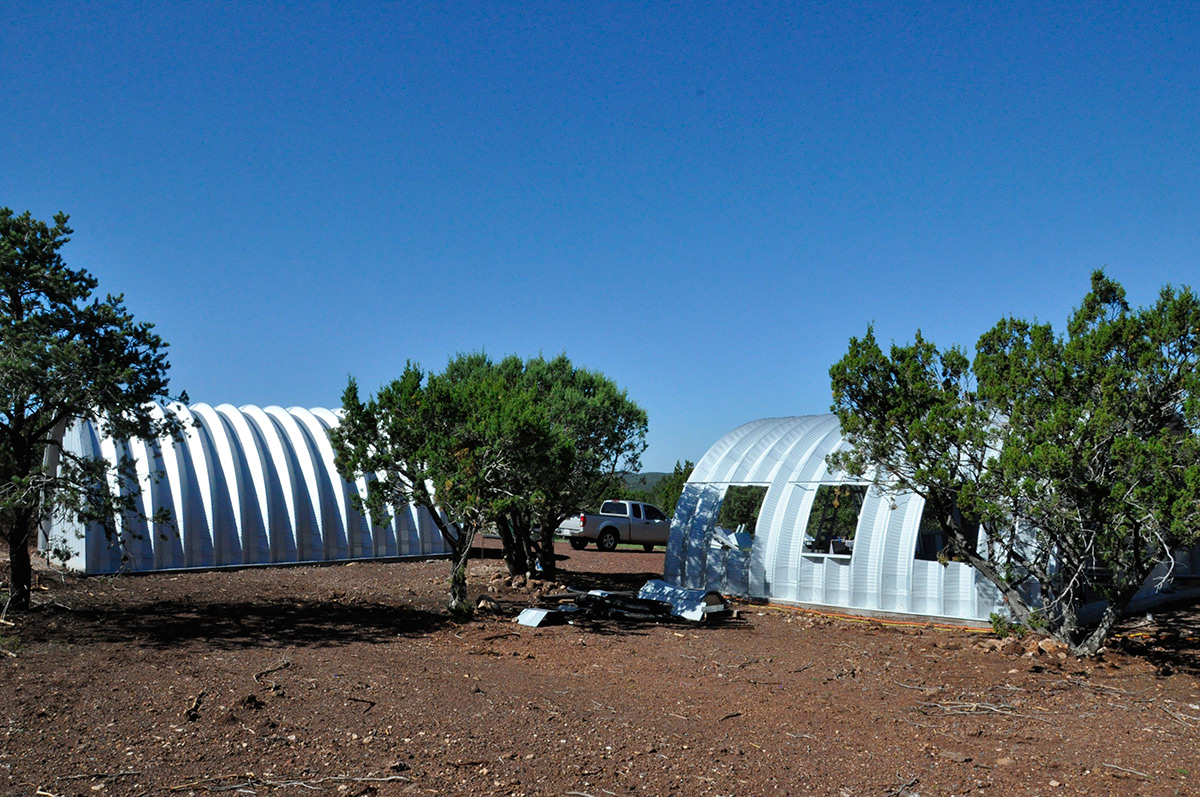
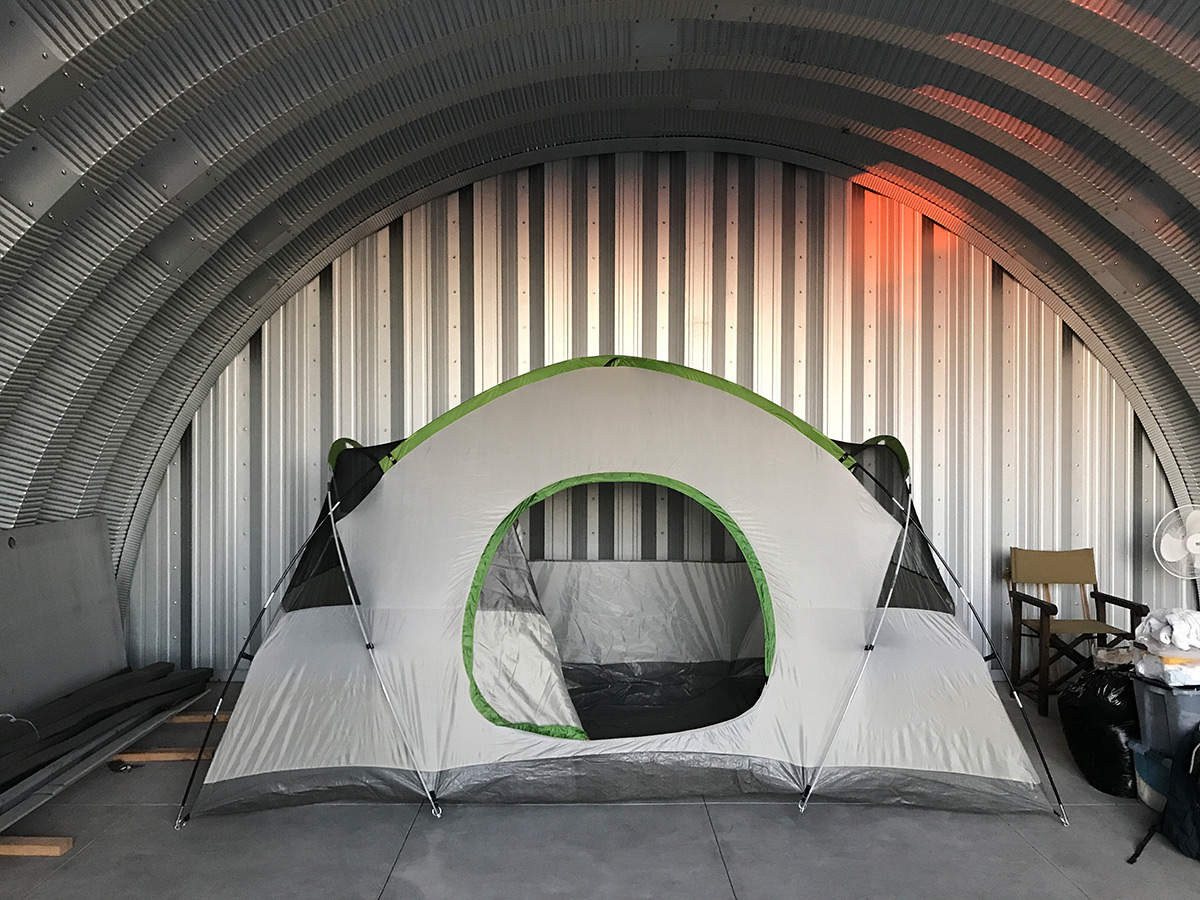
With rain in the forecast, we set up our tent right inside the Workshop Quonset, since it now had an end wall in the back, and a partial front wall as well. In late summer, it’s common in the afternoon and evening for monsoon rains to blow up from Mexico and cause intermittent downpours. It was great to have a real roof over our tent in time for monsoon season!
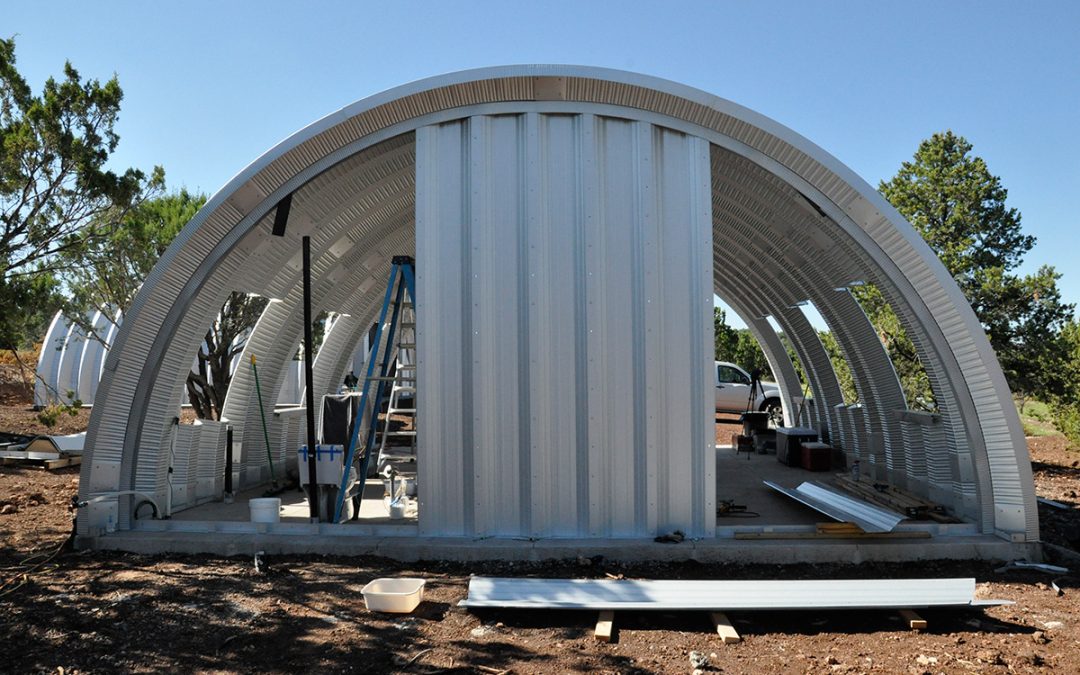
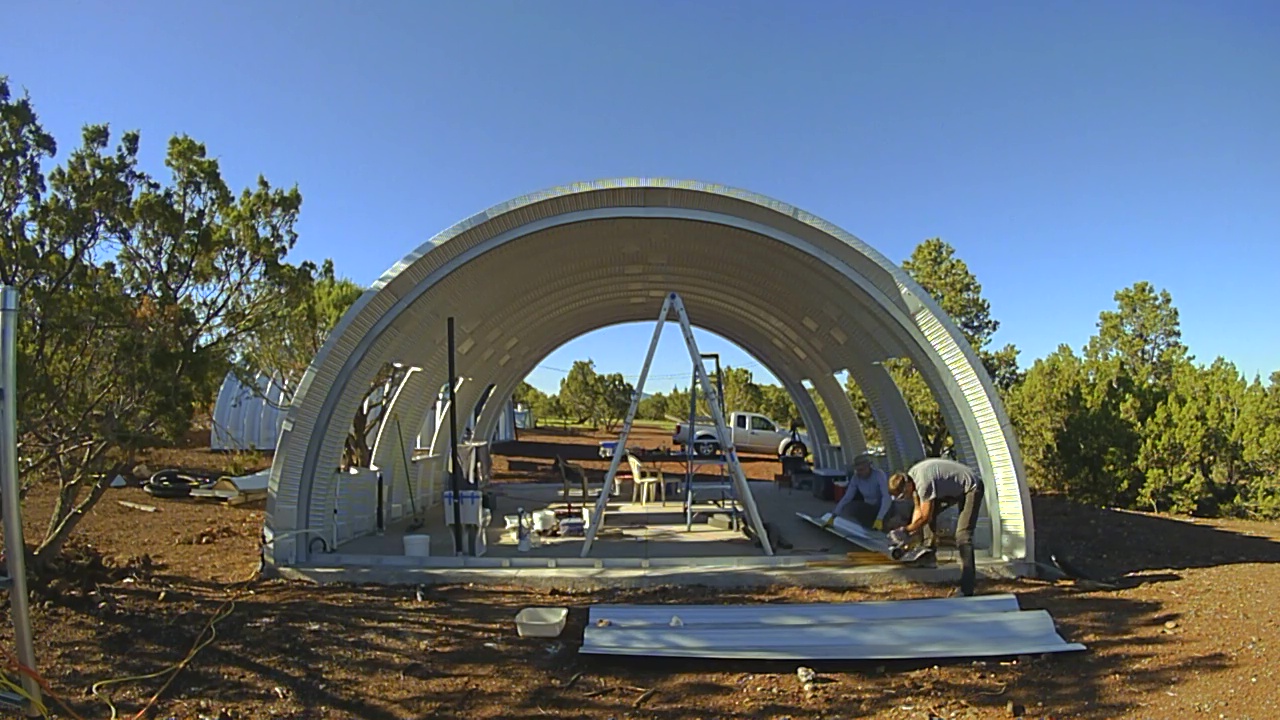
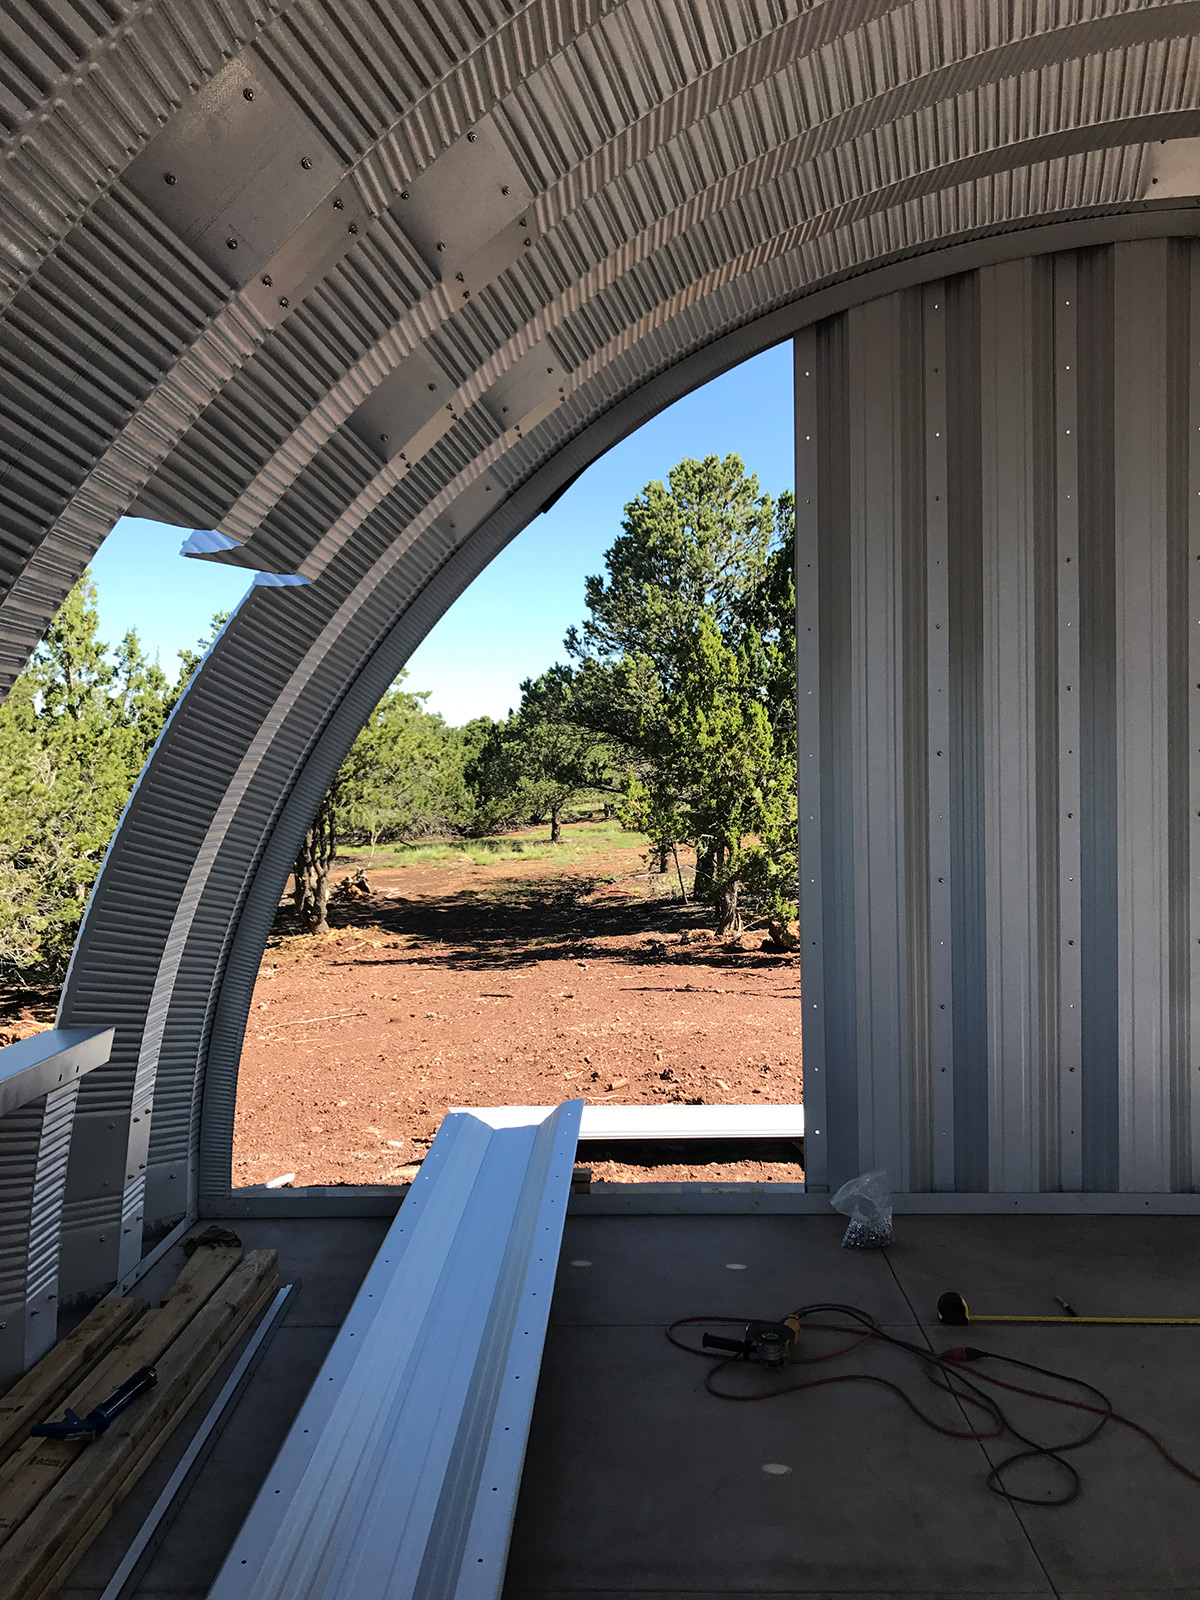
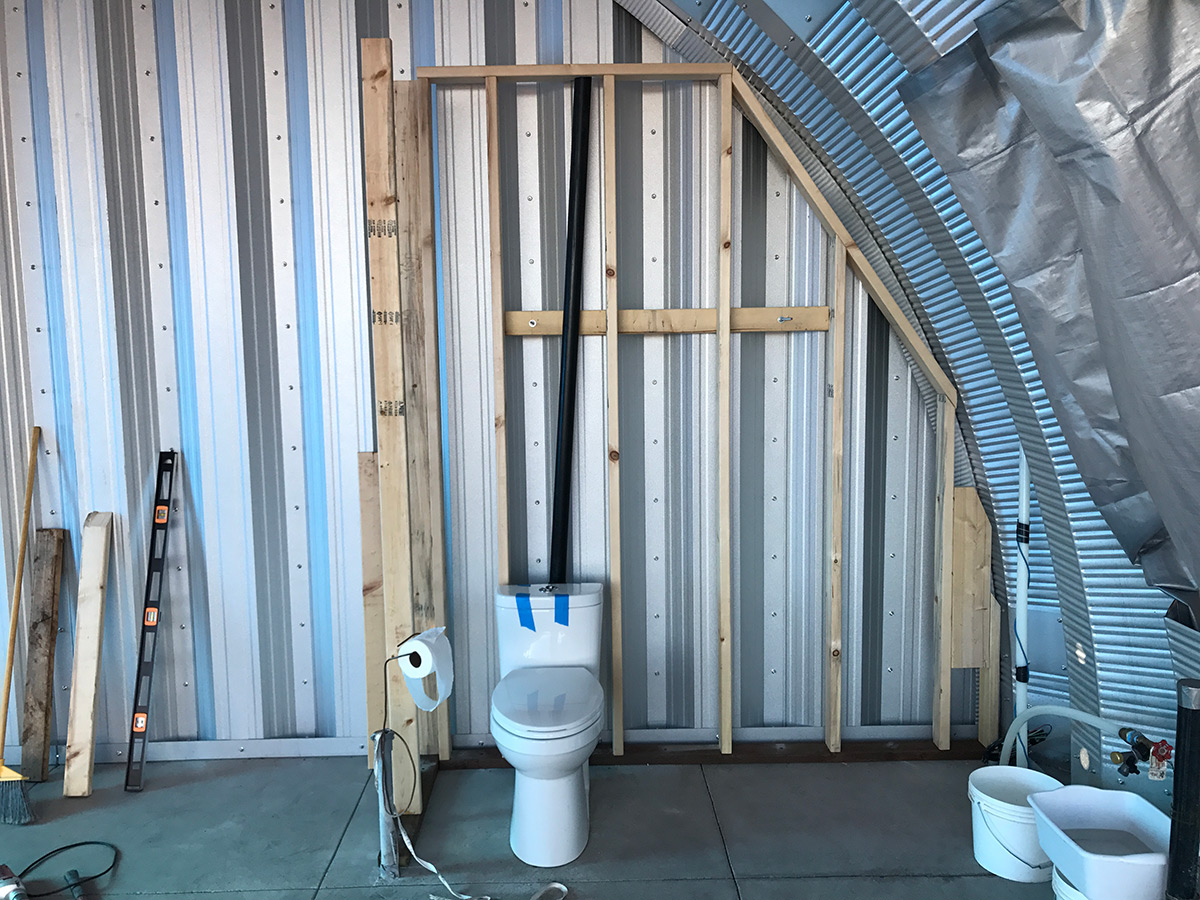
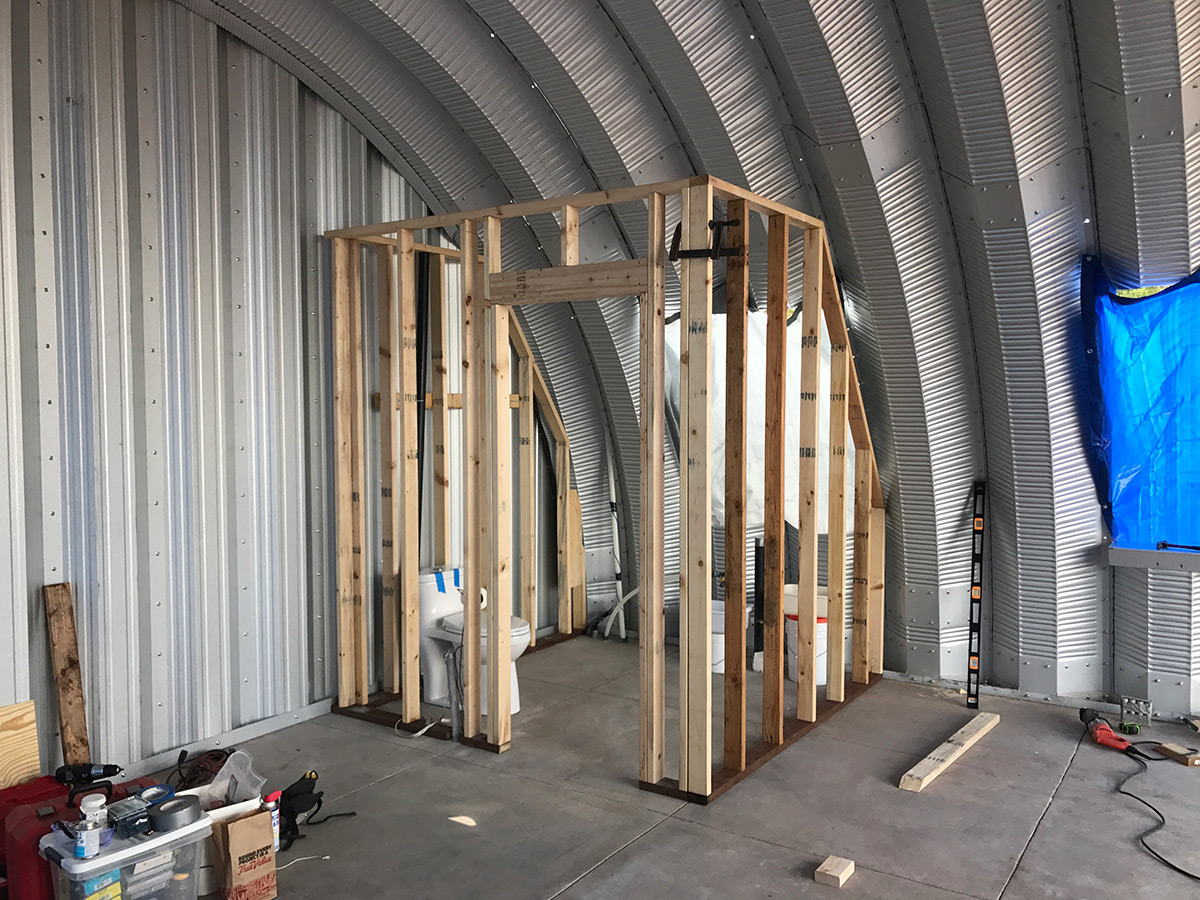
Our primary task for this visit was to frame up the wood stud walls enclosing the bathroom in the Headquarters building. The plumber had more work to do to finish hooking up our cistern and pump so that we could get water pressure in the building. In order for him to finish, the wood wall framing needed to be in place. Before we could build the wood walls however, we needed to have the SteelMaster end wall put together.
When it came time to stand the tall metal panels in place, we were more than a little disappointed to realize that SteelMaster cut nearly every one of our end wall panels too long. They just didn’t fit. We had to set up a cutting station with my angle grinder and cut about an inch off each one before putting it up. Apart from that, it went together relatively easily. Better too long than too short, but there was a certain amount of frustration that something that should have taken about an hour or less took much longer. Each panel had to be checked, measured, and cut. Only a couple of the smallest panels were ok to install without modification.
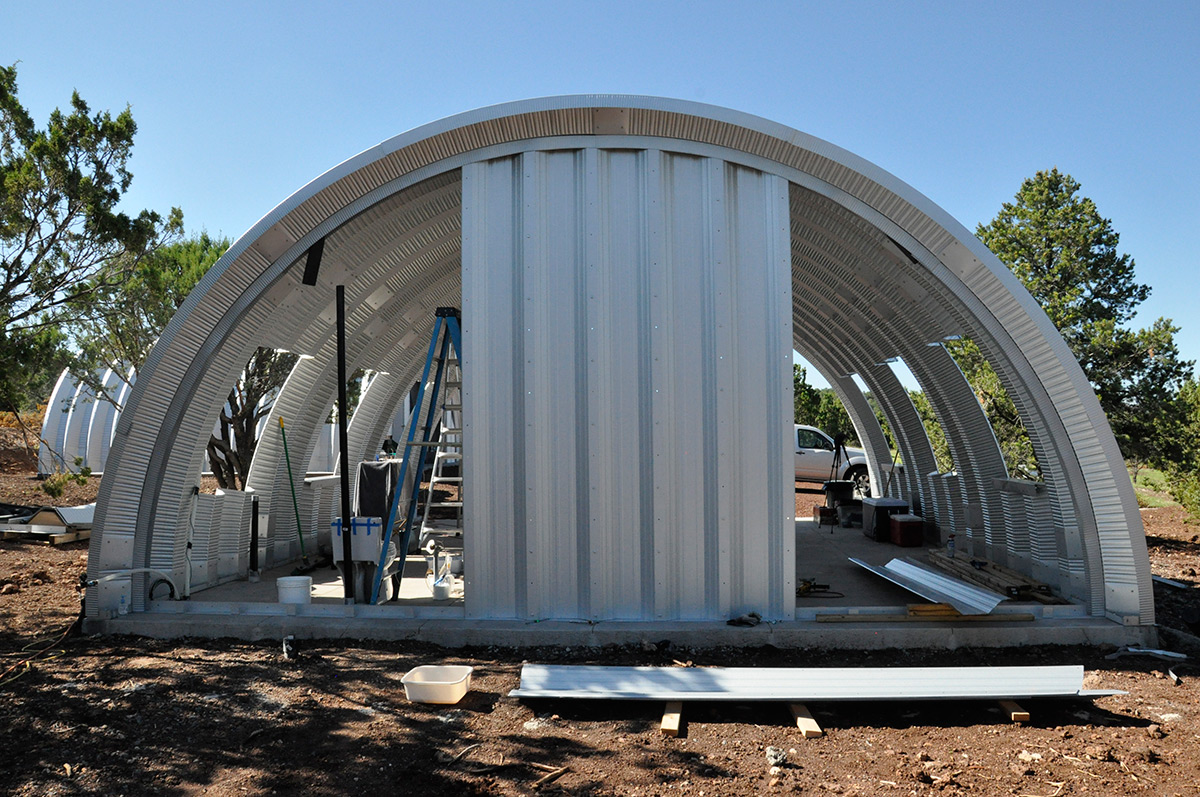
In a way, we hated to build the end wall and block the views of our property. There’s something really great about the open-ended shell of a Quonset hut. Perhaps someday we’ll take some of the end panels back out and frame in some windows on this wall. The views out to the trees are really lovely in that spot.
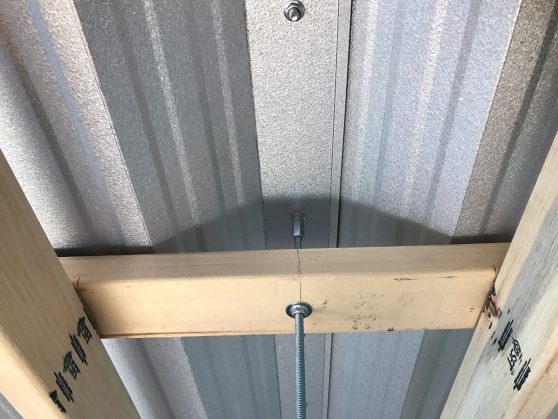
With the end wall up, we started the wood framing. We used coupling nuts and threaded rods to bolt the wood wall to the metal wall. Eventually we will add wood framing like this to the underside of the whole metal shell, as support for a plywood ceiling. This will allow us to insulate between the plywood ceiling and metal shell. Plus, the plywood will make a really great looking ceiling/wall surface.
Working on wood framing was a fun break from the seemingly endless Quonset bolts!
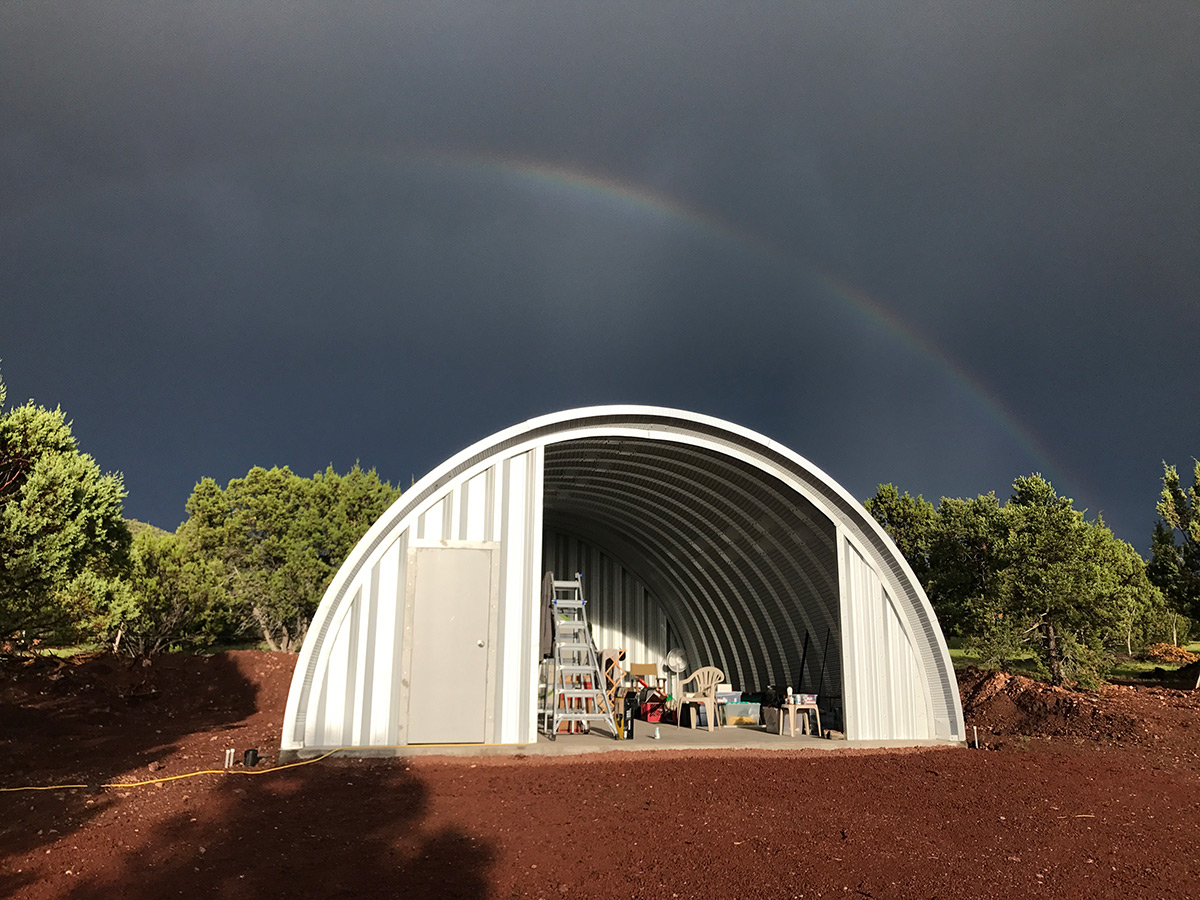
The monsoon rains came on schedule. One storm was particularly intense and I captured about a minute of video with my phone. The buildings didn’t leak!
Later that afternoon we were rewarded with a rainbow.
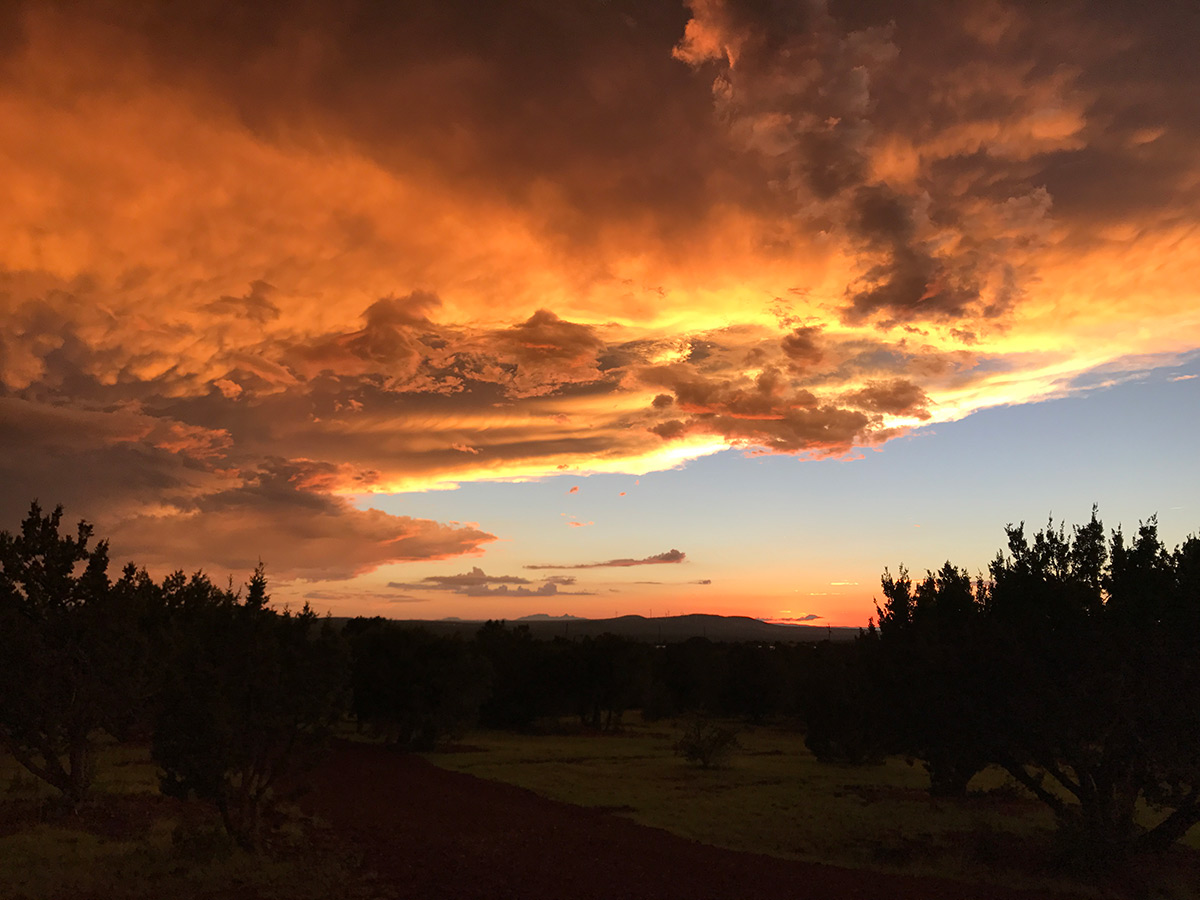
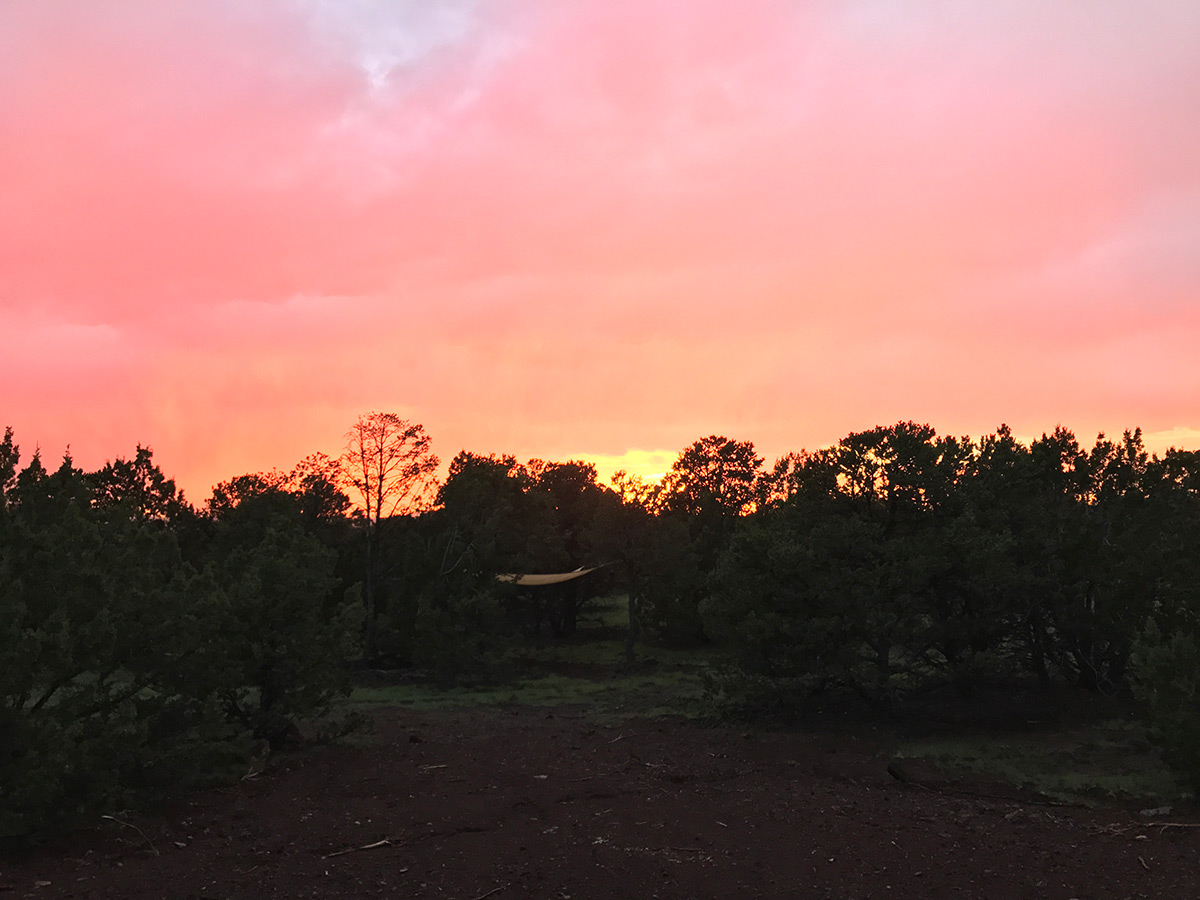
We were also rewarded with possibly the most dramatic sunset we had ever seen. There’s no way these photos can do justice to the sight. The clouds were slowly, constantly swirling and evolving, and it went on for at least 45 minutes. It was like a Baroque painting come to life.
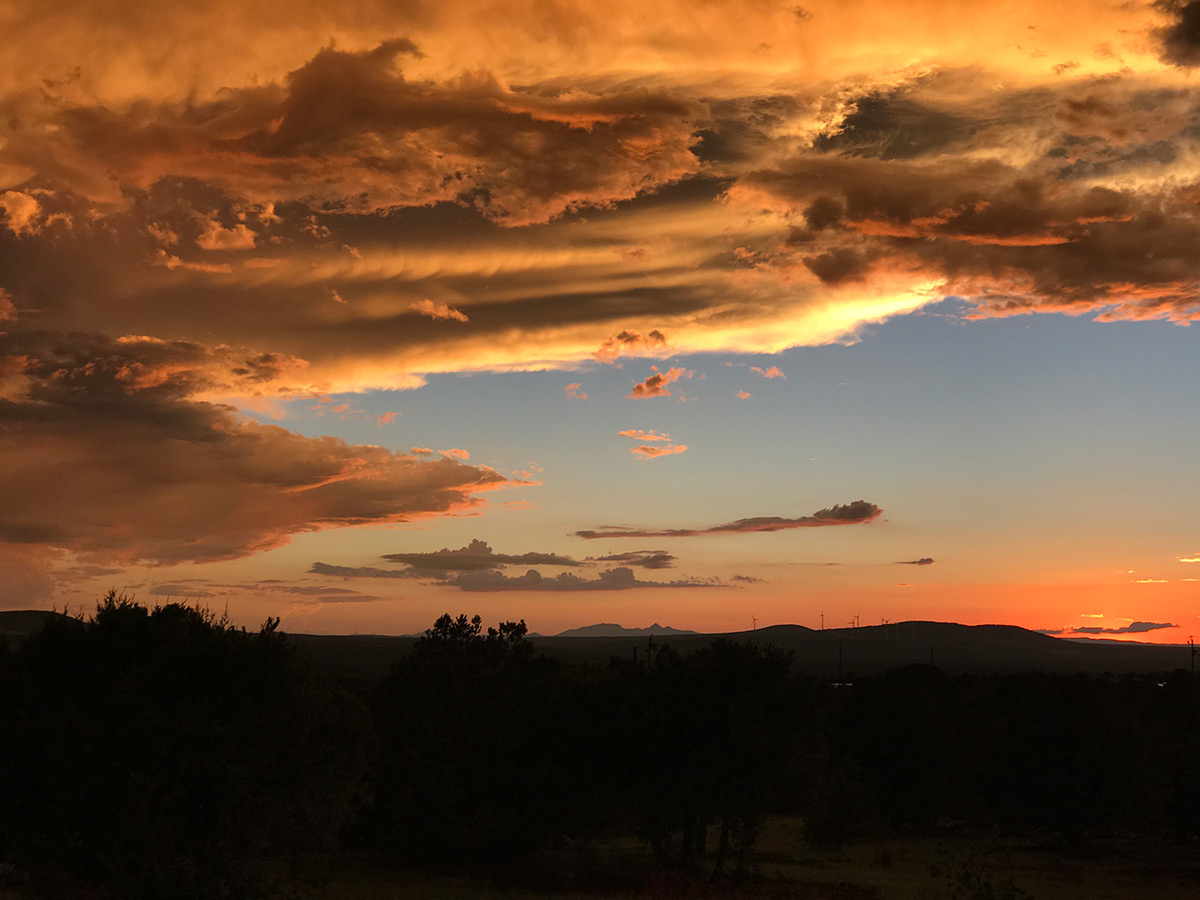
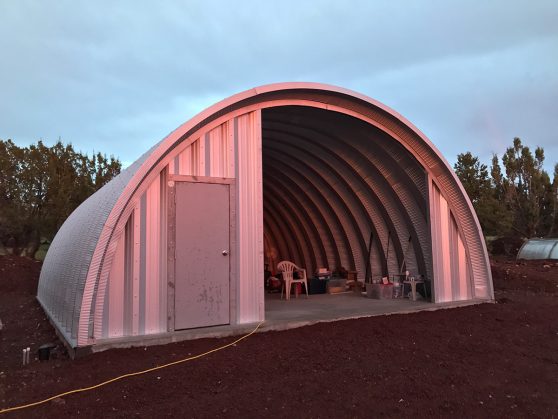
Another evening, the sky was steadily transforming gradation from pink to orange, with the buildings reflecting the color back in response.
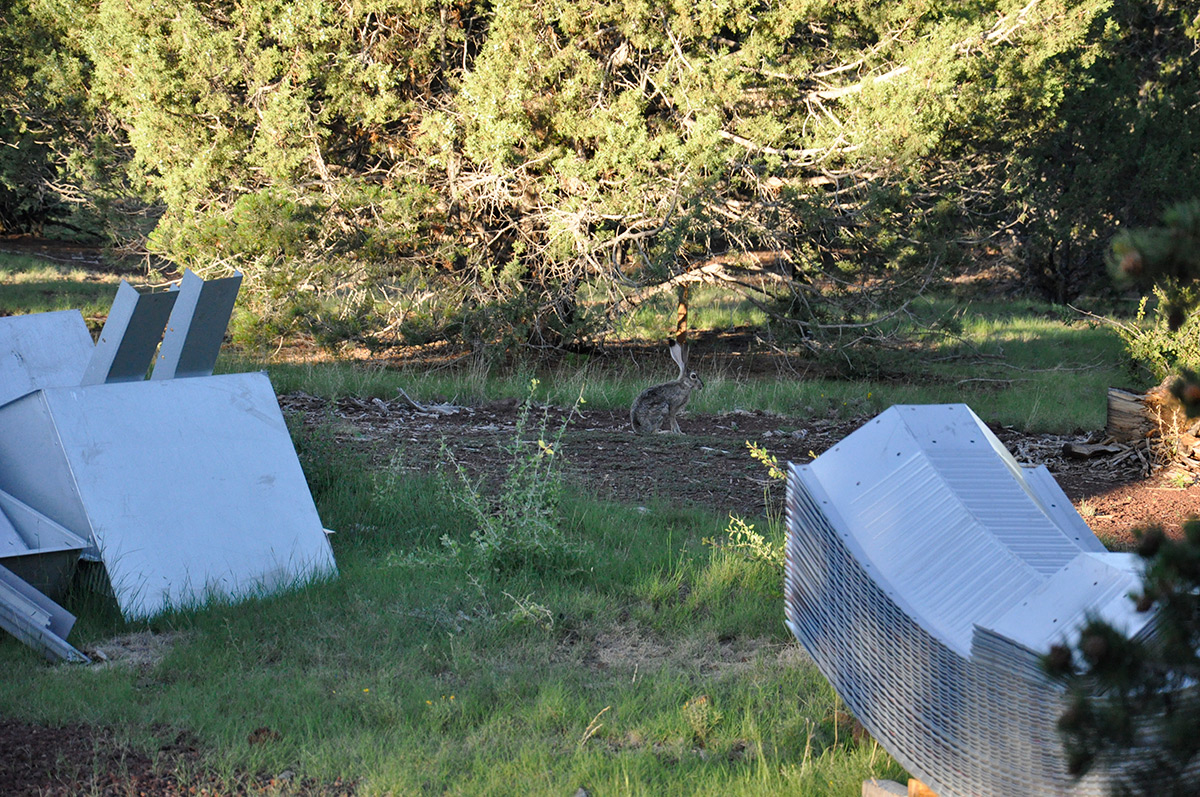
A jackrabbit stopped by one afternoon. We see them a lot on the property. They are timid but super charming, and they are starting to seem less afraid of the construction than they were at first.
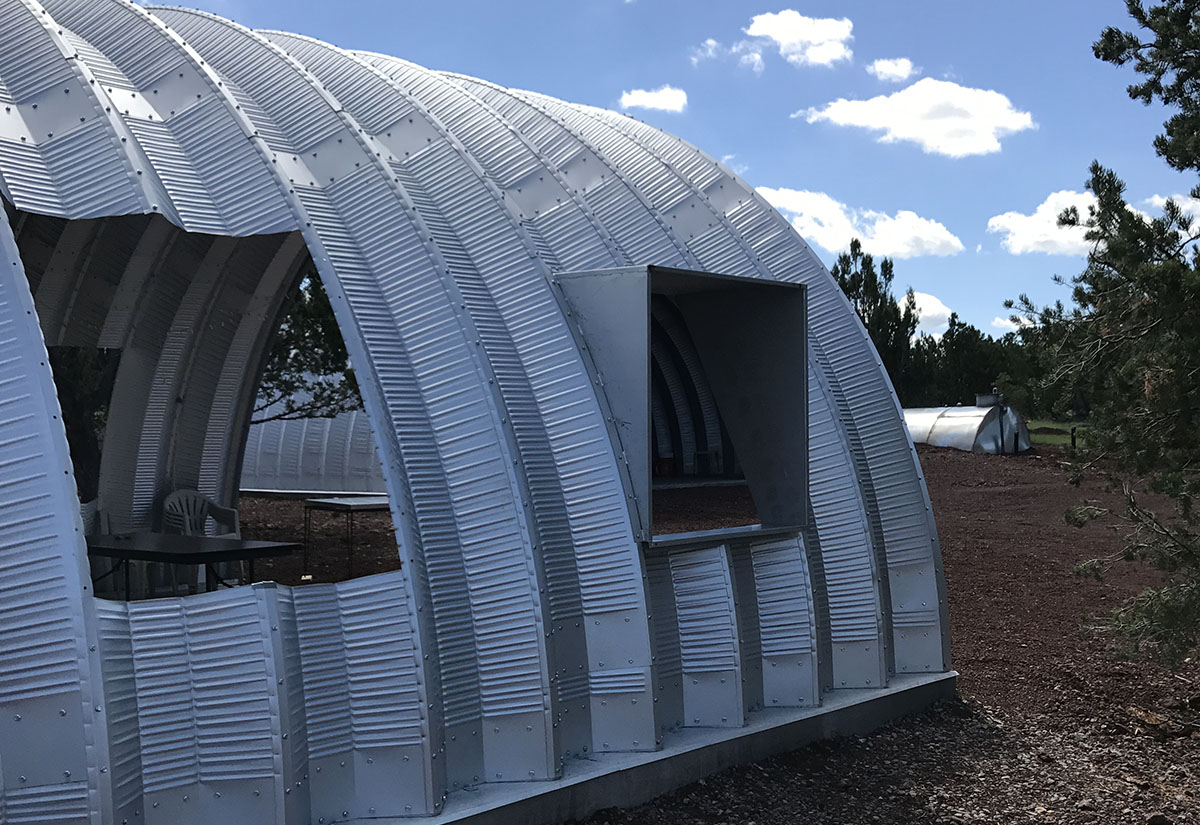
The other big building task we took on was to get one of the side window boxes installed. Here again we had trouble with the factory parts provided by SteelMaster. The windows were fabricated too wide to fit the openings in the arches. I will probably write a longer post on just this topic, so if you’re interested in more detail on the window boxes, you might leave an encouraging remark for me in the comments asking me to elaborate. We are very, very excited to have the side windows in this building, but we won’t likely be putting side windows in any more of the buildings at the Quompound.
To get the window boxes to fit, we had to bend back the edge of the arch panels on either side of all six openings. These panels were 16 gauge, which is .06″ or about 1/16 of an inch thick. That’s pretty stiff and hard to bend, so I used my grinder to cut slots all along the edge. This made it possible to bend with pliers. This was tedious and time consuming, but in the end it wasn’t all that difficult to do.
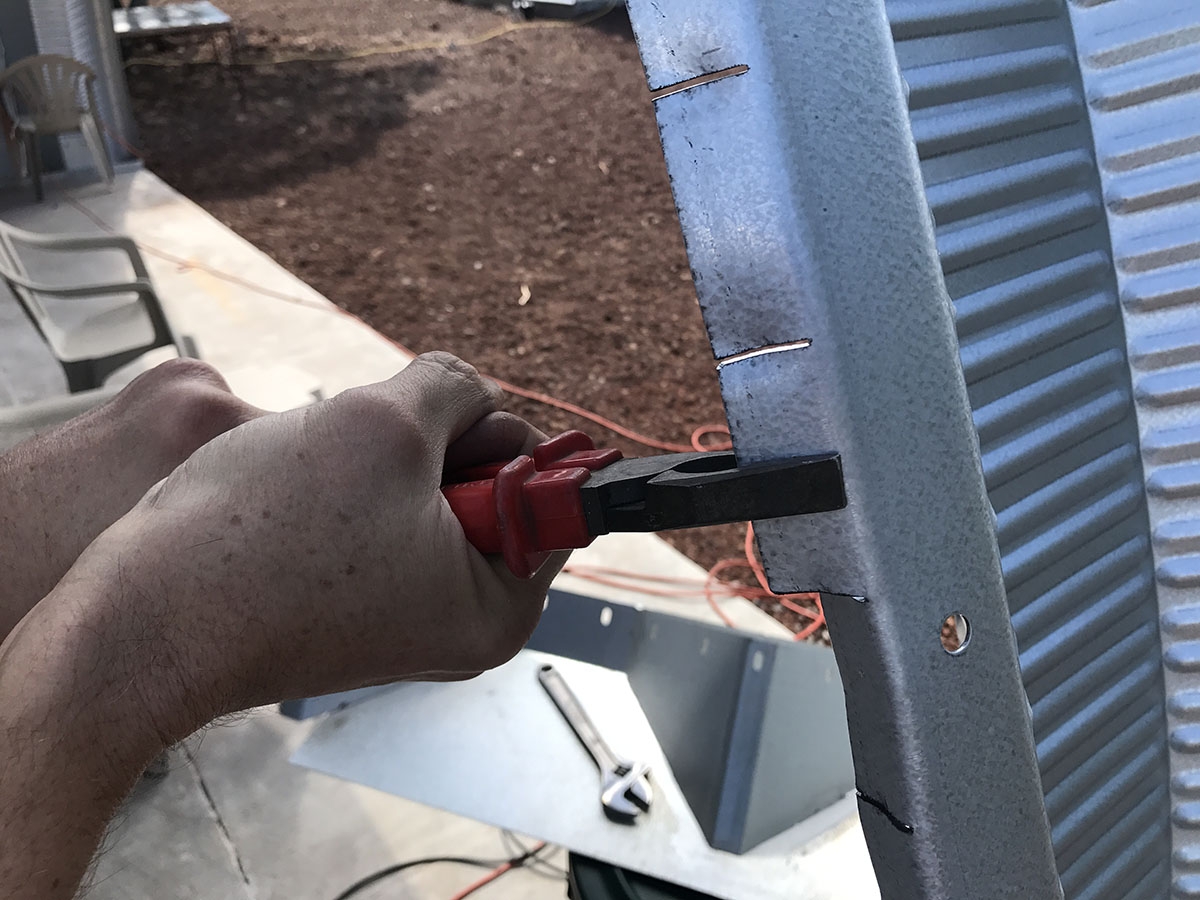

After we modified the opening, the box fit great!
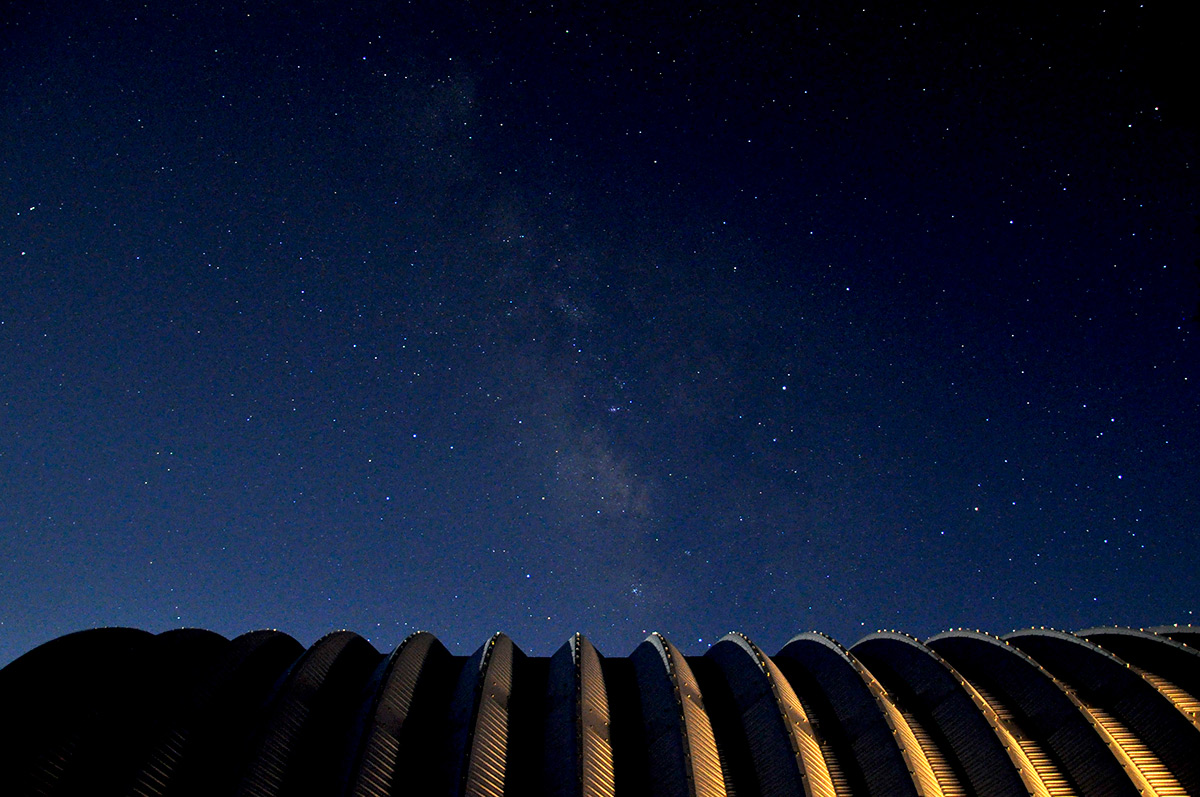
I did a little bit of night sky photography on this trip. Although this isn’t the most dramatic night sky image of the Quonsets that I’ve taken, I’m really fond of it. The glow illuminating the bolts is the rising full moon in the east. I love how the bolts glimmer in the moonlight with the Milky Way in the background.
Curious about Quonsets? Ready to learn more about these bizarre, amazing, shiny, round, prefab structures? Drop your info below and I’ll start you off on my email tutorial series. Looking to build an inexpensive but beautiful home debt-free? Considering going off-grid? Or are you just tired of the same old same old and want something unique and beautiful? A Quonset House might be the answer for you.
Follow us on Instagram and Facebook. We also have a private Facebook group called DIY Quonset Dwellers, where we share discussion, design, and construction tips with others who are interested in building their own Quonset hut house. With over 6,000 members and counting, the Facebook group has grown into an amazing resource all of its own! Learn more and request to join the Facebook group here.
These building are so cool
Thanks!
Hello Earl,
How ya doin…I saw on one of your videos, where you described a wedge shaped piece of wood, that mounts between the corrugations. Can you tell me which video that was on? I’d like to watch it again!
ThankYa,
Kevin
Hey Kevin! I’m honestly not sure which video that was but here’s a link to a blog post that explains a similar concept, probably better. https://www.clevermoderns.com/quonset-loft-house-end-wall-attachment/
If I can get a chance to go back through and see if I can figure out what video that might be I’ll leave it here.
THANKYA EARL!
What would you say is the minimum total length in feet, of threaded rod one would need??
Thanks,
Kevin
Sorry…This particular building is a 30×50. And while we’re at it, how many couplings would you suggest?
I’m thinking every 2’ in both directions would be the worst case scenario. I’m planning on using ridged foam board insulation and than covering that with metal siding/roofing.
ThankYa,
Kevin
Hey Kevin, I can’t really estimate numbers for you on this stuff but you gave me a great idea for a YouTube video on how to do this kind of estimating.
Where you located? I’m building one in northern AZ. How’d you design the side boxes? Thanks
The side boxes were provided by SteelMaster as part of the basic building kit. We’re near Williams in northern AZ.
How do you gain access to read the archives? After reviewing the information on the website that I can, I am sure the archives would have valuable information for someone building a cabin using a Quonset.
You can’t see the archives? It should show up on the right sidebar on desktop/laptop or way down at the very bottom on mobile. It lists the months and when you click on one, it shows you all the posts for that month.
Dear sir,
I am interesd in building an arch roof building ..And I would like to know the measurements of the parts used,with the largest opening of the arch,and how much will it costs?
For example:opening of the arch 15 meters and length 20 meters is what I need.
Thank you
I suggest you contact SteelMaster buildings directly with this question. You can find their contact info online. I do not sell the buildings.
We too, are building a quonset hut home. We live in Tn. Our’s is 30’x40′. We are in the process of framing the living room and kitchen. The rest is framed and has 8′ ceilings with a storage area above. The problem we are facing is: how to frame the ceiling in those two rooms and still keep the cool dome-shaped feature? We are planning on doing something light and thin up there, like paneling or corrugated metal. It has 1″ of spray foam insulation as a moisture barrier, but we need to be able to add more batt insulation. Do you have any suggestions?
Hi Donna, your new home sounds awesome! It sounds like you have already sprayed your 1″ of foam insulation, is that correct? I would normally suggest that you use the Quonset bolts on the inside, with a coupling nut, to attach 2x4s for ceiling framing. If you have already sprayed then you can no longer do it this way because your bolts are buried in foam. I wish you had reached out before you sprayed your foam!
If my above assumptions are correct then the best suggestion I have is to just frame joists that span from the end wall on one end, to the storage area wall on the other end. I hope that makes sense. Similar to the way we framed our Headquarters Hut.
Good luck with your build!
How did you boot off your wet vents ( roof vents ) do they make a special boot or did you have to modify a lead boot ? I’m in the process of building one as well but looking for solutions for the roof caps. thanks. Jason
“I will probably write a longer post on just this topic, so if you’re interested in more detail on the window boxes, you might leave an encouraging remark for me in the comments asking me to elaborate.”
This is an encouraging note(!) Would be glad to hear more about the window boxes. Thanks so much for the great website, FB group, etc.!
I am in the process of building my Q Model 30x32x15 open ended. I am looking for ideas about building my end walls. I have already erected the building and tightened all the bolts and just finished putting the trim parts on both ends. I have some ideas but I would still like to see how others did theirs for additional ideas. Do you have any pics or vids or know where I might find some? My end walls are going to be made of 2×6 boards on the lower eight feet and then 2x4s on the upper half. I plan on putting 1/2′ OSB on the outside then cover it with Hardy Lap Siding or just Hardy Board 4×8 sheets.
The best places I know for inspiration are Pinterest or my Facebook group. I hate to sound like I’m promoting Facebook here, I am soon going to create my own private community here as part of my website and not rely on FB any more for my online community. So for now you can get to the FB group at https://www.clevermoderns.com/group (that will redirect to the group).