Last week we were back at the property and continued our progress on the Headquarters building. We were there from October 5th-9th.
The “big progress” from this trip mainly involved the end wall of the Headquarters building. We got a few other things done as well, including:
- We partially dismantled and rebuilt one of the bathroom walls, so that it would better align with the side window framing. Now the wall finish material (likely plywood) will come flush with the window opening. Design-wise this was important to me. Construction-wise it makes things a lot easier down the road, too.
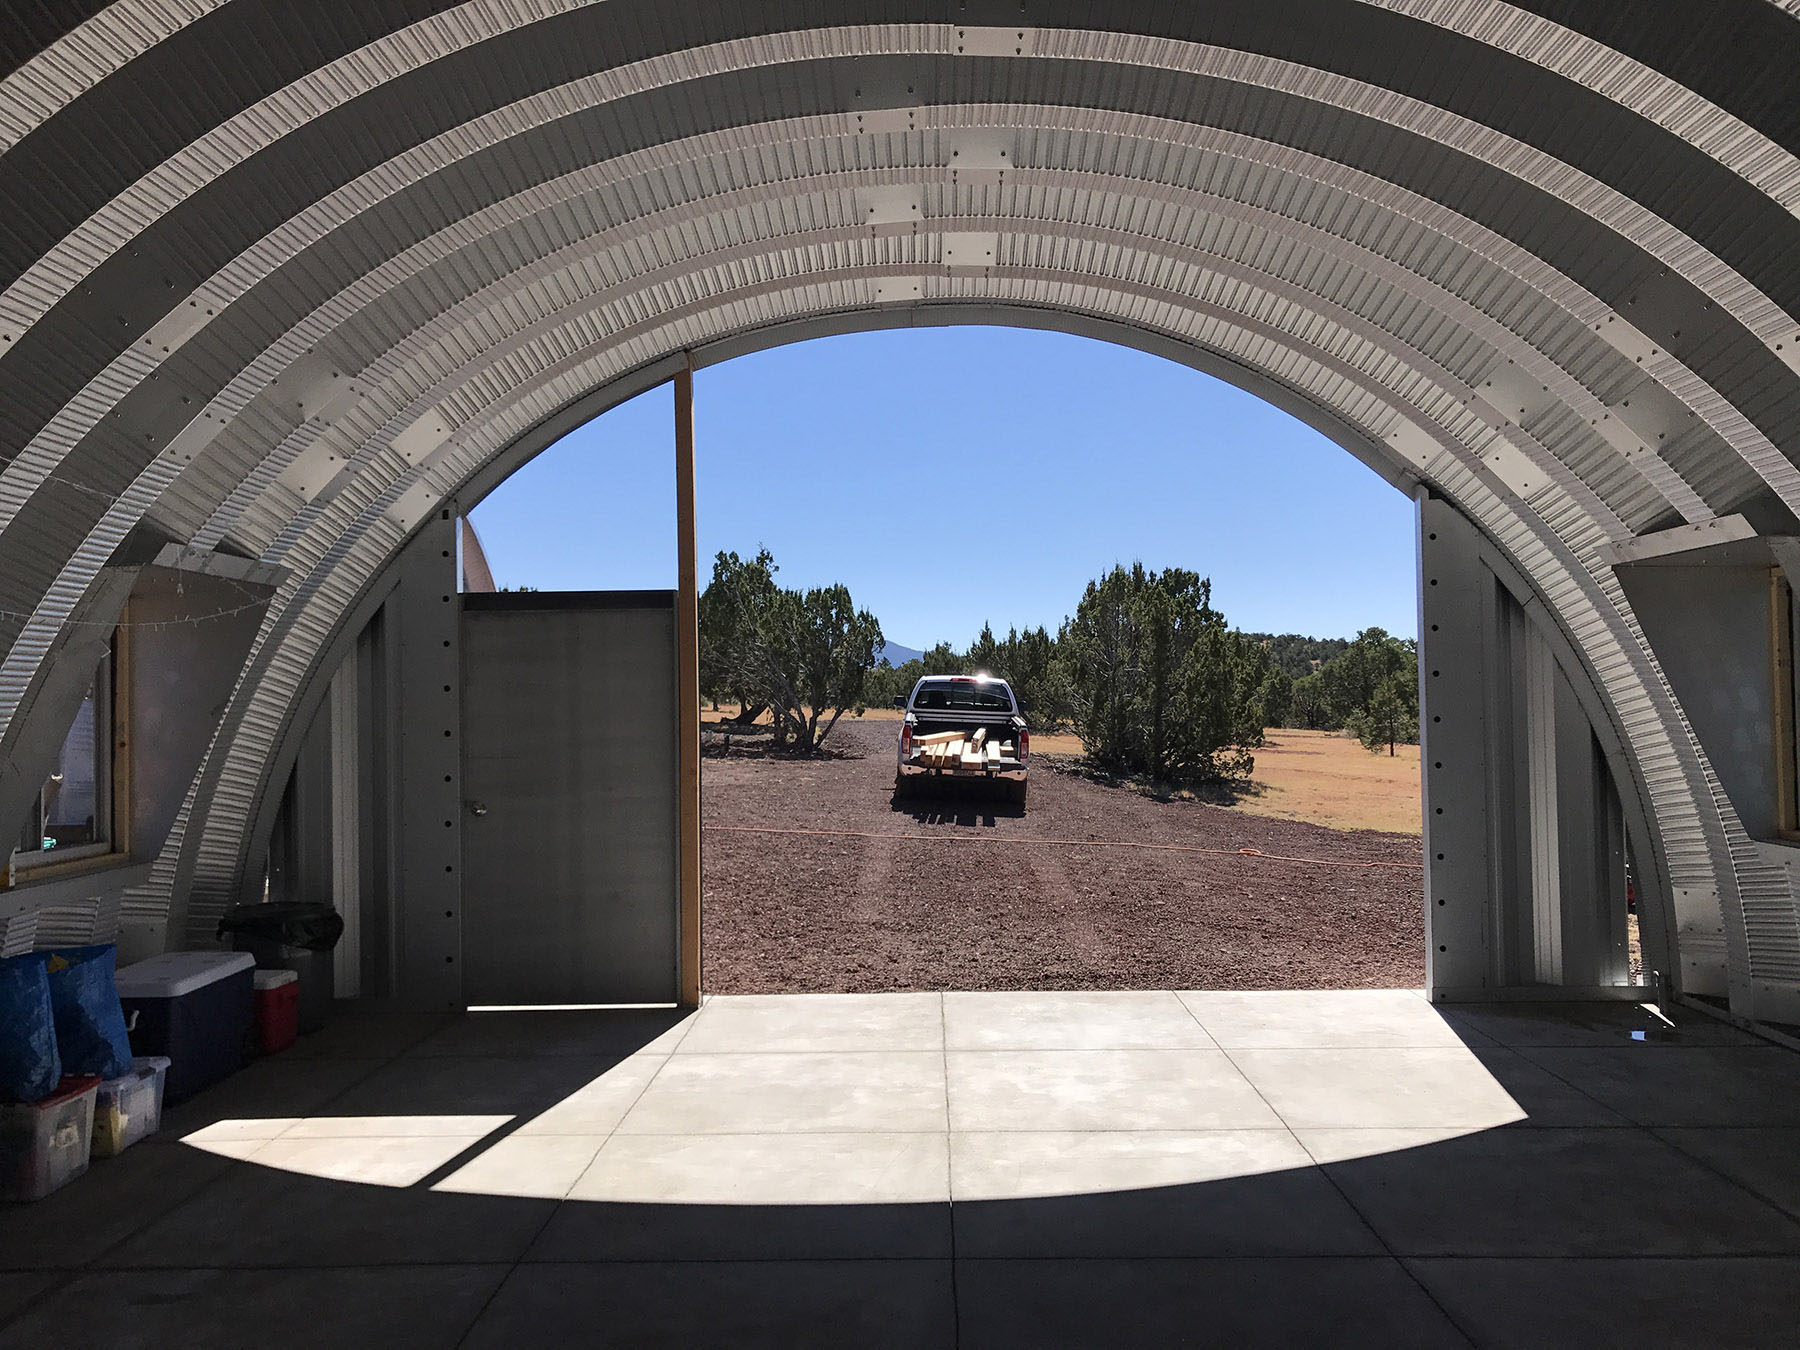
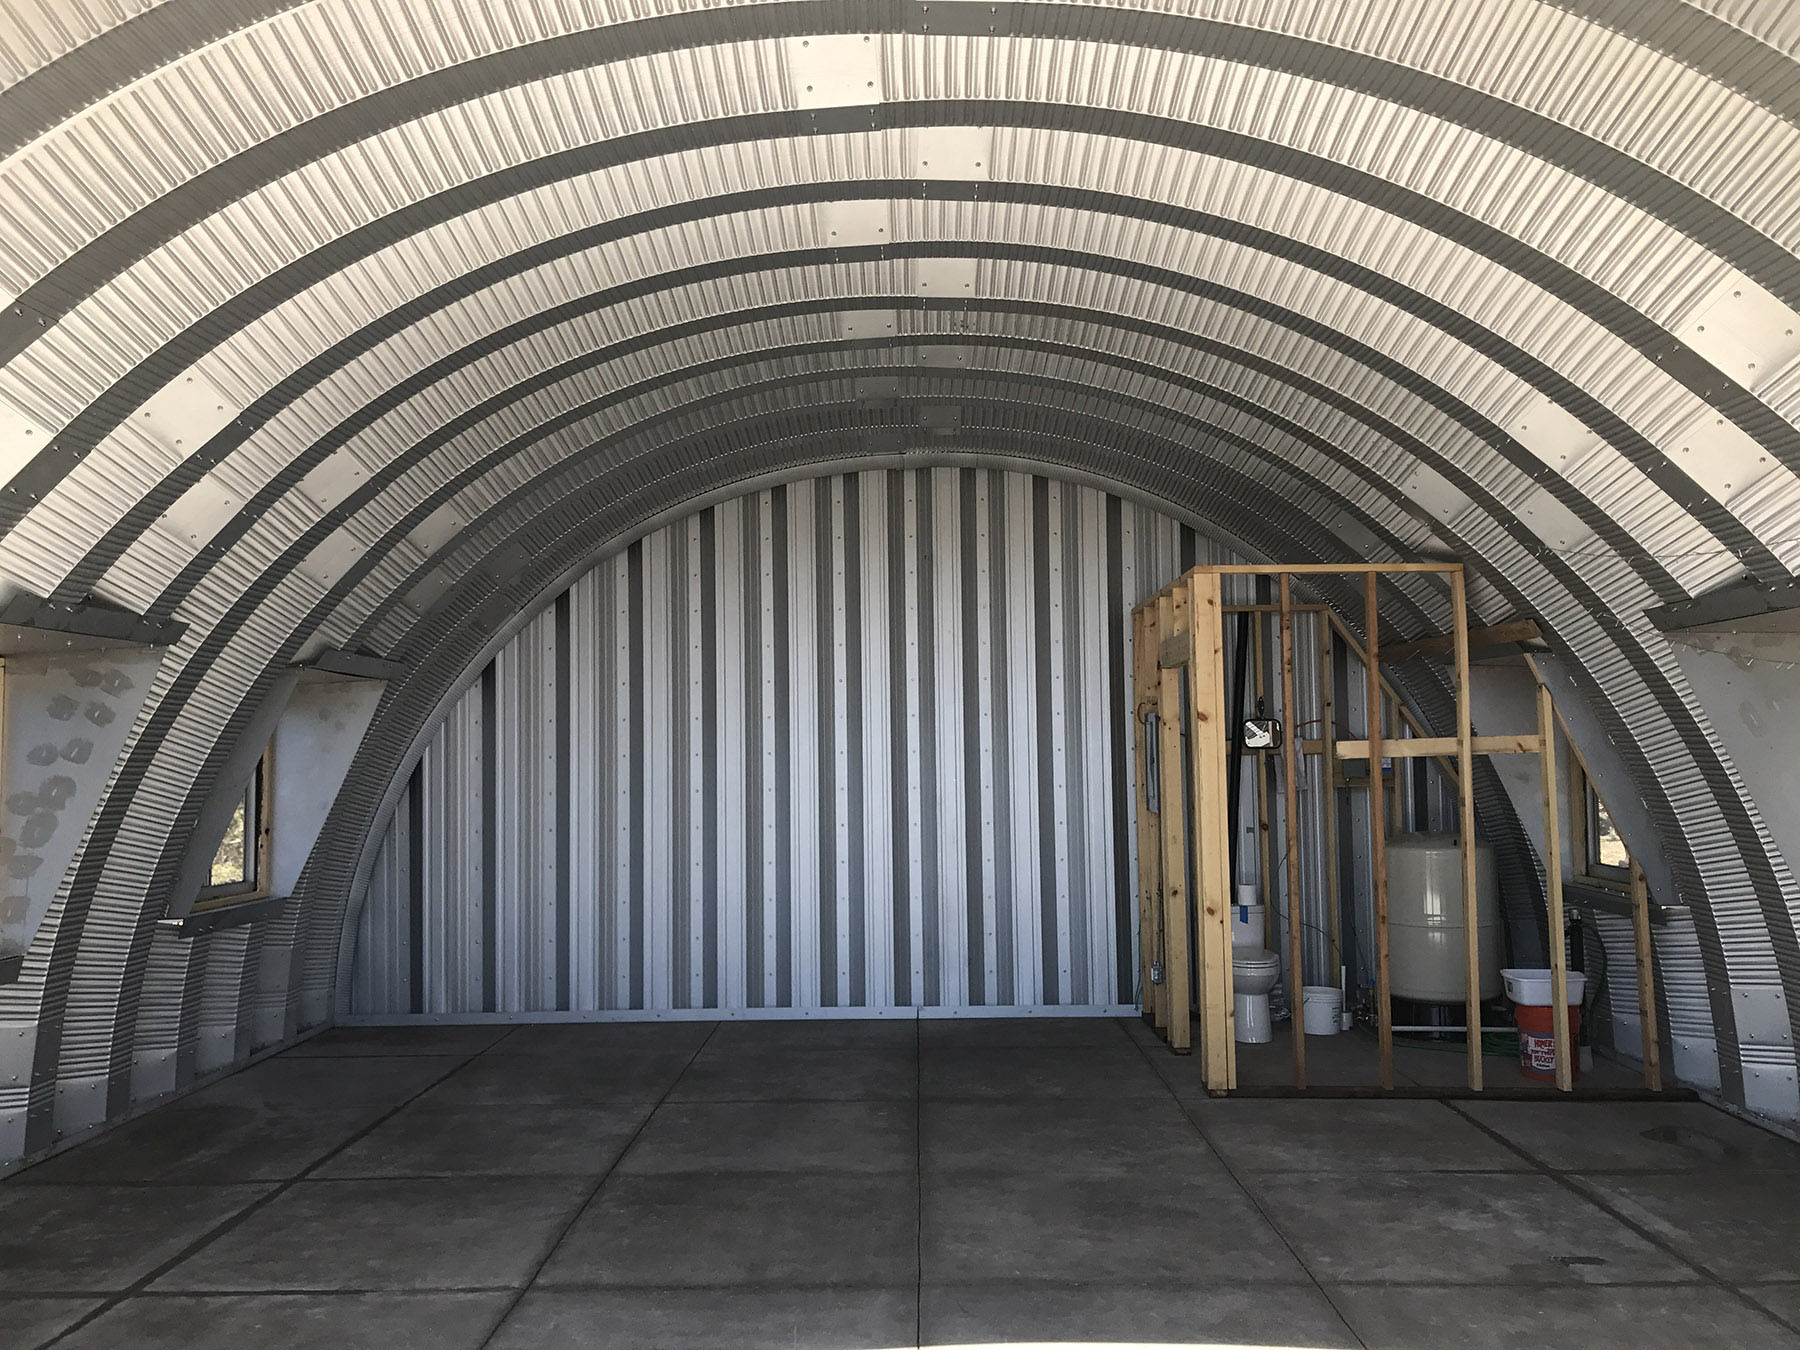
- We emptied out the building and power washed the concrete slab.
- We found a family of young (adolescent-ish) chipmunks in the workshop building! We safely relocated them outside and got some cute video of them playing the next day.
Here’s how everything looked when the building was all nice and clean.
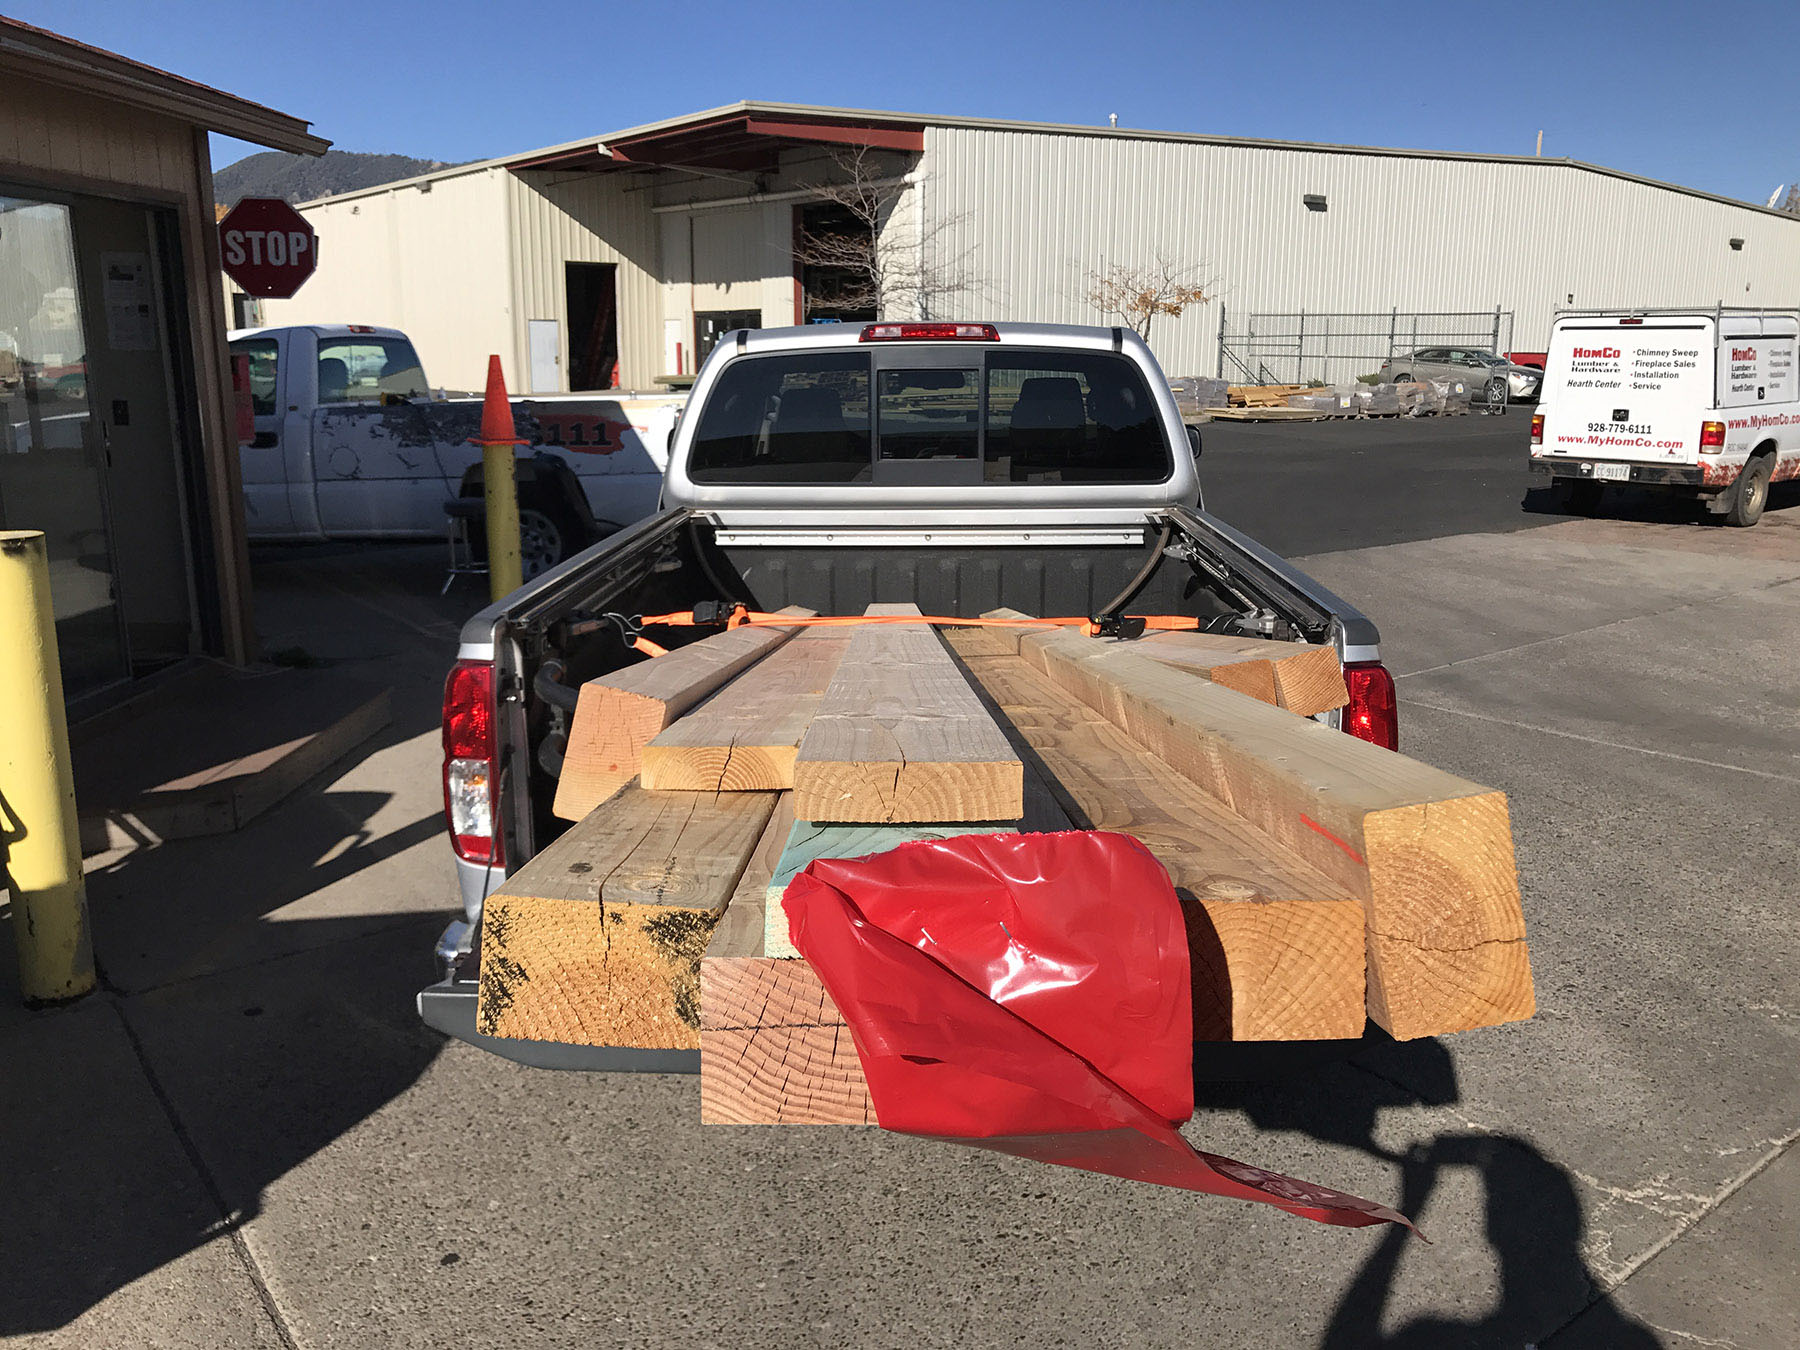
On Friday afternoon, we headed over to Flagstaff and picked up our lumber to build the end wall.
The End Wall Design
This building’s end wall design went through a major evolution over the past several months. Let’s walk through the concepts we considered and reasons for the changes.
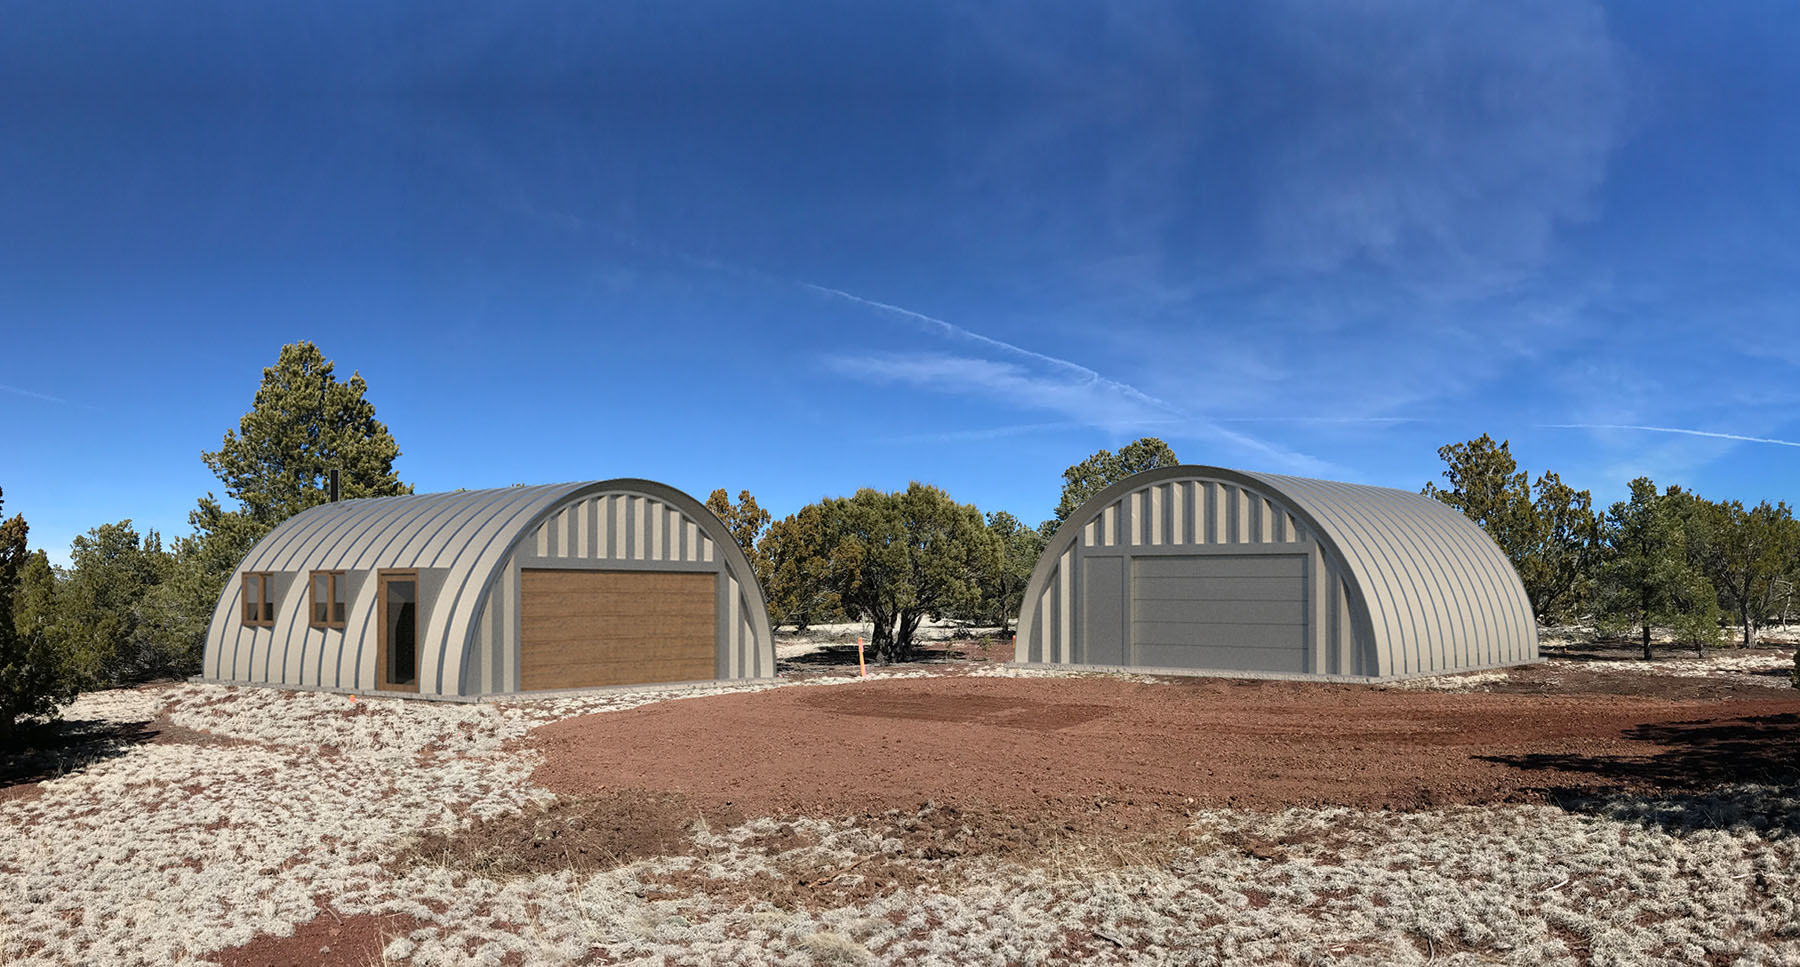
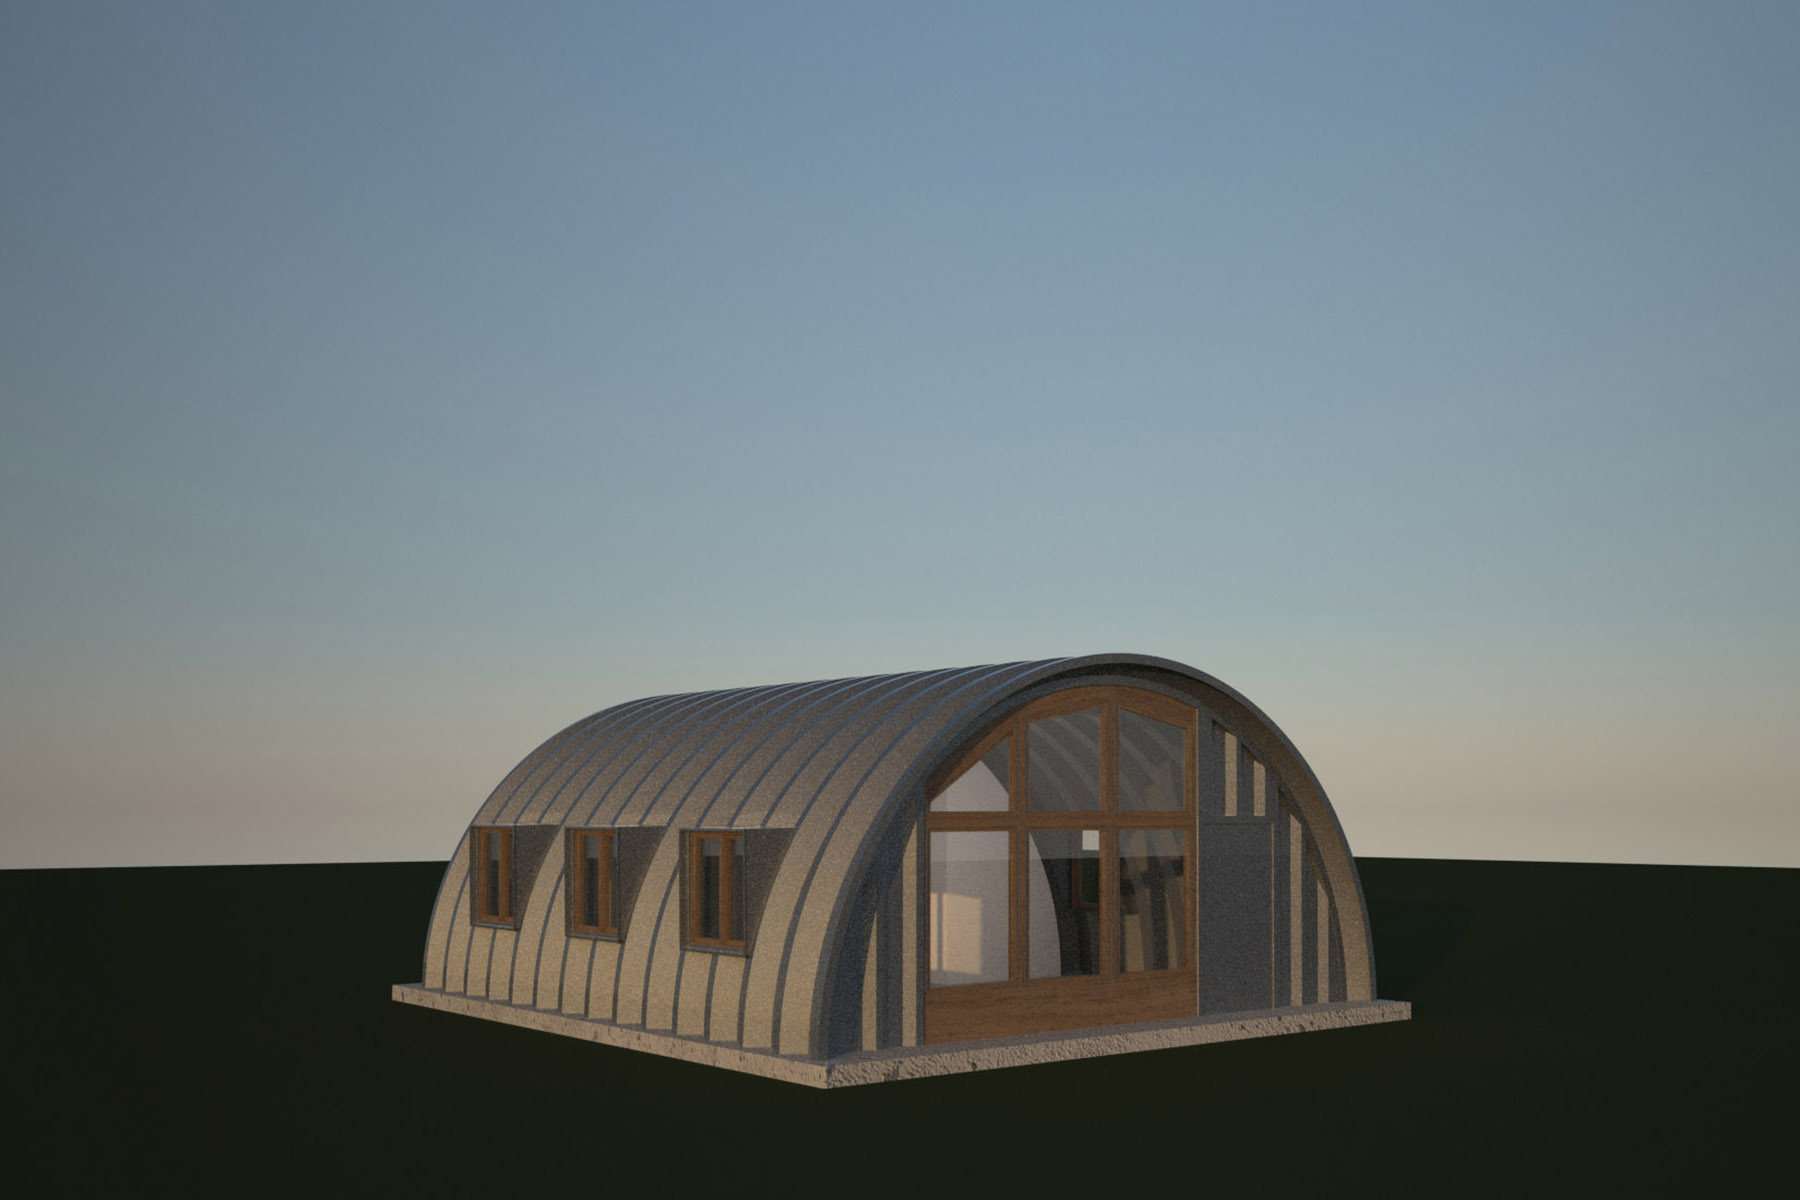
Originally we were going to build our first two Quonset huts at the Quompound as simple garage-type buildings, like in the rendering below. The idea was that the one on the right would be a garage/storage building, and the one on the left would be the workshop (which we’re now calling “Headquarters” and whose end wall is the subject of this post).
Then a couple of things happened that had us start to revise the design of the fronts of both buildings. First, an issue came up with the side door you see to the left on the Headquarters building above. When we got the parts from the building manufacturer and went through them carefully to figure out how to assemble them, there seemed to be a problem with the way the top of the door assembly was manufactured (not the door itself, but the little flat “roof” that sticks out from the arches and goes over the door). One of the connecting pieces was welded on crooked. We contacted customer service about it and, to their credit, they were willing to make it right and send a replacement part at their expense.
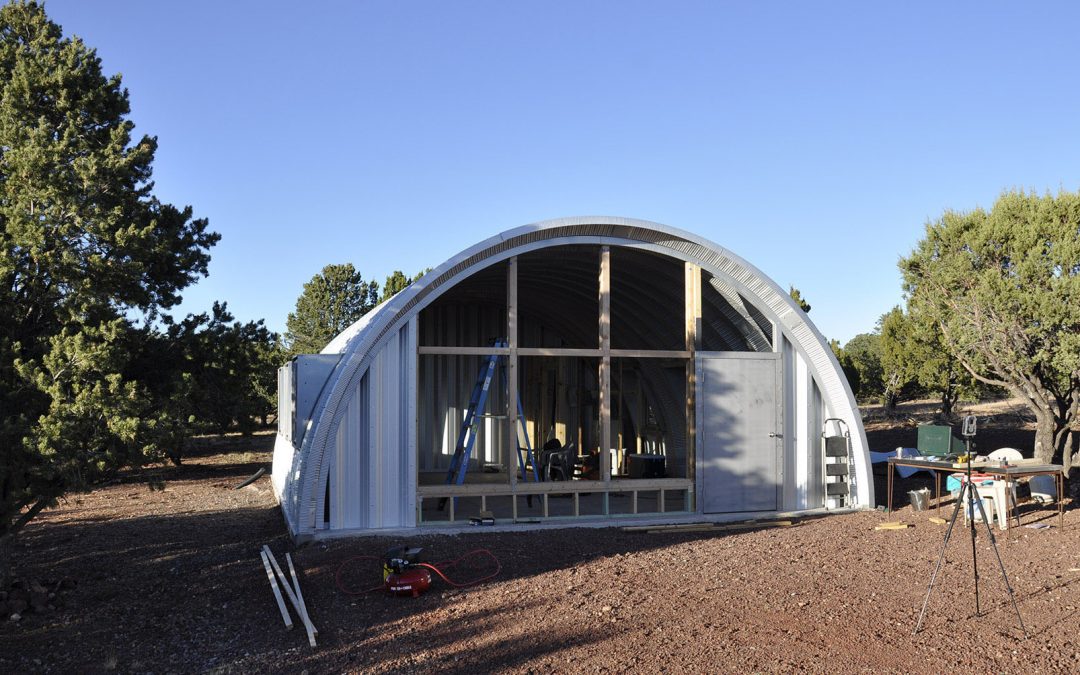
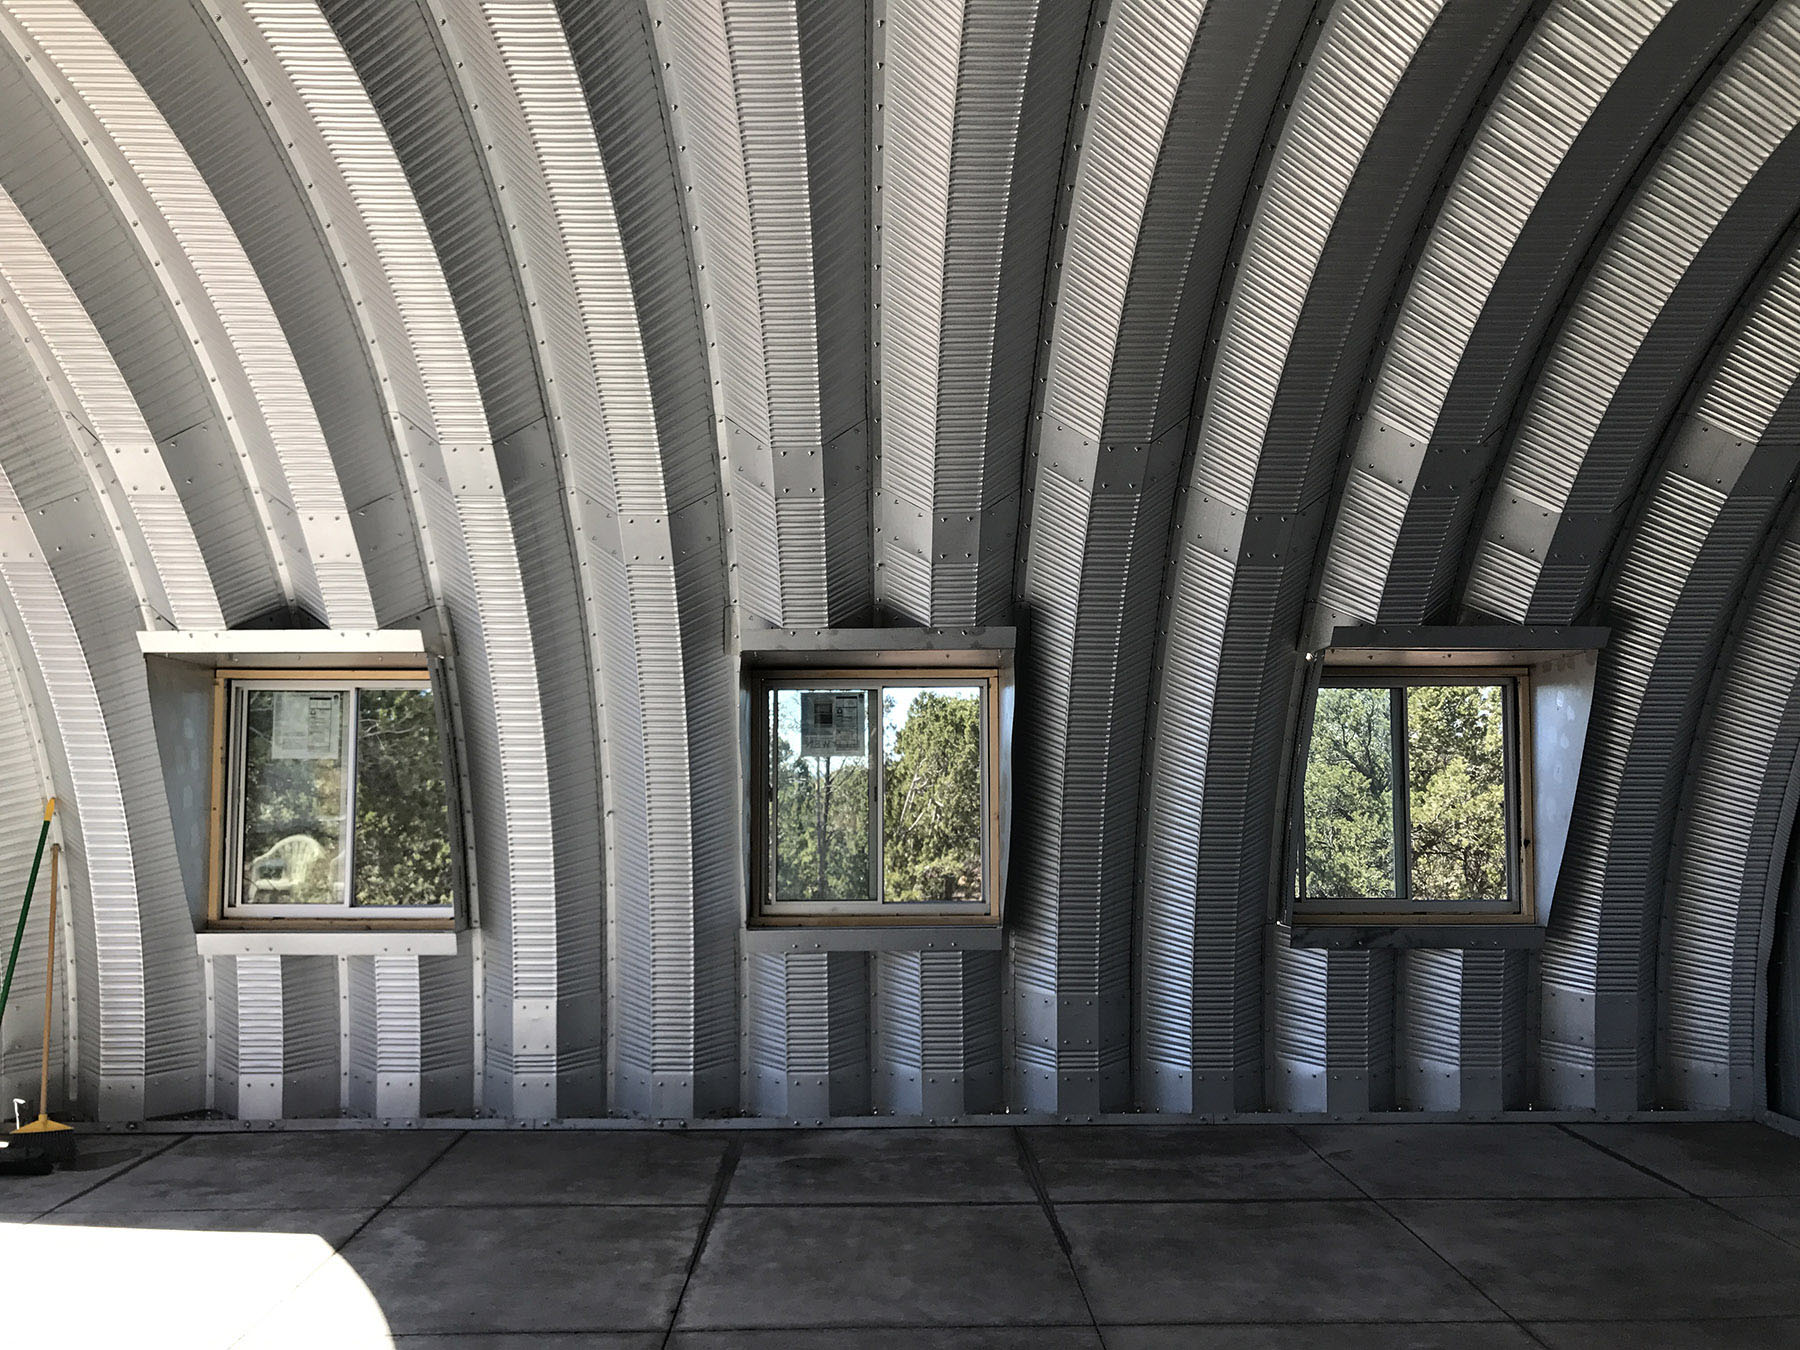
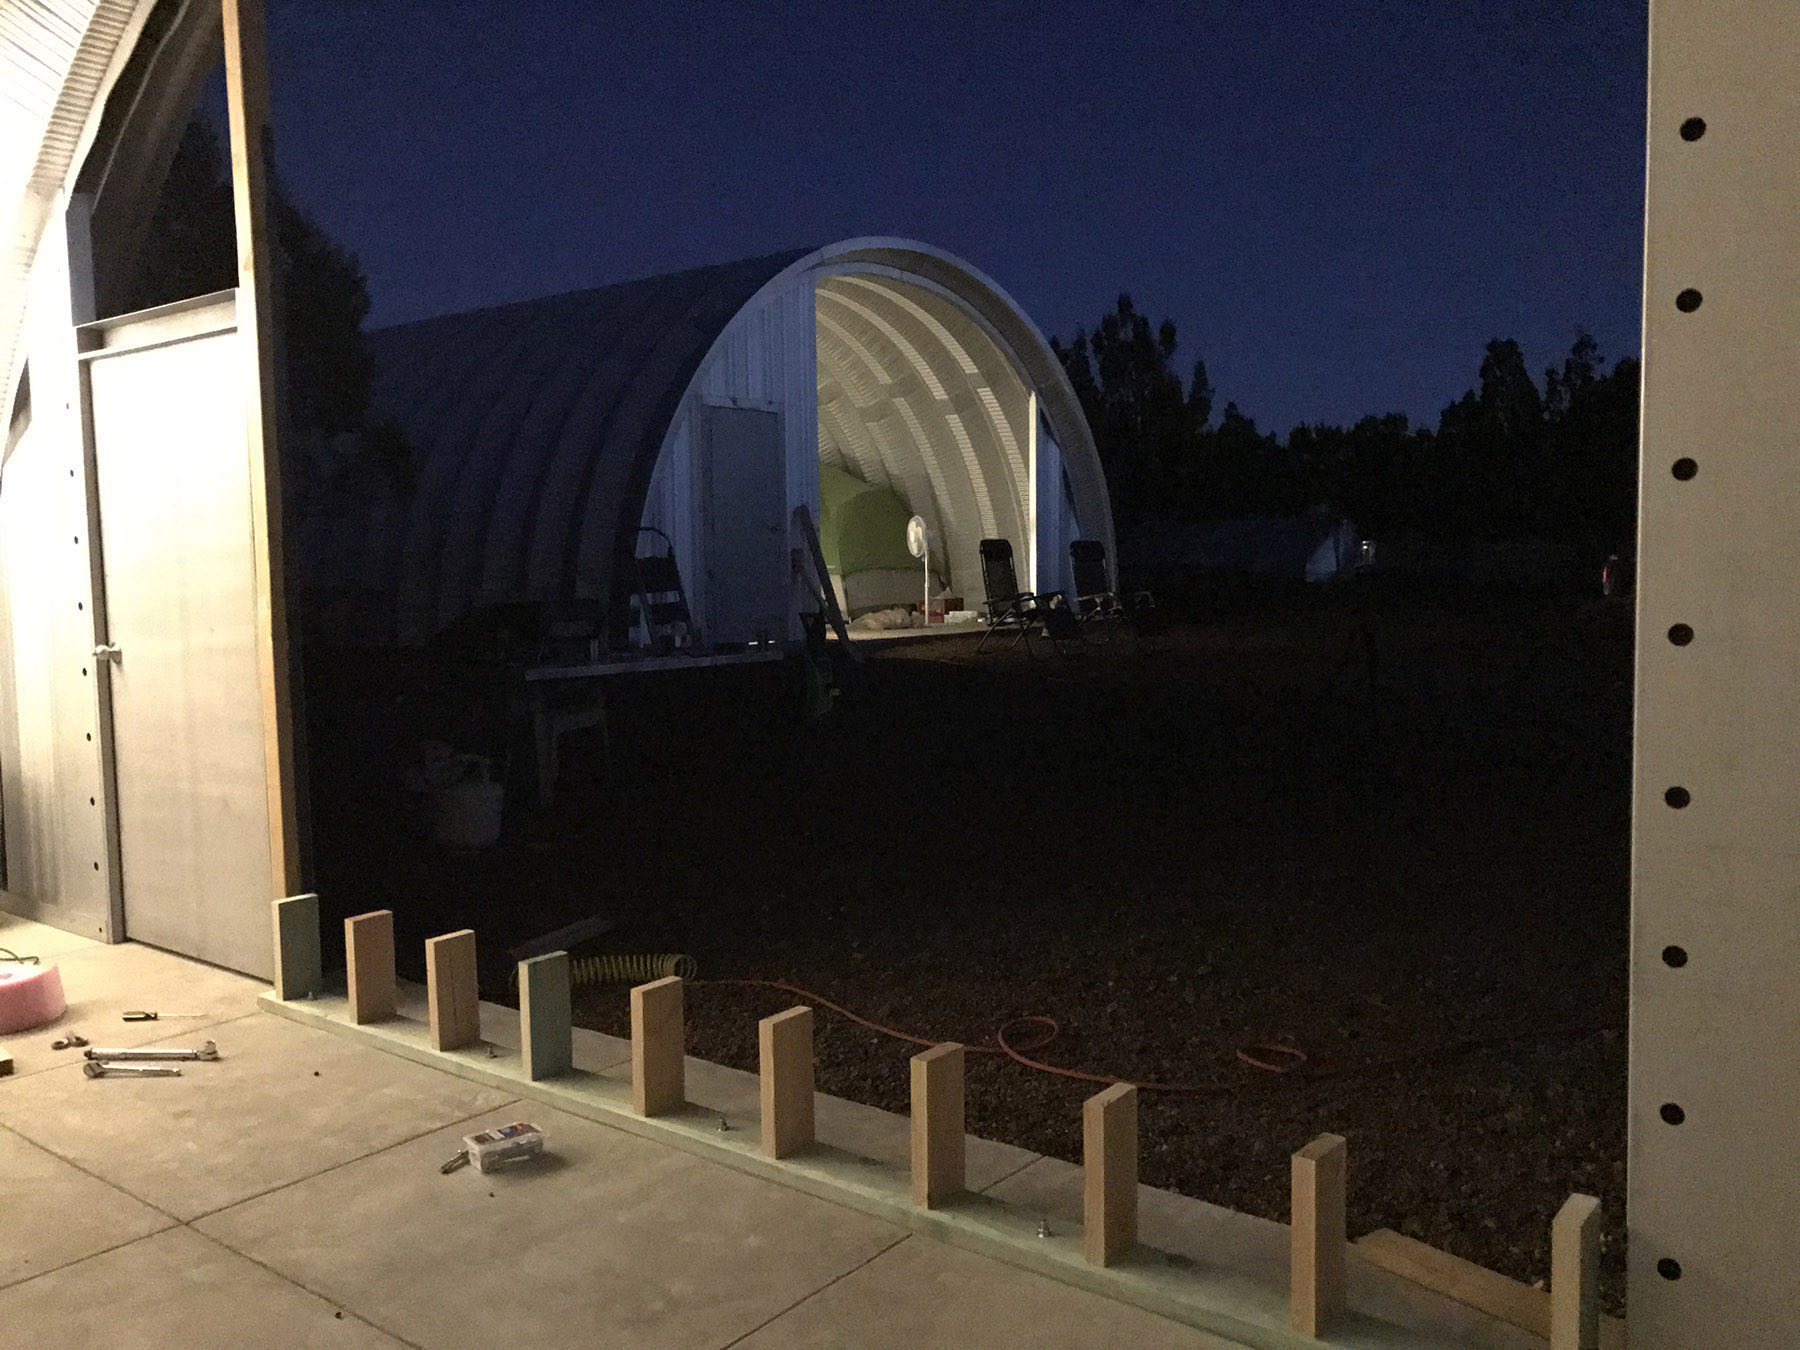
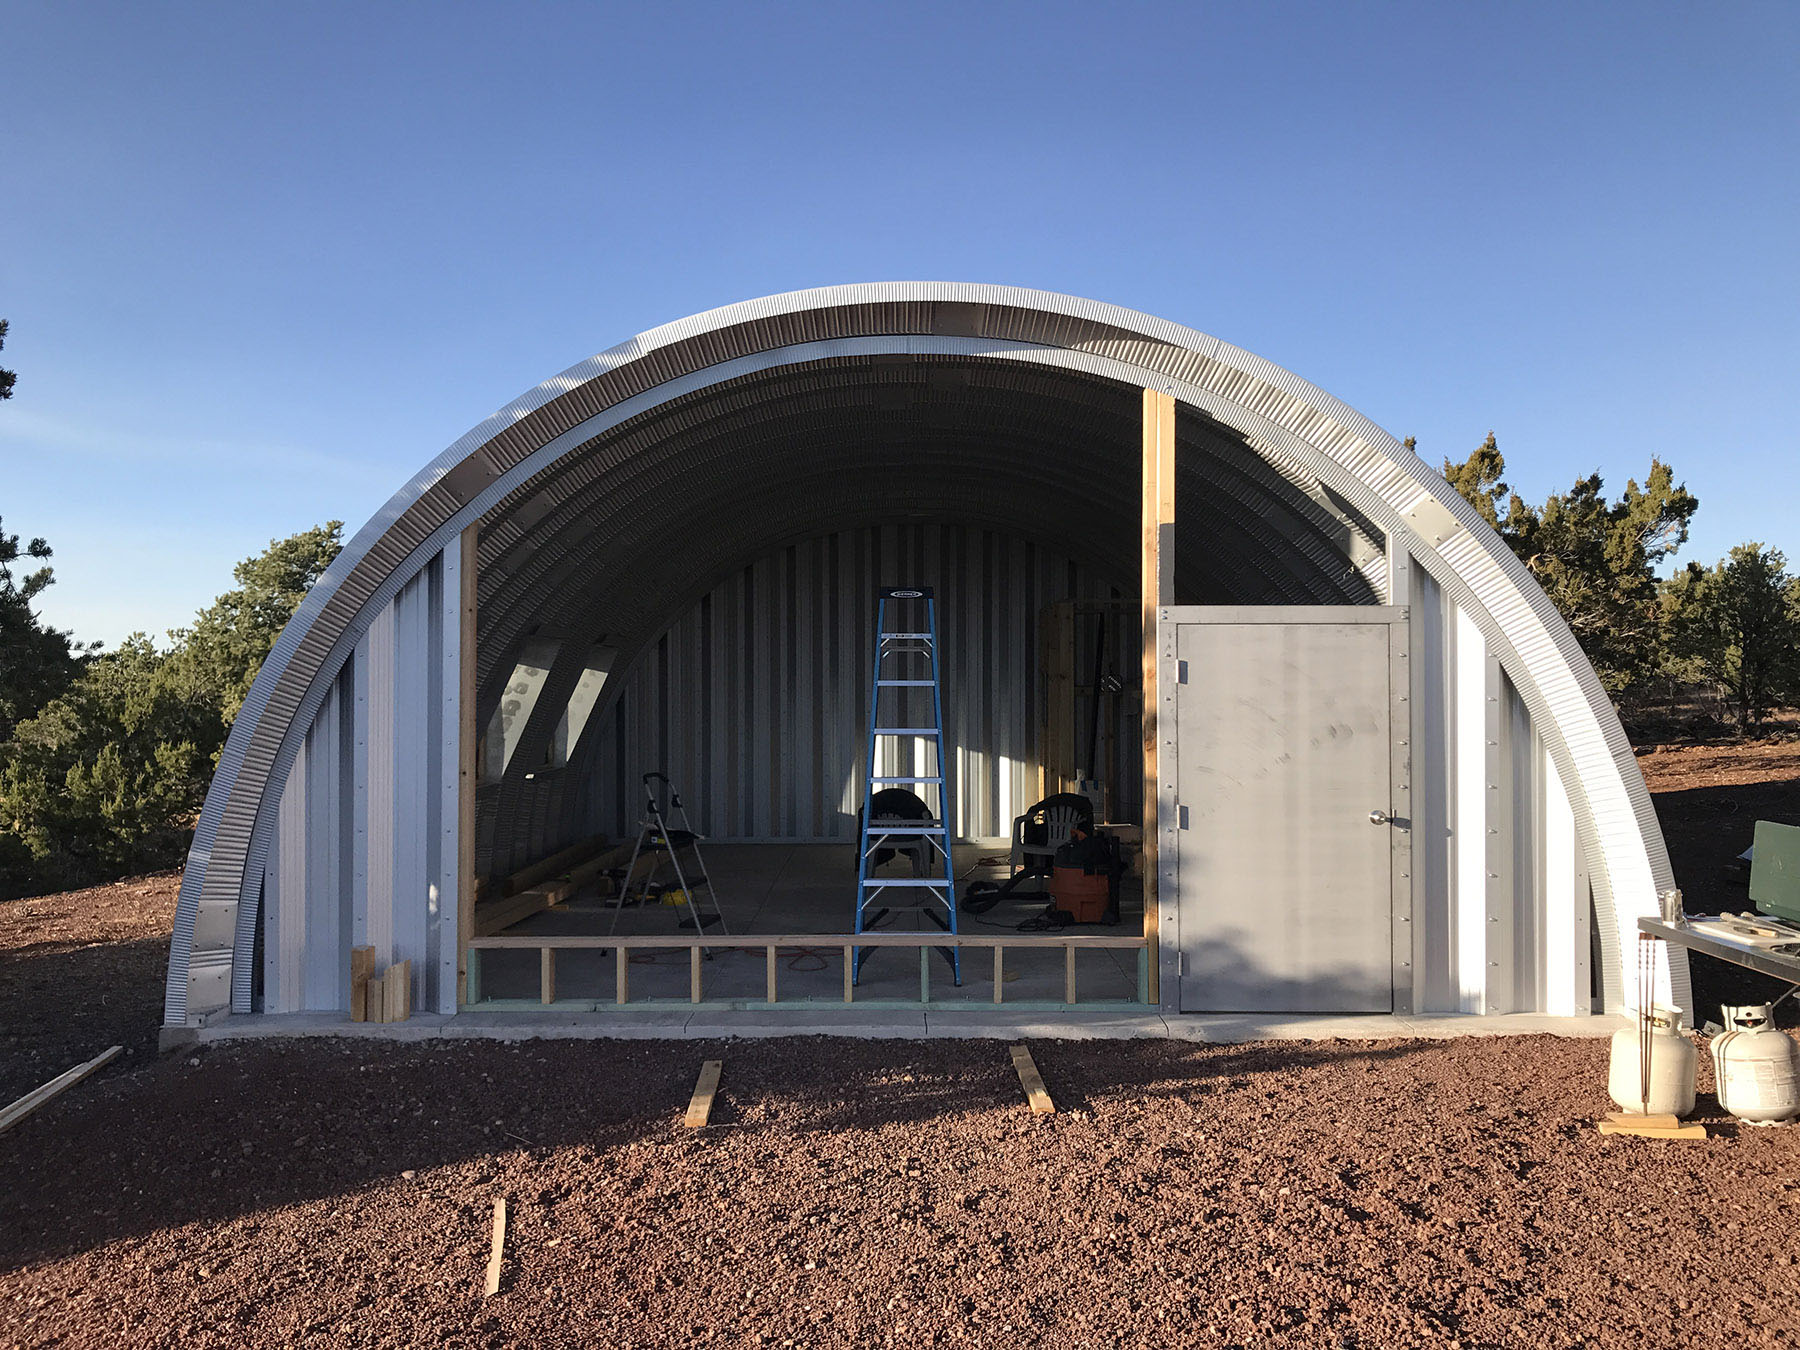
Around the same time, however, something else happened that had us rethinking the design in a bigger way. We had been progressing on the workshop building, and finally got the end wall to the point that you see in the photo below:

When we saw this, we fell instantly in love with the clean asymmetry of the big opening. The next step for this building would have been to bolt on the big beam that would create the garage door opening, but we couldn’t bring ourselves to do it. Instead, we decided to build a giant single pivoting door. If that sounds crazy, it might be because it is! But I’m convinced we can pull it off, and it will be spectacular. As I mentioned earlier, this was all happening around the same time that we were trying to figure out the side door on the other building. Since the two buildings are right next to each other and have a kind of kinship between them, we decided to make them ‘variations on a theme’, and make the front of the Headquarters building a kind of mirror-image of the workshop facade. Instead of having the problematic side door roof piece replaced by the manufacturer, we decided to use that door on the front wall, similar to the workshop door configuration. With this in mind, we contacted the manufacturer about changing that side door to a window. Again, to their credit, they were willing to work with us and send us a sixth window unit instead of replacing the flawed door parts. It was a win-win.
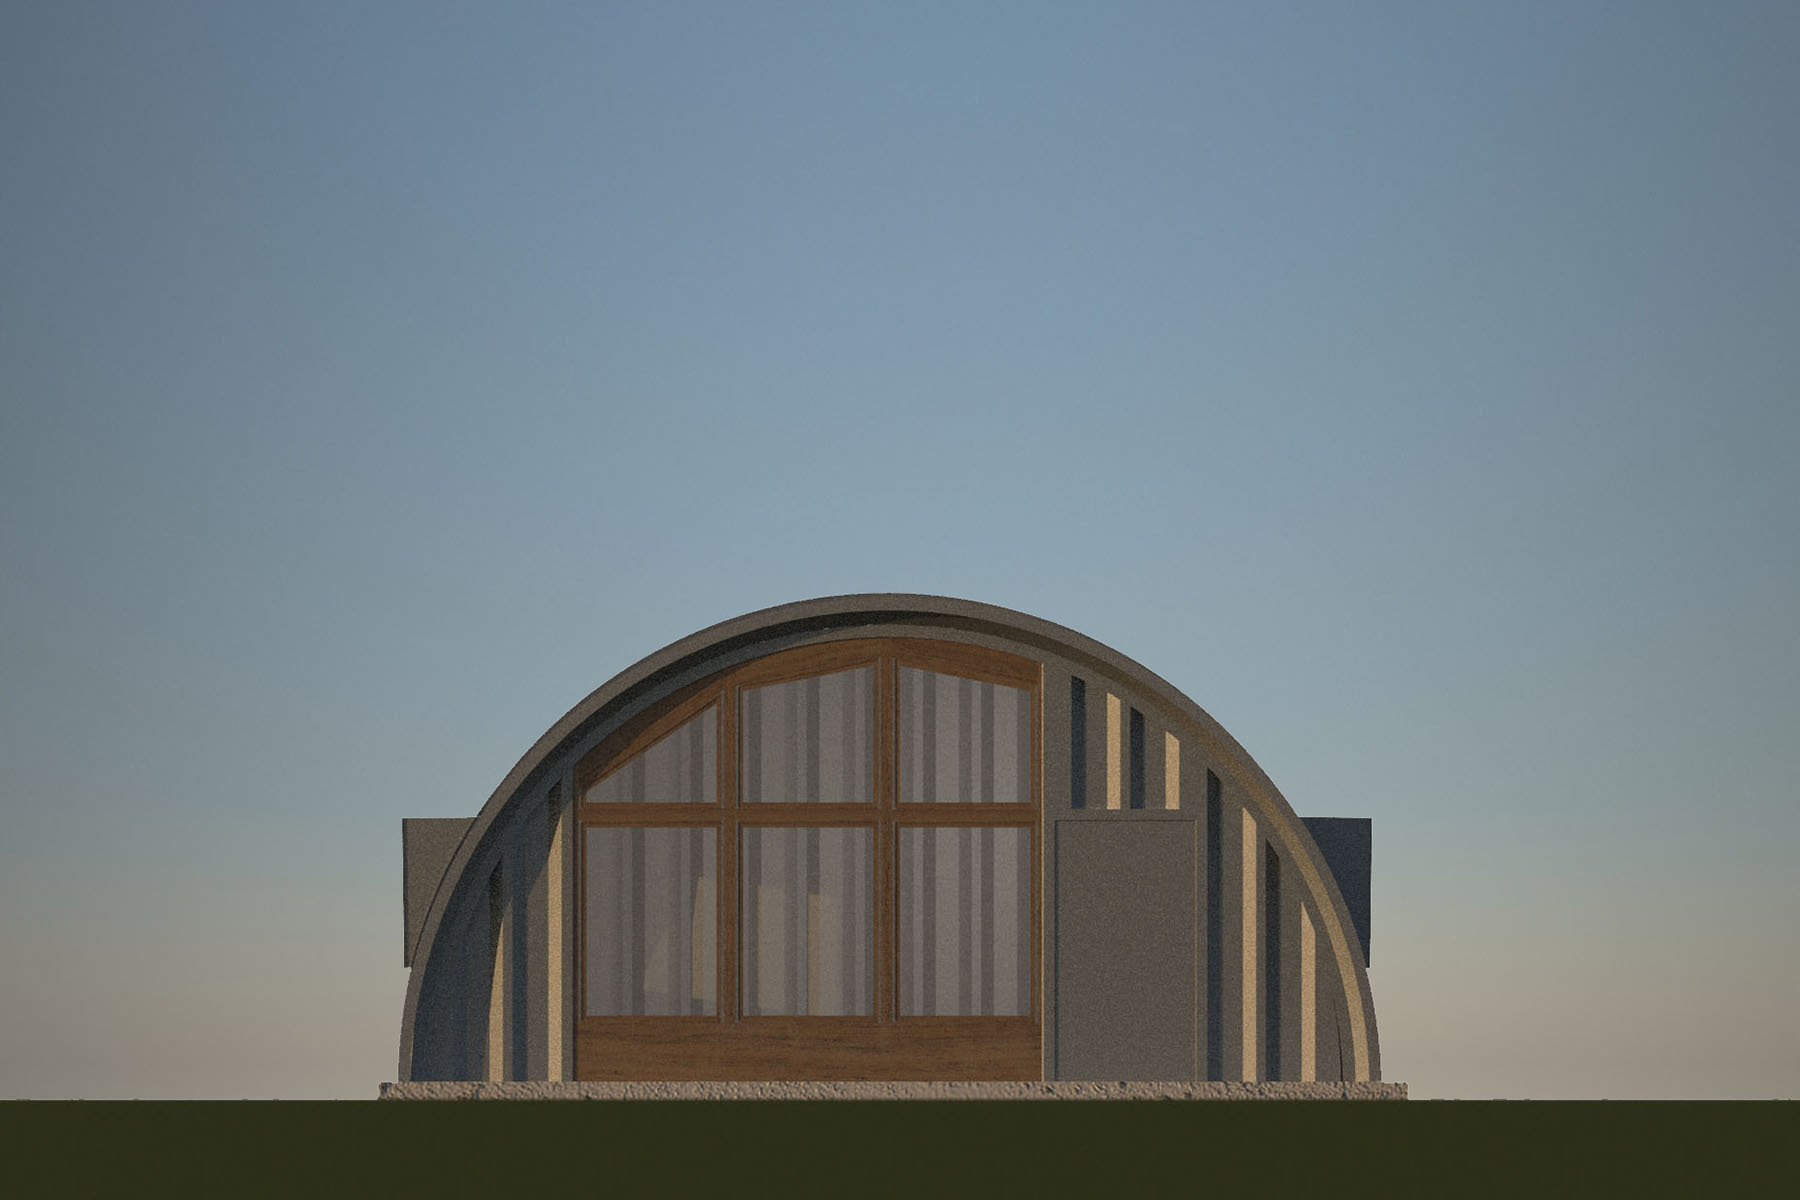
Here are a couple of renderings of the revised Headquarters. At first we were going to do nine windows, but we decided to simplify things and go with six in the end. We made the window sill especially low – 18″ off the floor – to allow for a special window seat detail at the sill. We’re very excited about the window seat!
The Construction of the Wall
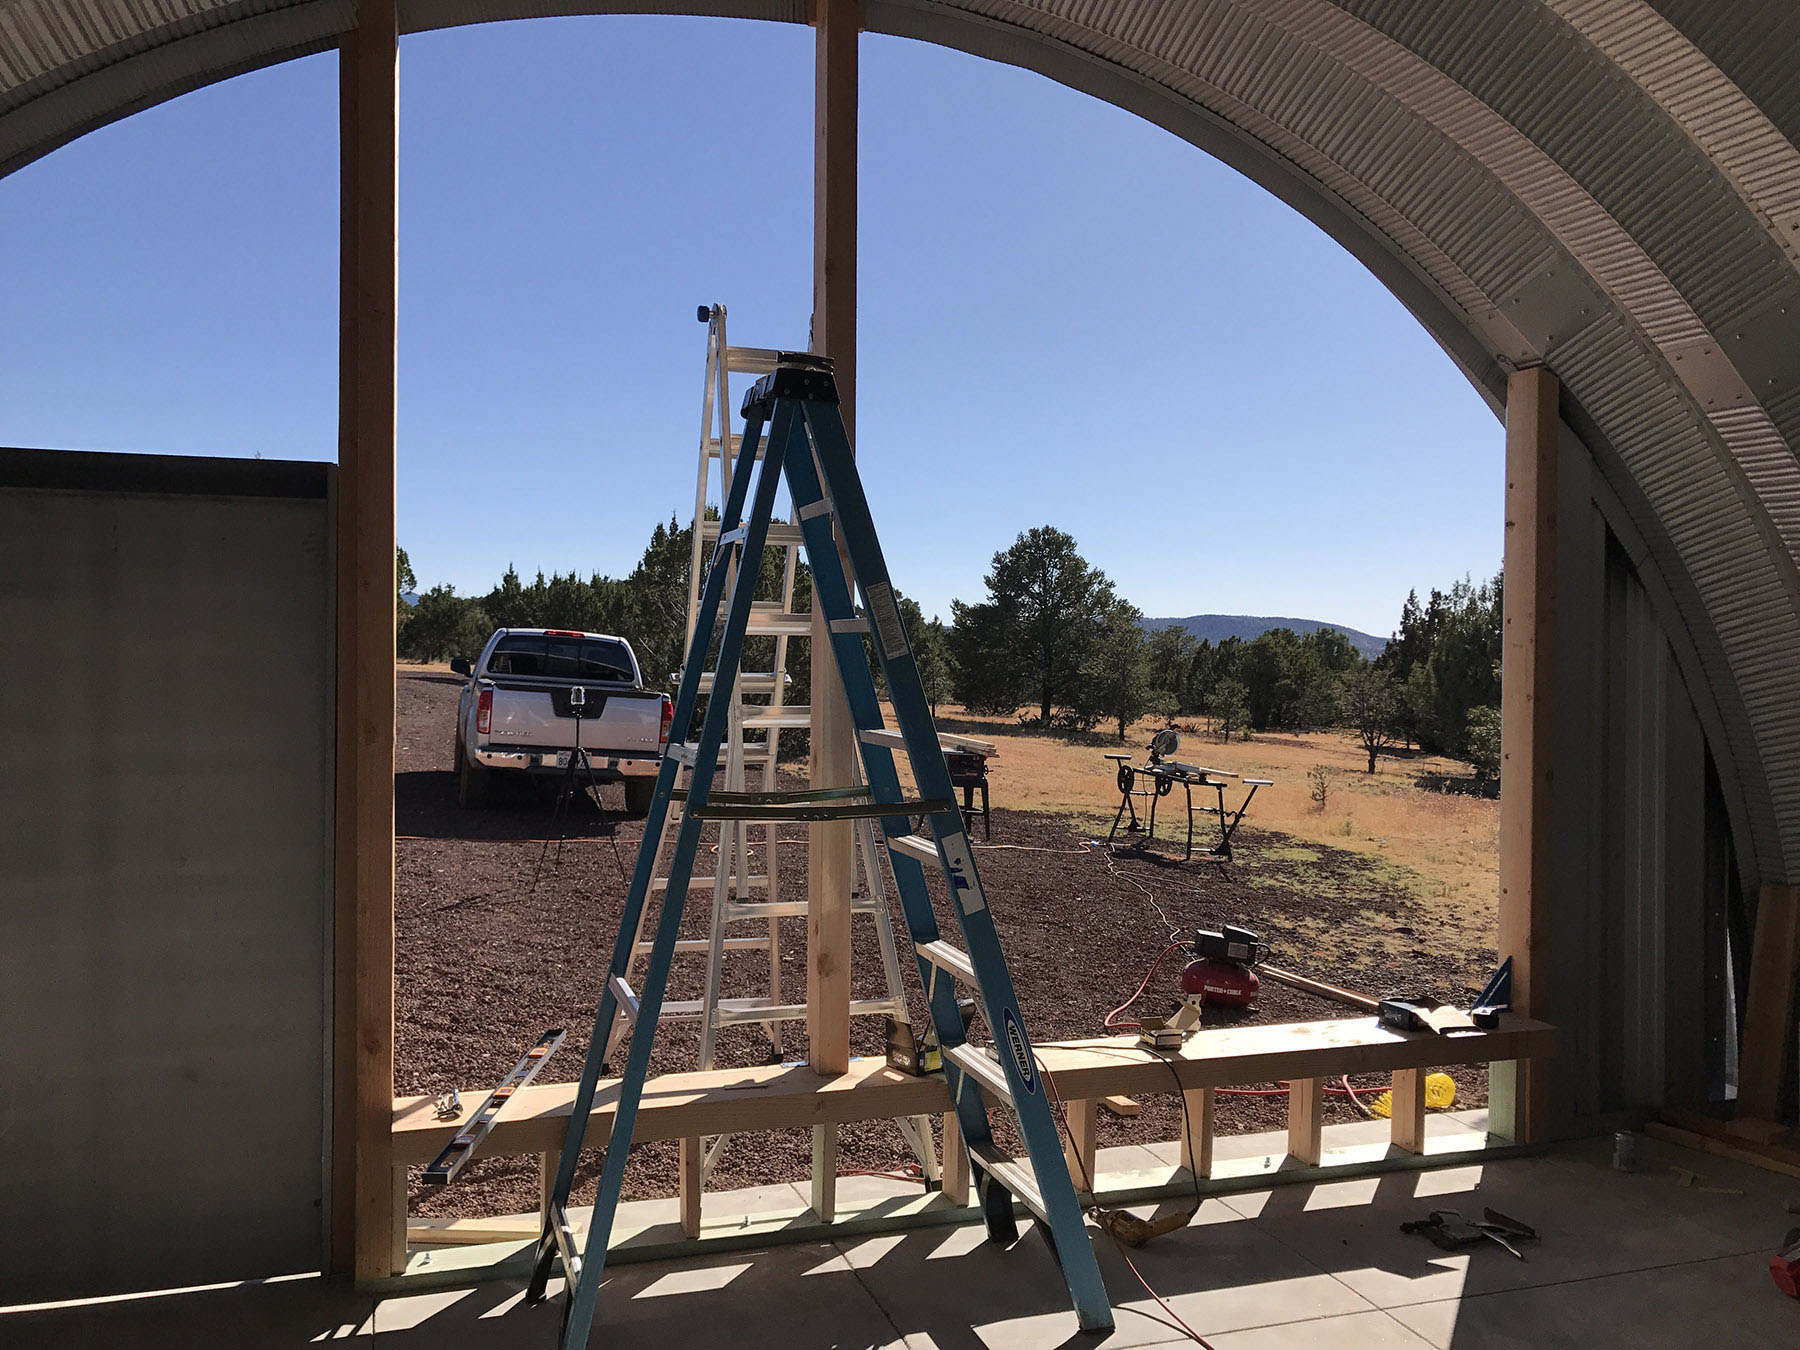
Our first step was to build the low wall and anchor it down to the concrete slab. That took us to the end of the day Friday, after we returned from Flagstaff with our truckload of lumber.
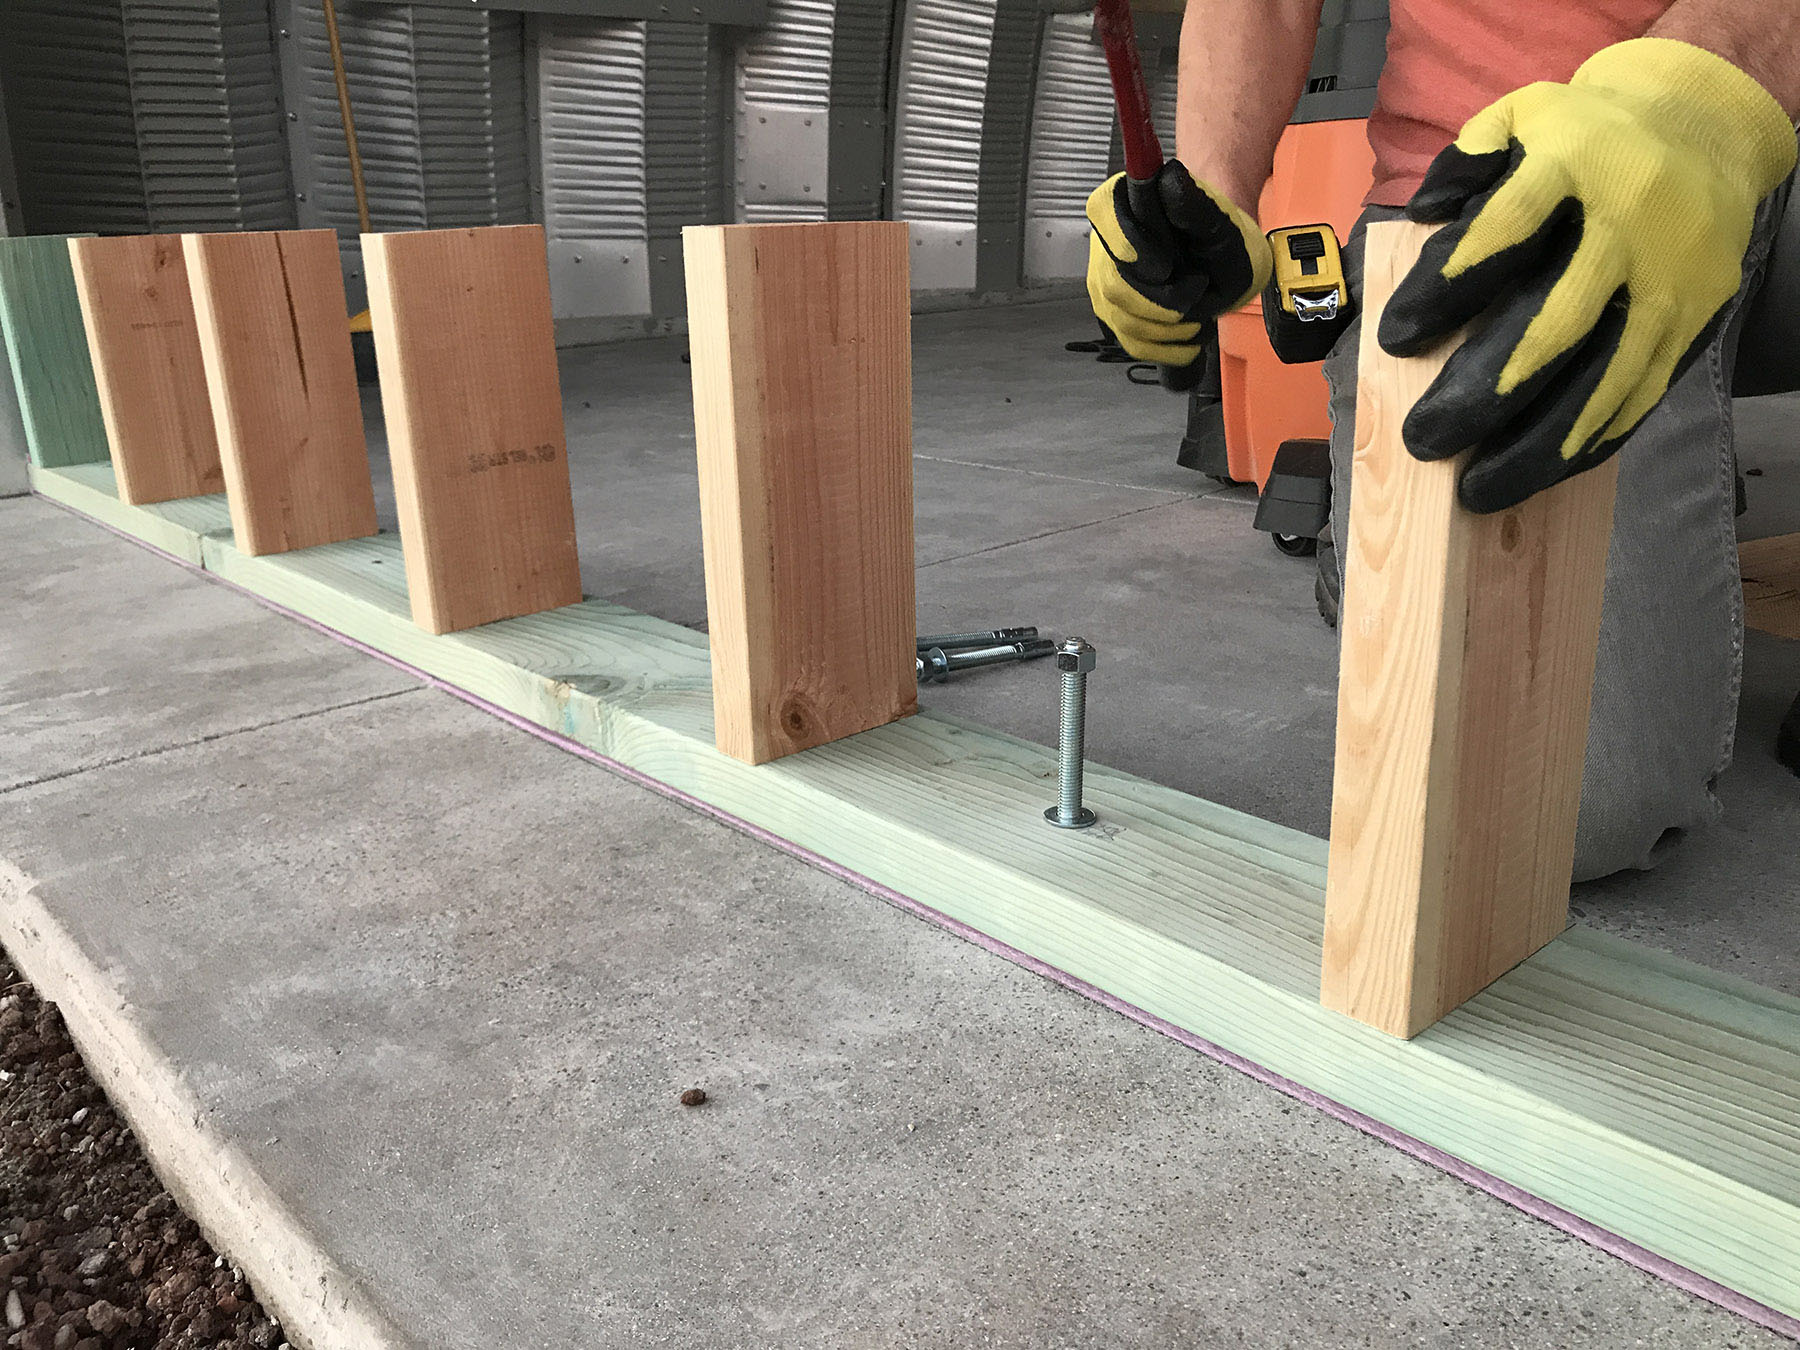
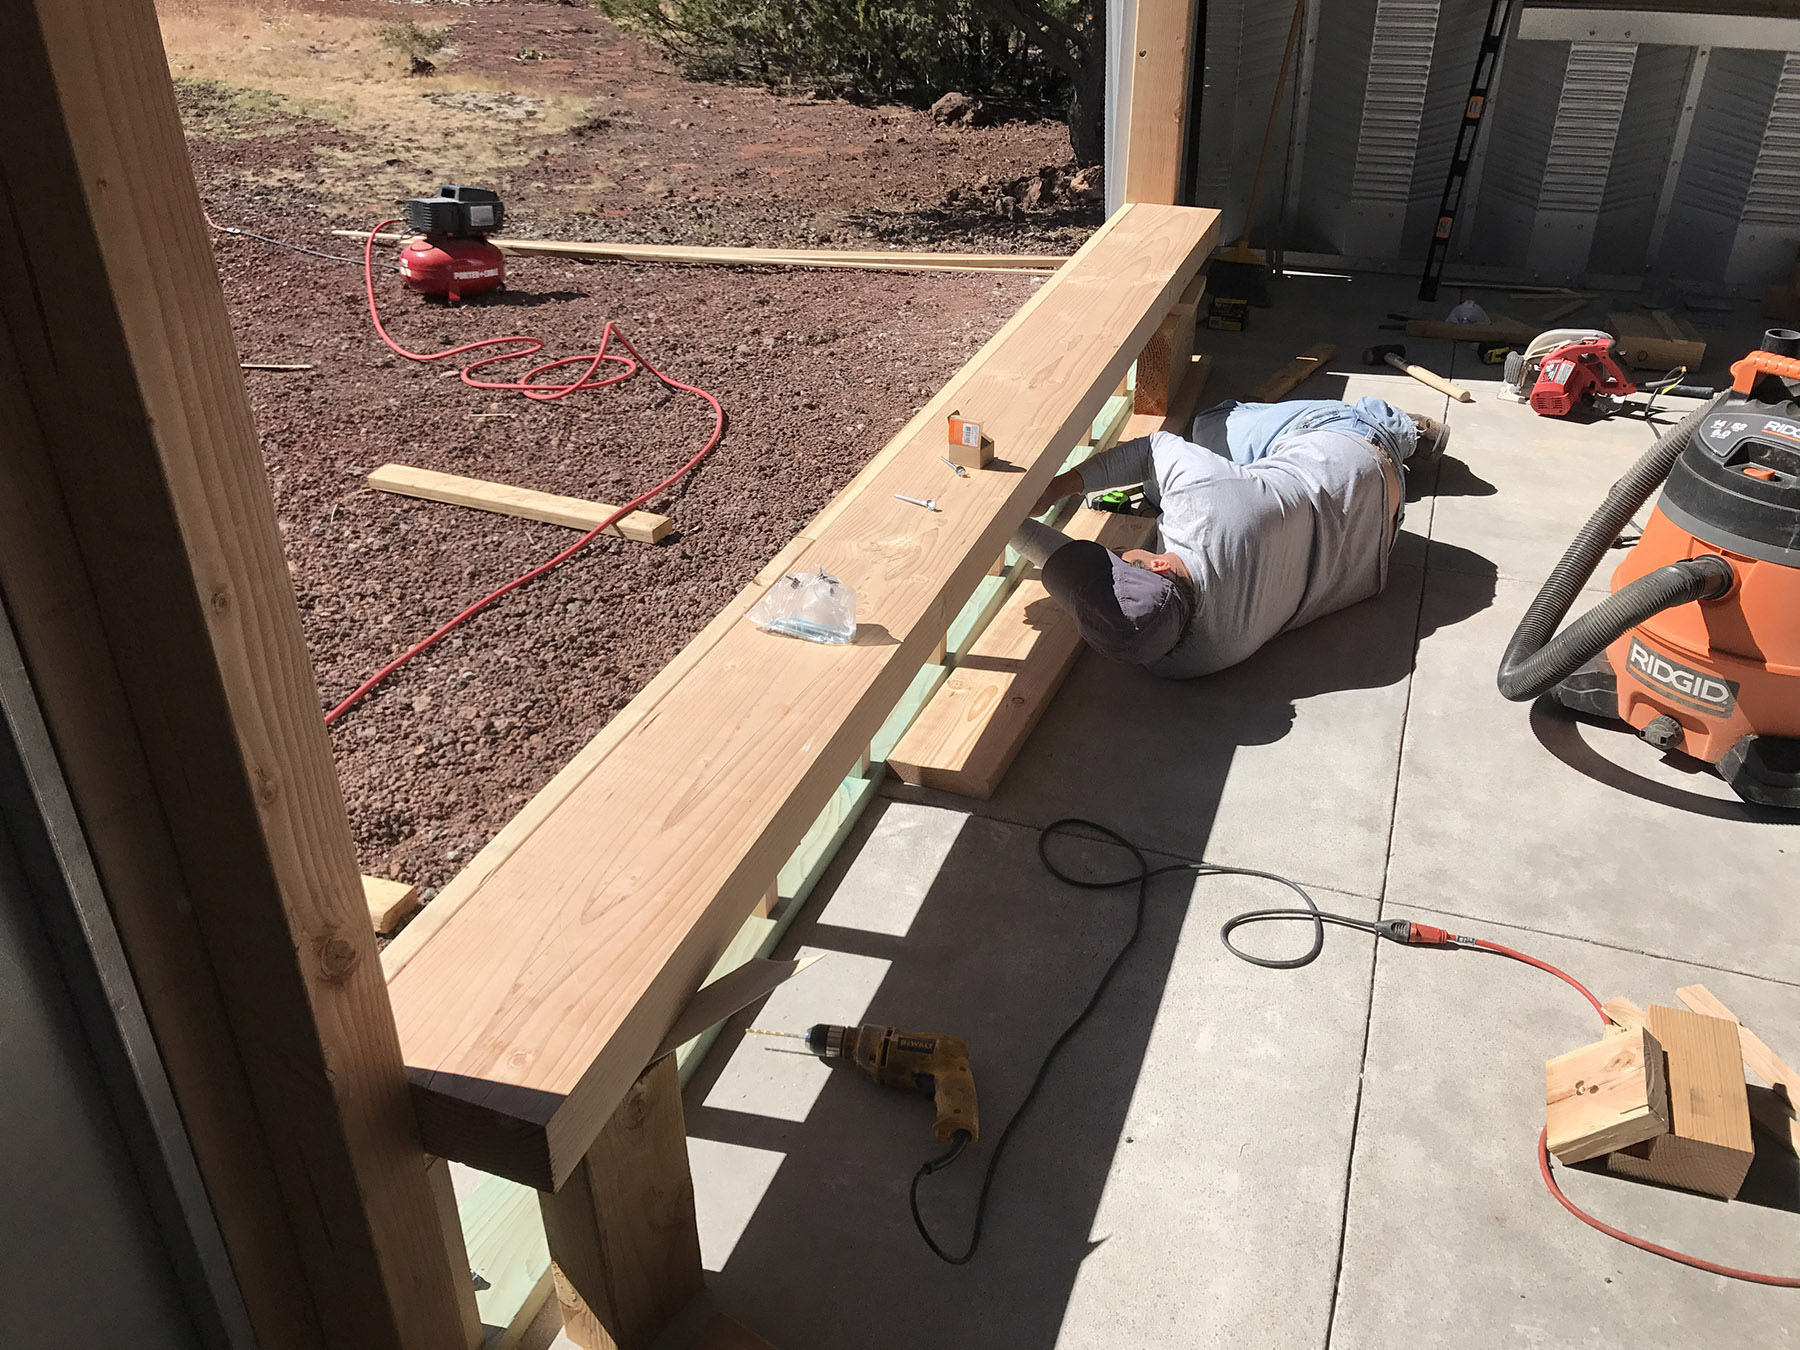
The next day we started to set the 4×6 posts. We cut a notch along one side of the posts to fit them up against the existing posts of the opening.
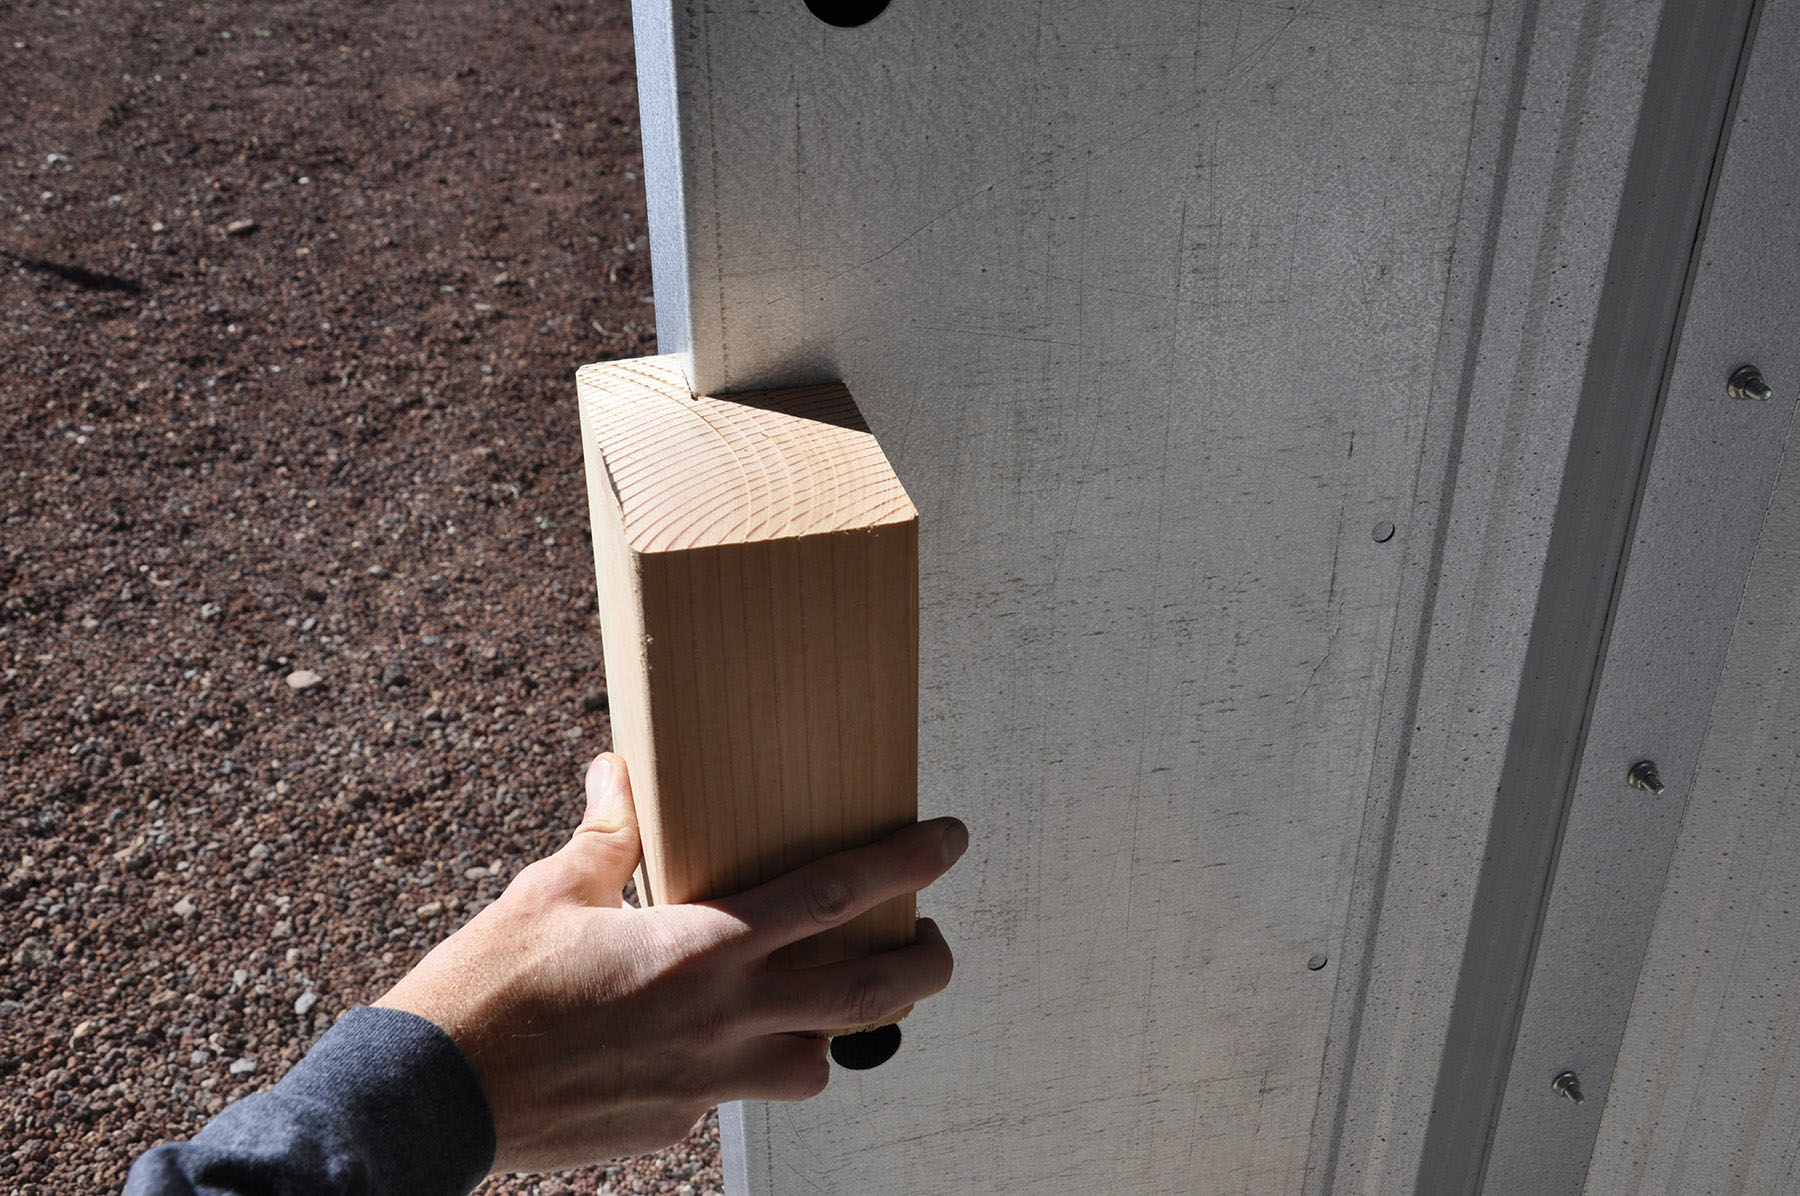
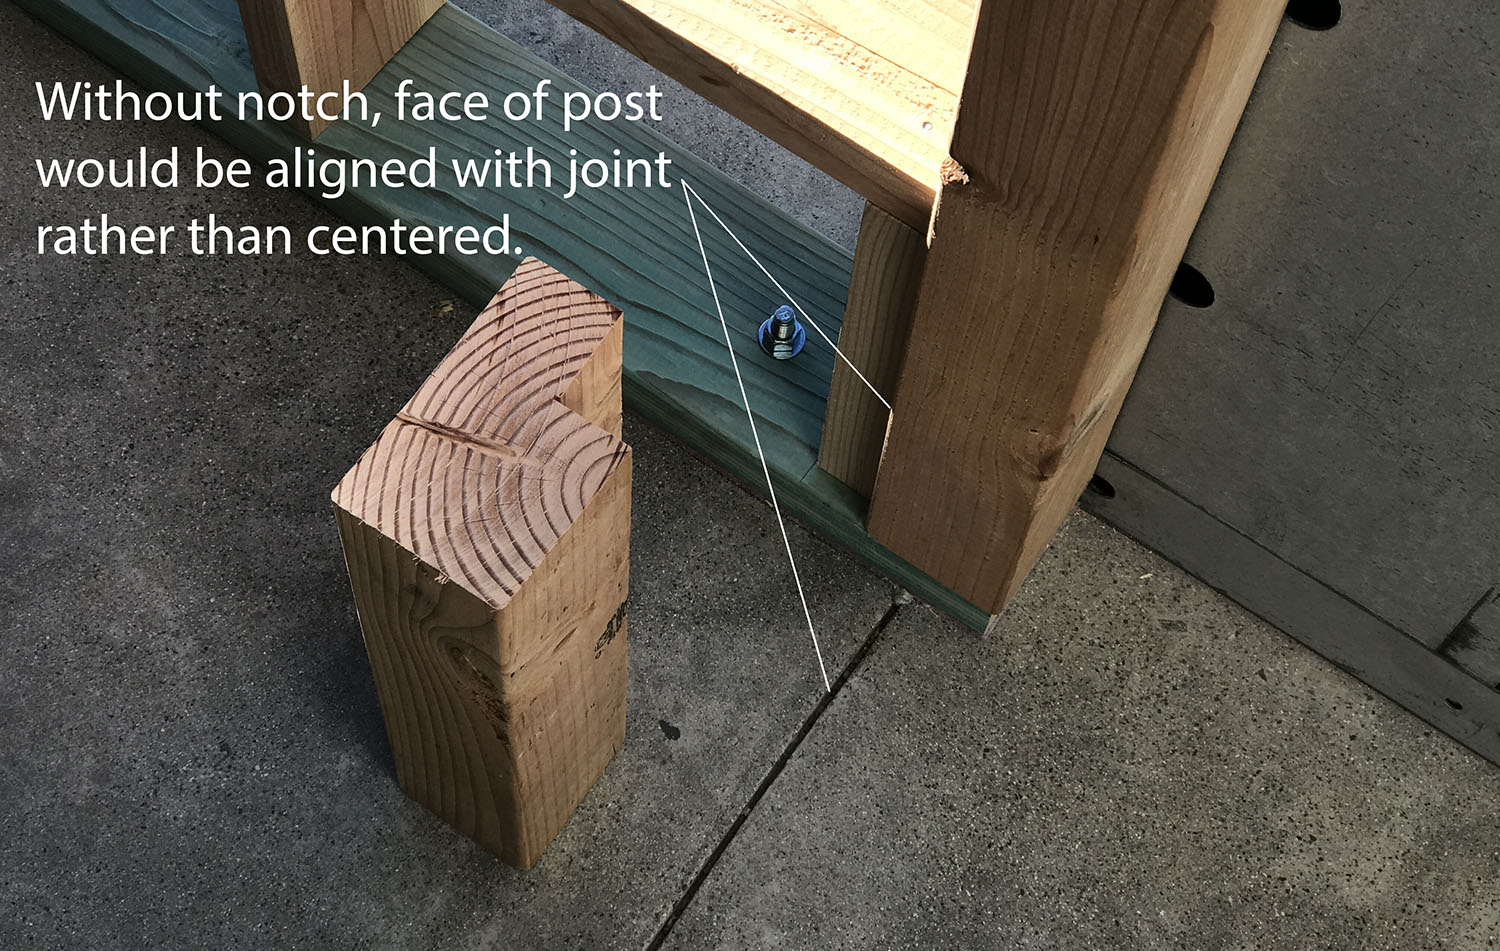
The purpose of the notch was to align the posts better with the saw-cut control joints in the concrete slab. If this had all been planned out from the beginning, we could have arranged this much more easily. Also, we could have simply set the 4×6 wood post in place next to the metal post and called it a day, but it wouldn’t have looked as good from the inside. Here is an annotated image I created to illustrate this for a friend who asked about it on Facebook:
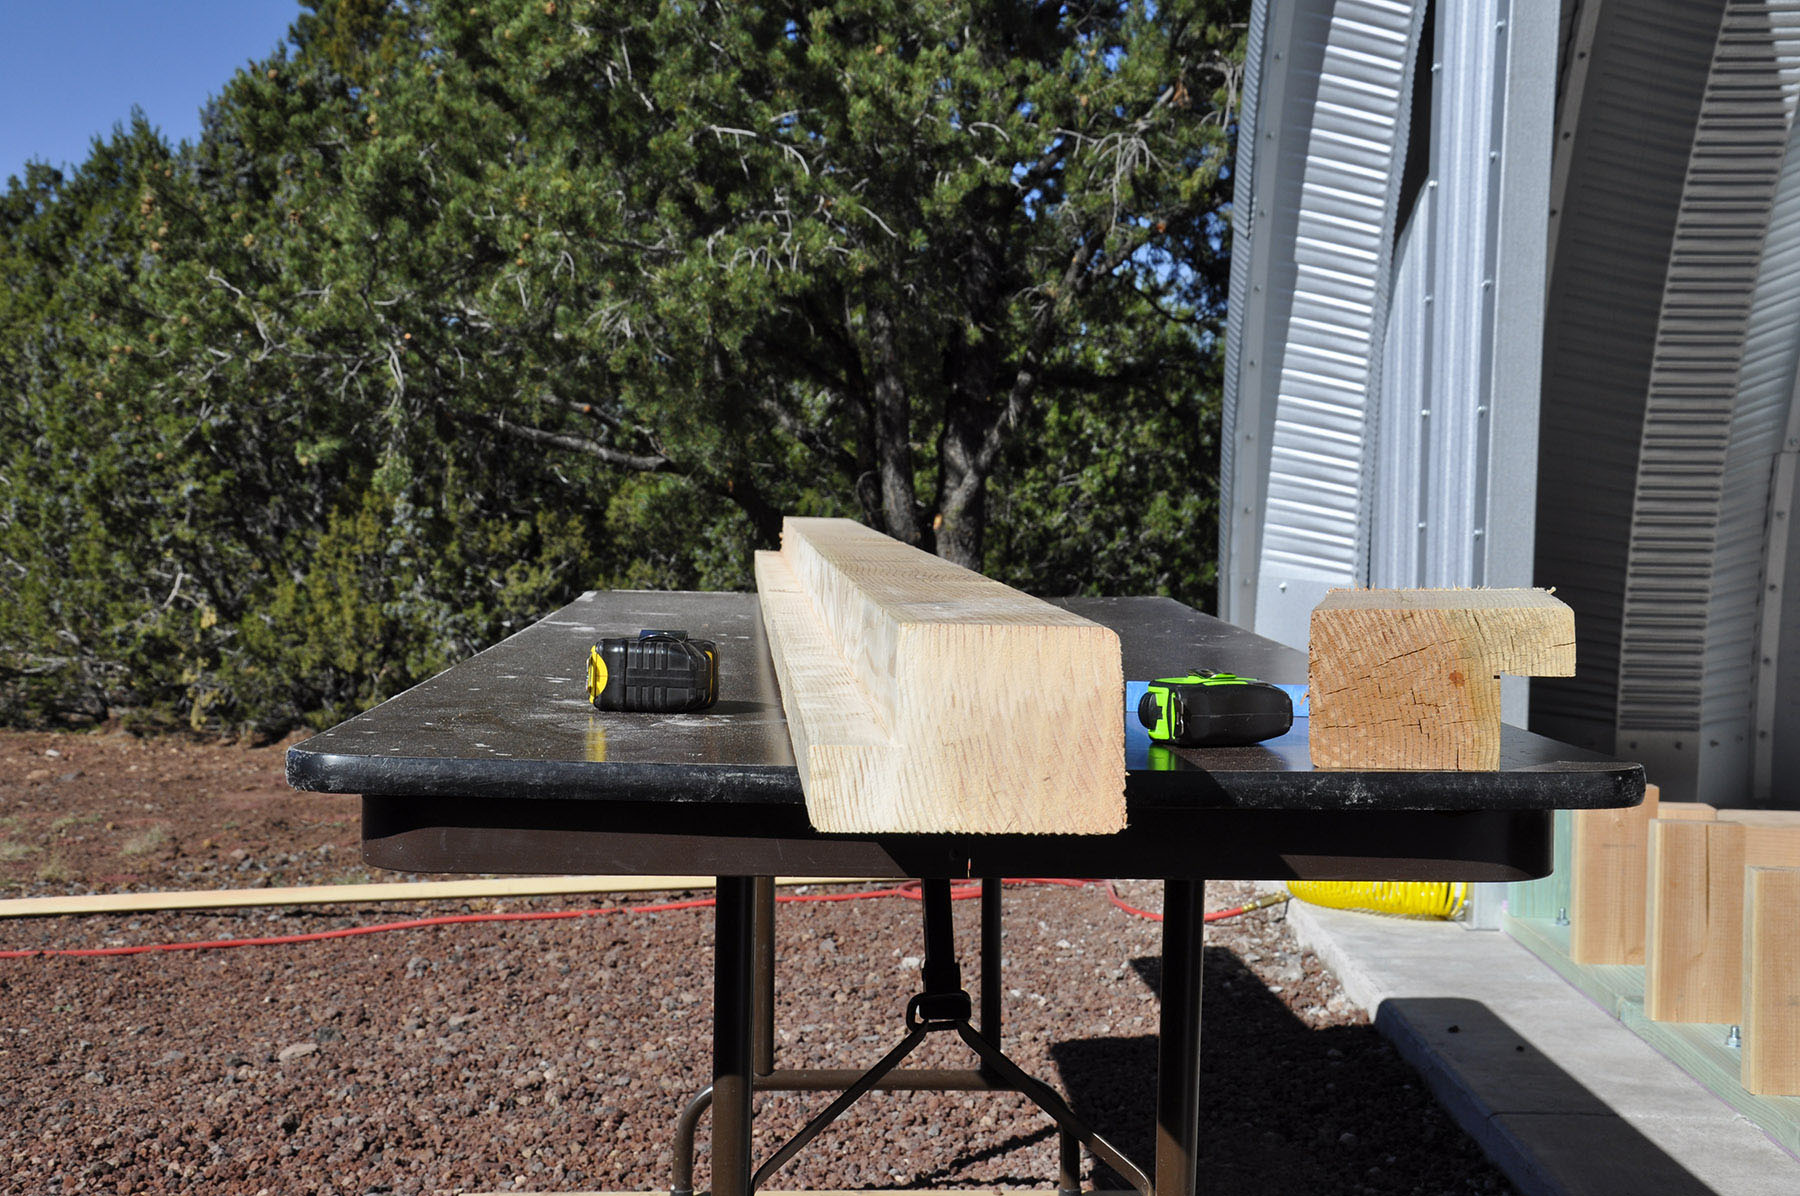
Once the side posts were in place, we installed the special window sill piece. For the sill, we got a 12′ long 4×10 beam and turned it on its side. It is bolted to the low wall from underneath, and cantilevers into the room with no additional support. It will be a great place to sit in the sun and warm up on a cold winter day. It really transforms the window wall into something even more special.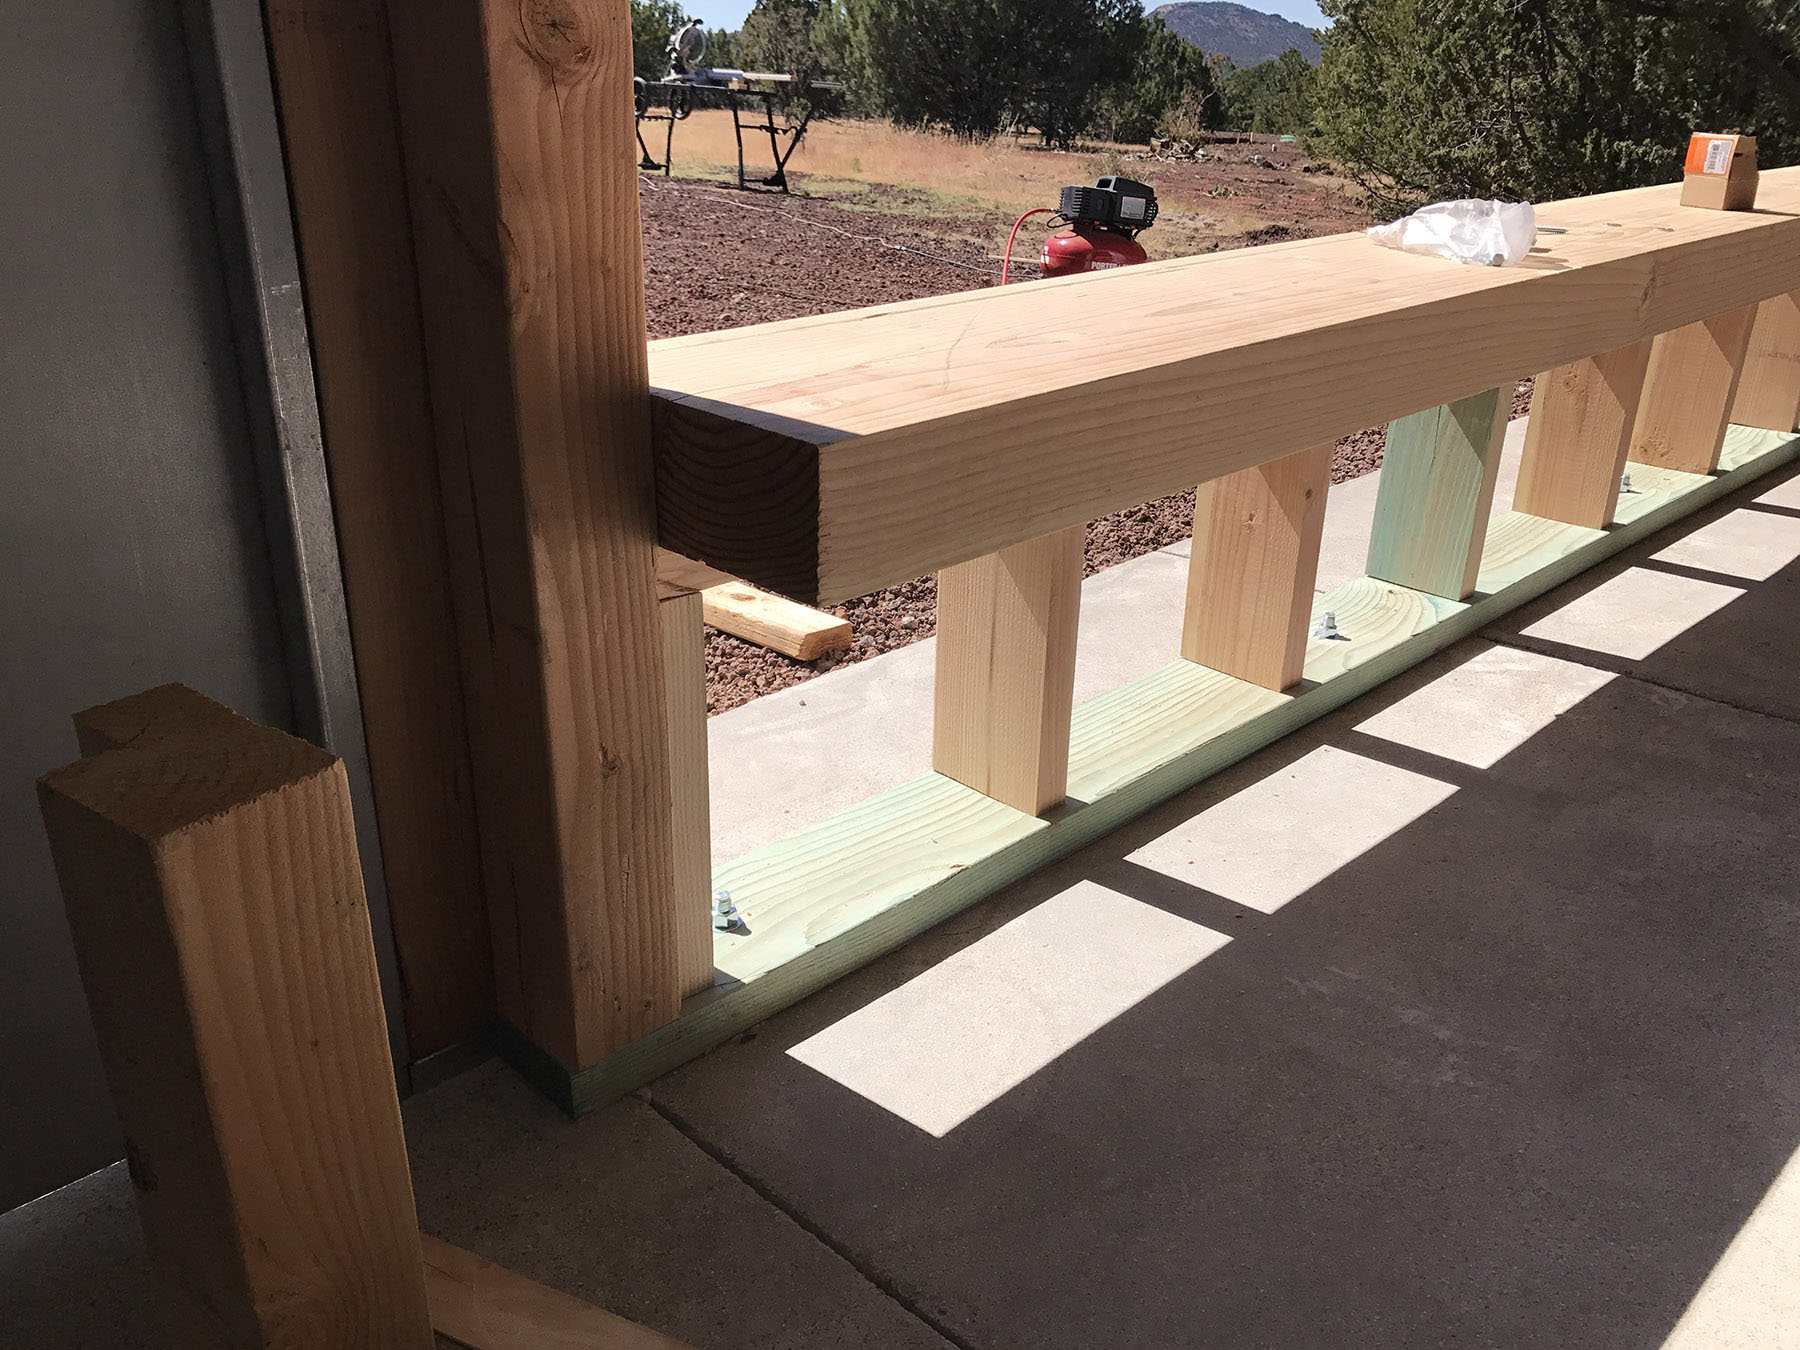
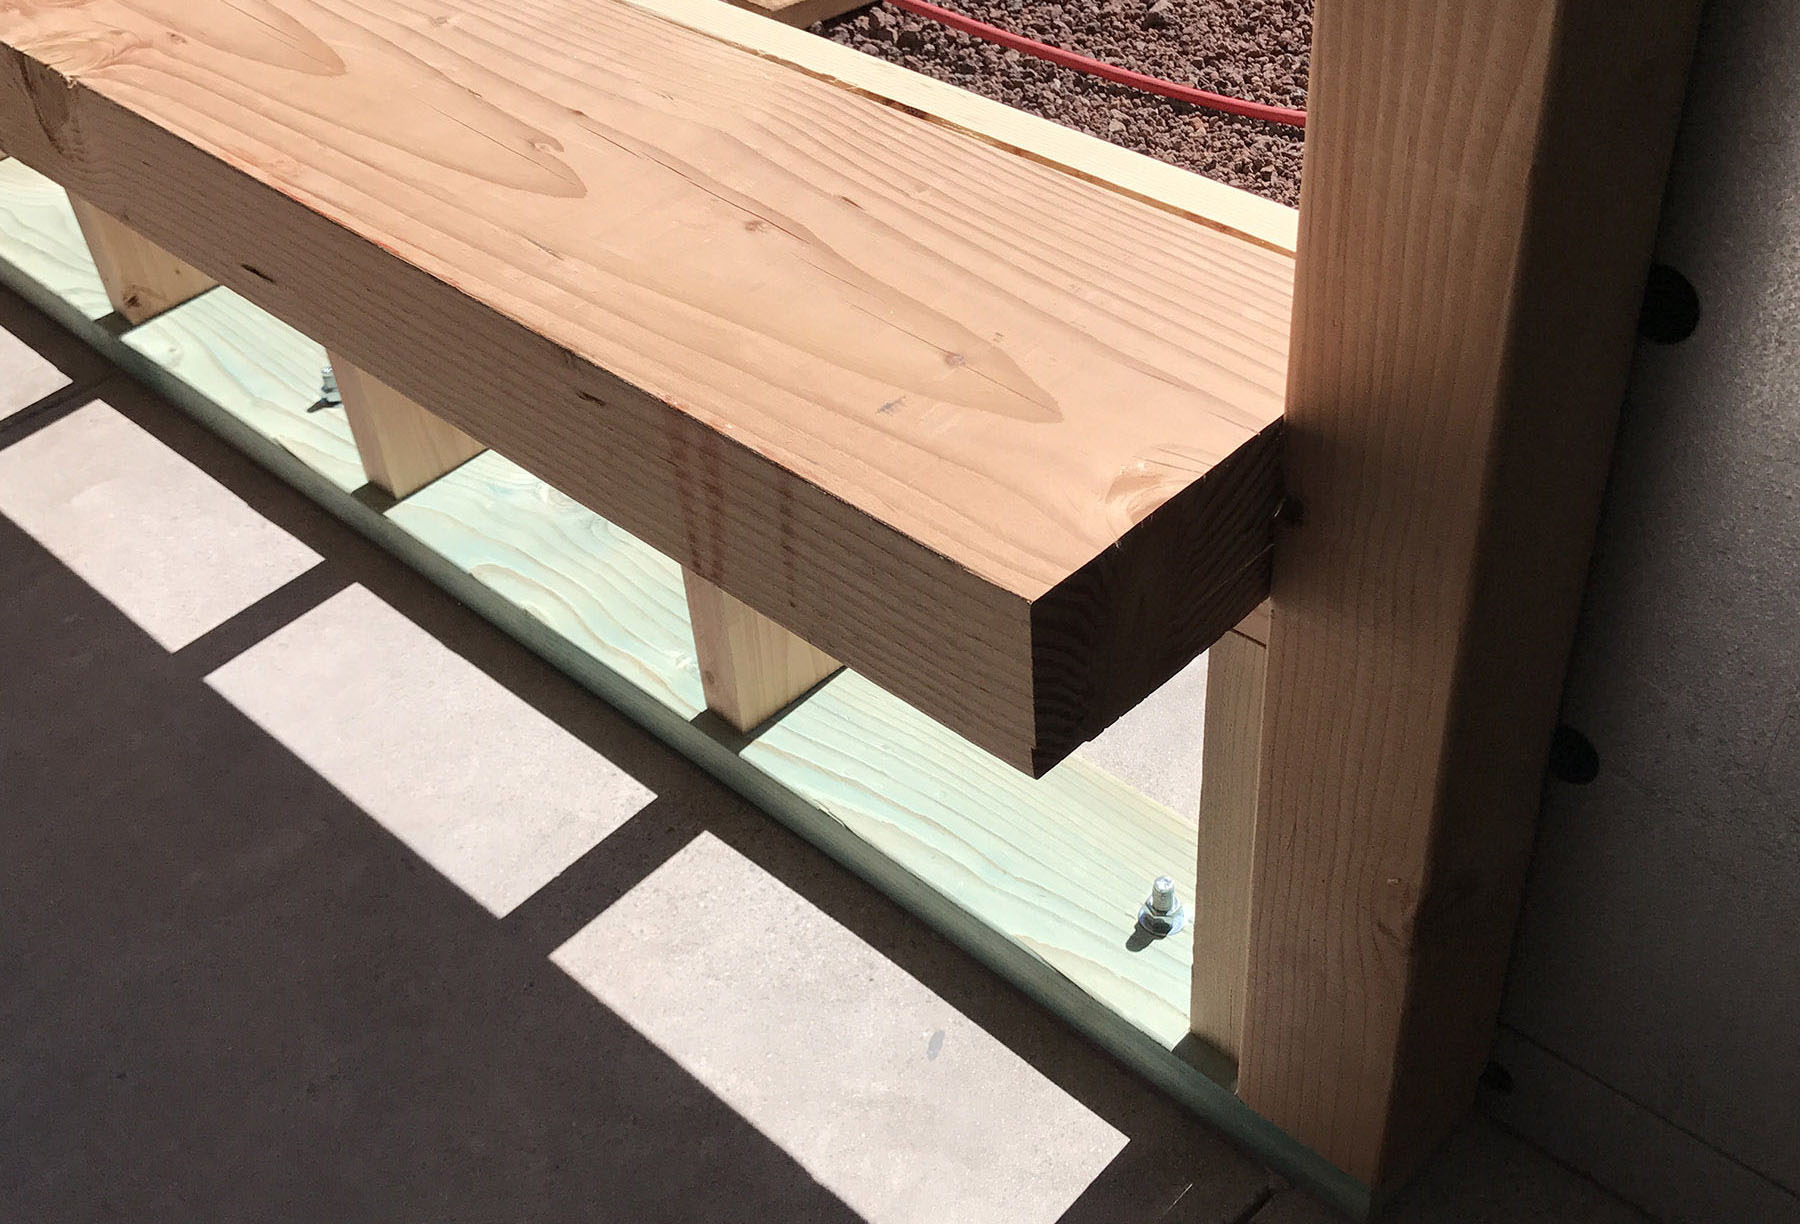
After the big sill piece was bolted in, we worked on the two intermediate posts that rest on it, and then finally the horizontal mullions that line up with the top of the door frame.
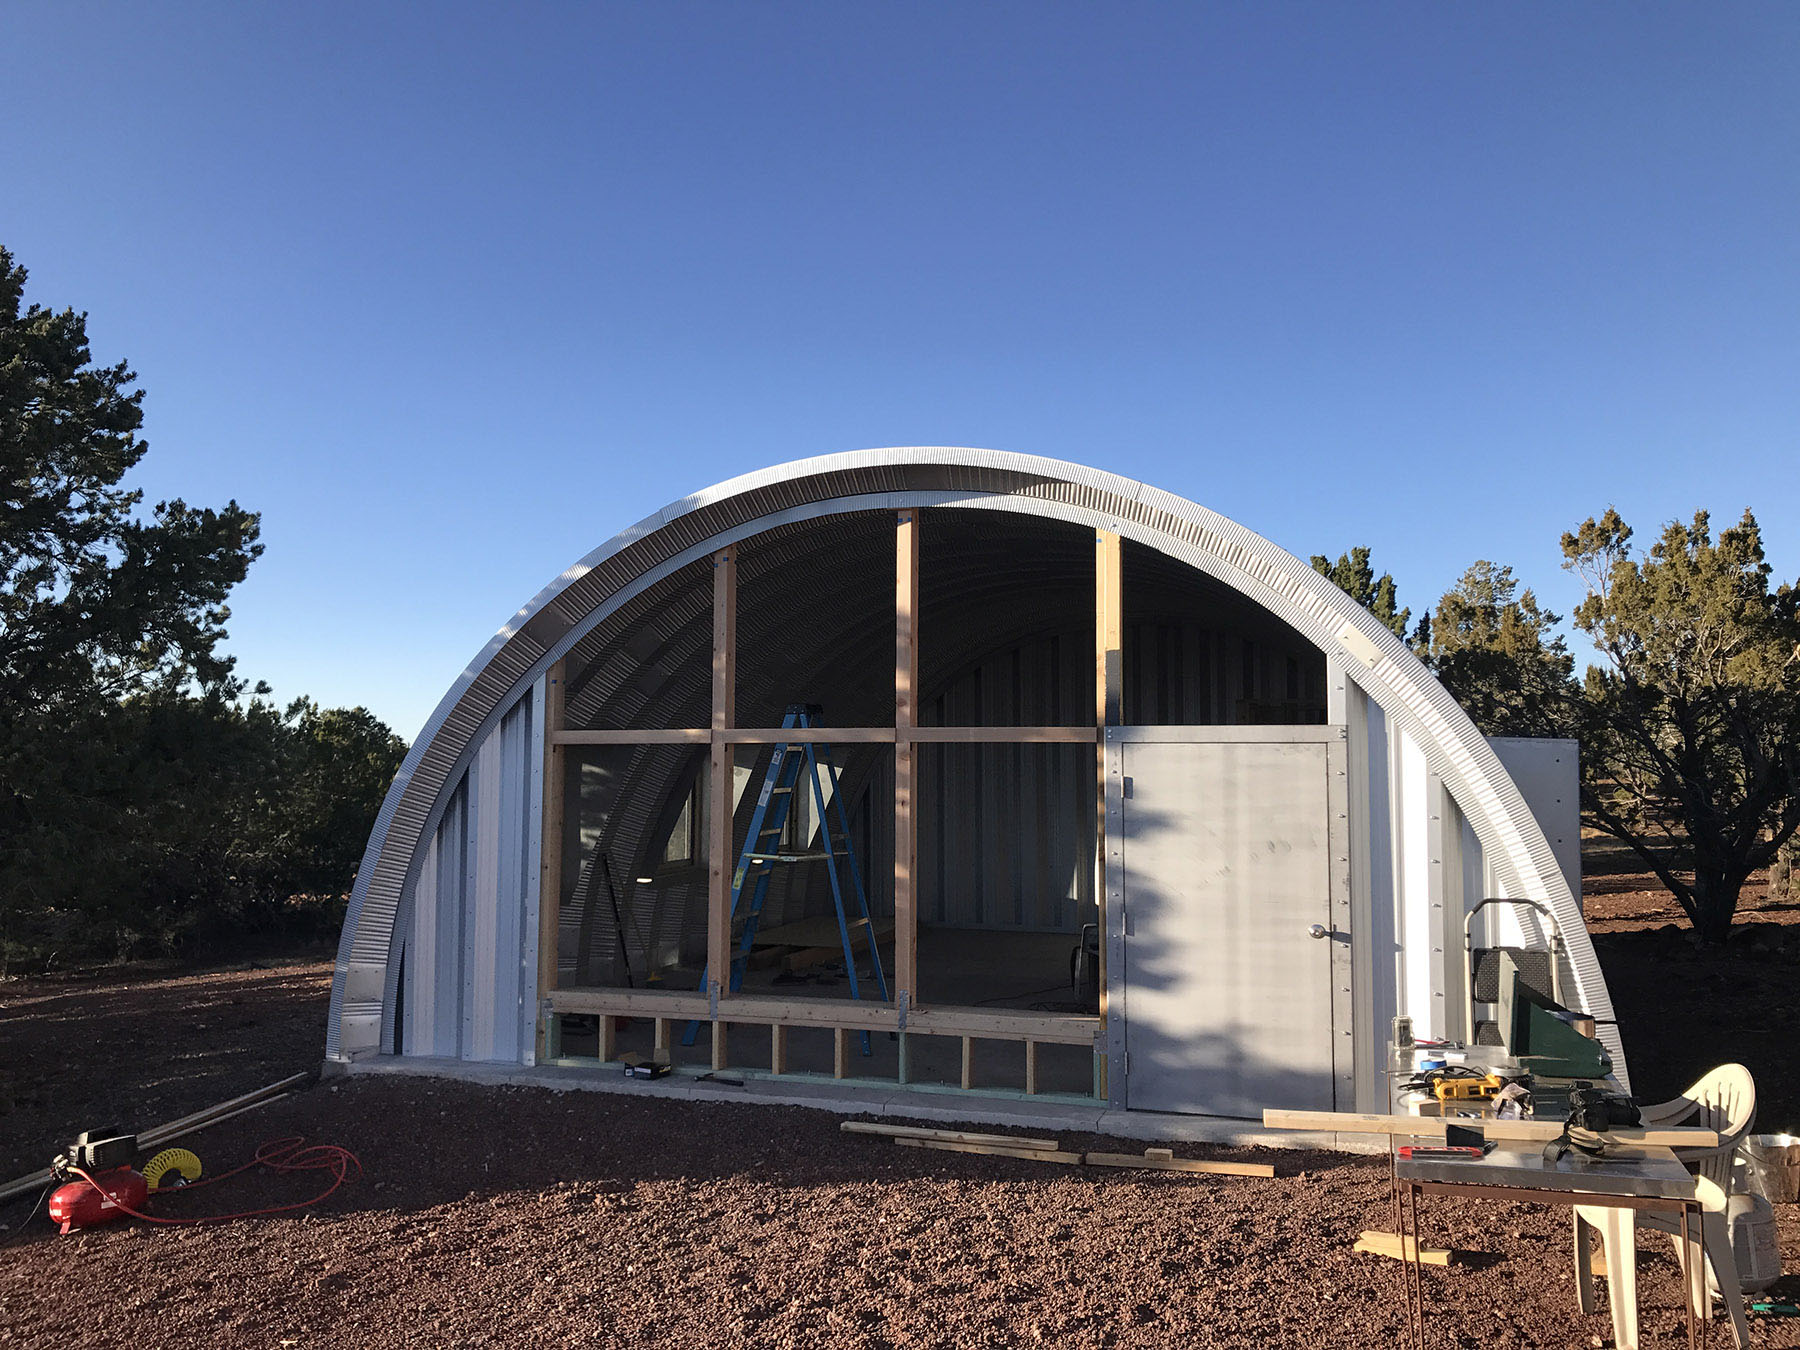
Now it’s ready for the windows! Almost. We need to put some plywood sheathing over the open studs at the bottom, and add some flashing around the windows. But it’s almost ready! We are on track to be out there all next week, and the windows are scheduled to be in stock for pickup by Tuesday the 17th. Stay tuned and watch my Instagram account for updates as we get the building enclosed.
Curious about Quonsets? Ready to learn more about these bizarre, amazing, shiny, round, prefab structures? Drop your info below and I’ll start you off on my email tutorial series. Looking to build an inexpensive but beautiful home debt-free? Considering going off-grid? Or are you just tired of the same old same old and want something unique and beautiful? A Quonset House might be the answer for you.
Follow us on Instagram and Facebook. We also have a private Facebook group called DIY Quonset Dwellers, where we share discussion, design, and construction tips with others who are interested in building their own Quonset hut house. With over 6,000 members and counting, the Facebook group has grown into an amazing resource all of its own! Learn more and request to join the Facebook group here.
LOVE the window seat!!! Now I’m really wanting to build . . .
WooHoo!!!